NEUE SOCKEN MIT TREPPENMUSTER, INKL. TUTORIAL

NEUE SOCKEN MIT TREPPENMUSTER, INKL. TUTORIAL
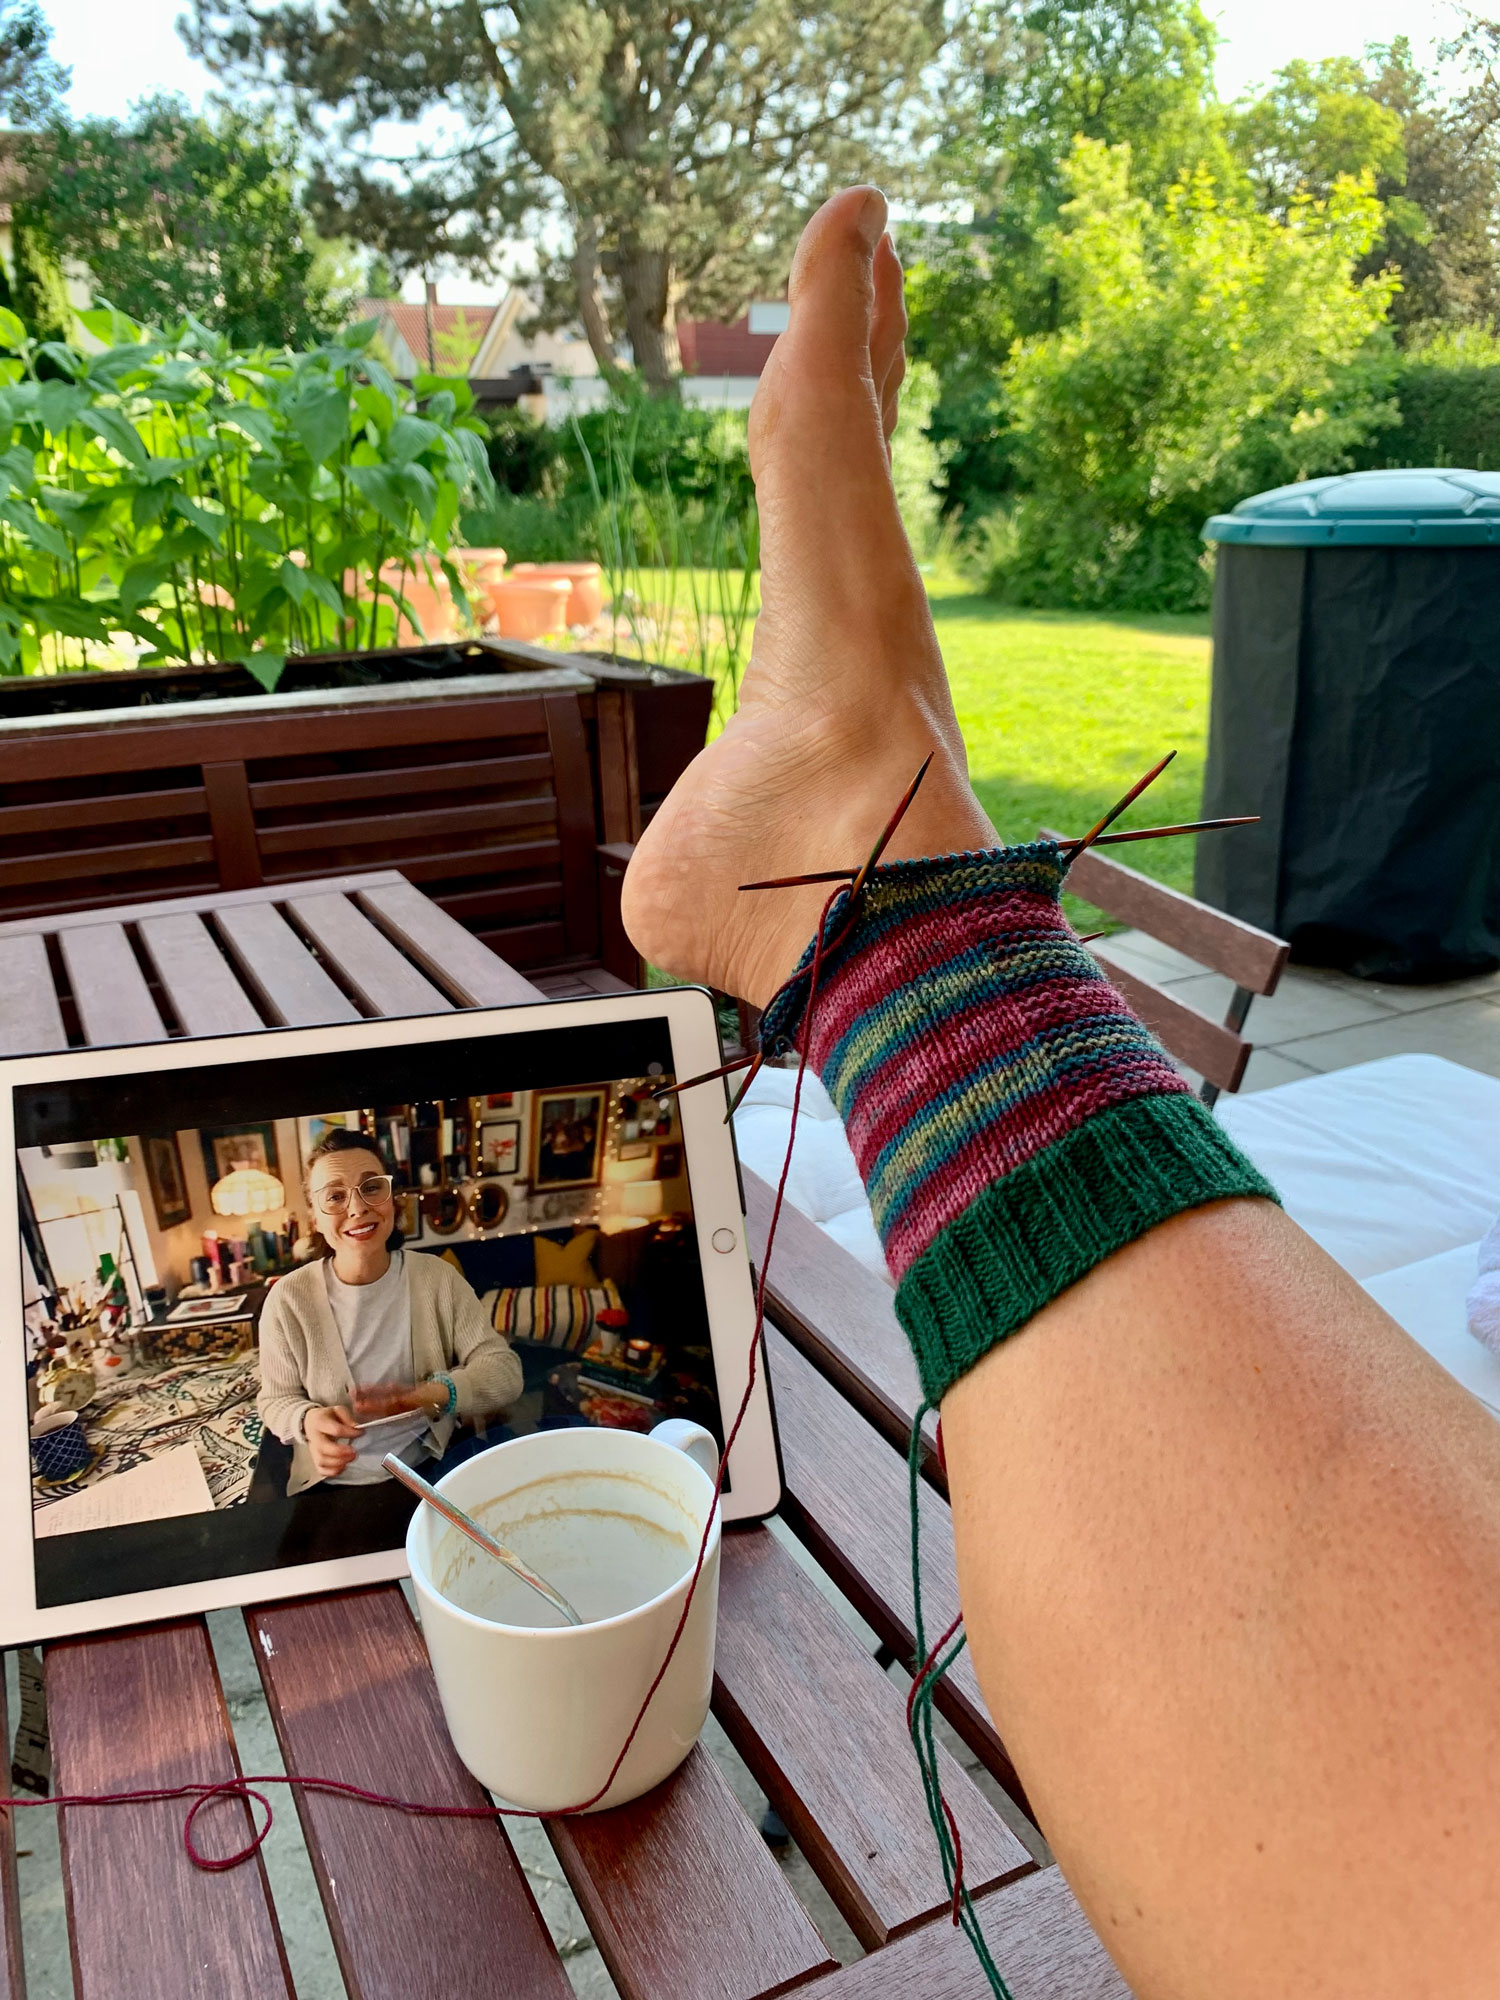
Ende letzten Jahres habe ich neben meinen Accessoires auch 3 Pullover gestrickt. Das Pullover-Stricken hat mir viel Freude bereitet, doch ich habe gemerkt, dass ich die kleinen Projekte wirklich vermisst habe. Im Austausch mit anderen Strickerinnen habe ich erfahren, dass die Meisten von ihnen das ganze Jahr über Socken stricken. Meistens aber nicht für sich selbst, sondern für einen guten Zweck am Ende des Jahres. Das fand ich so toll und es hat mich motiviert, wieder kurze Socken-Tutorials für euch aufzunehmen.

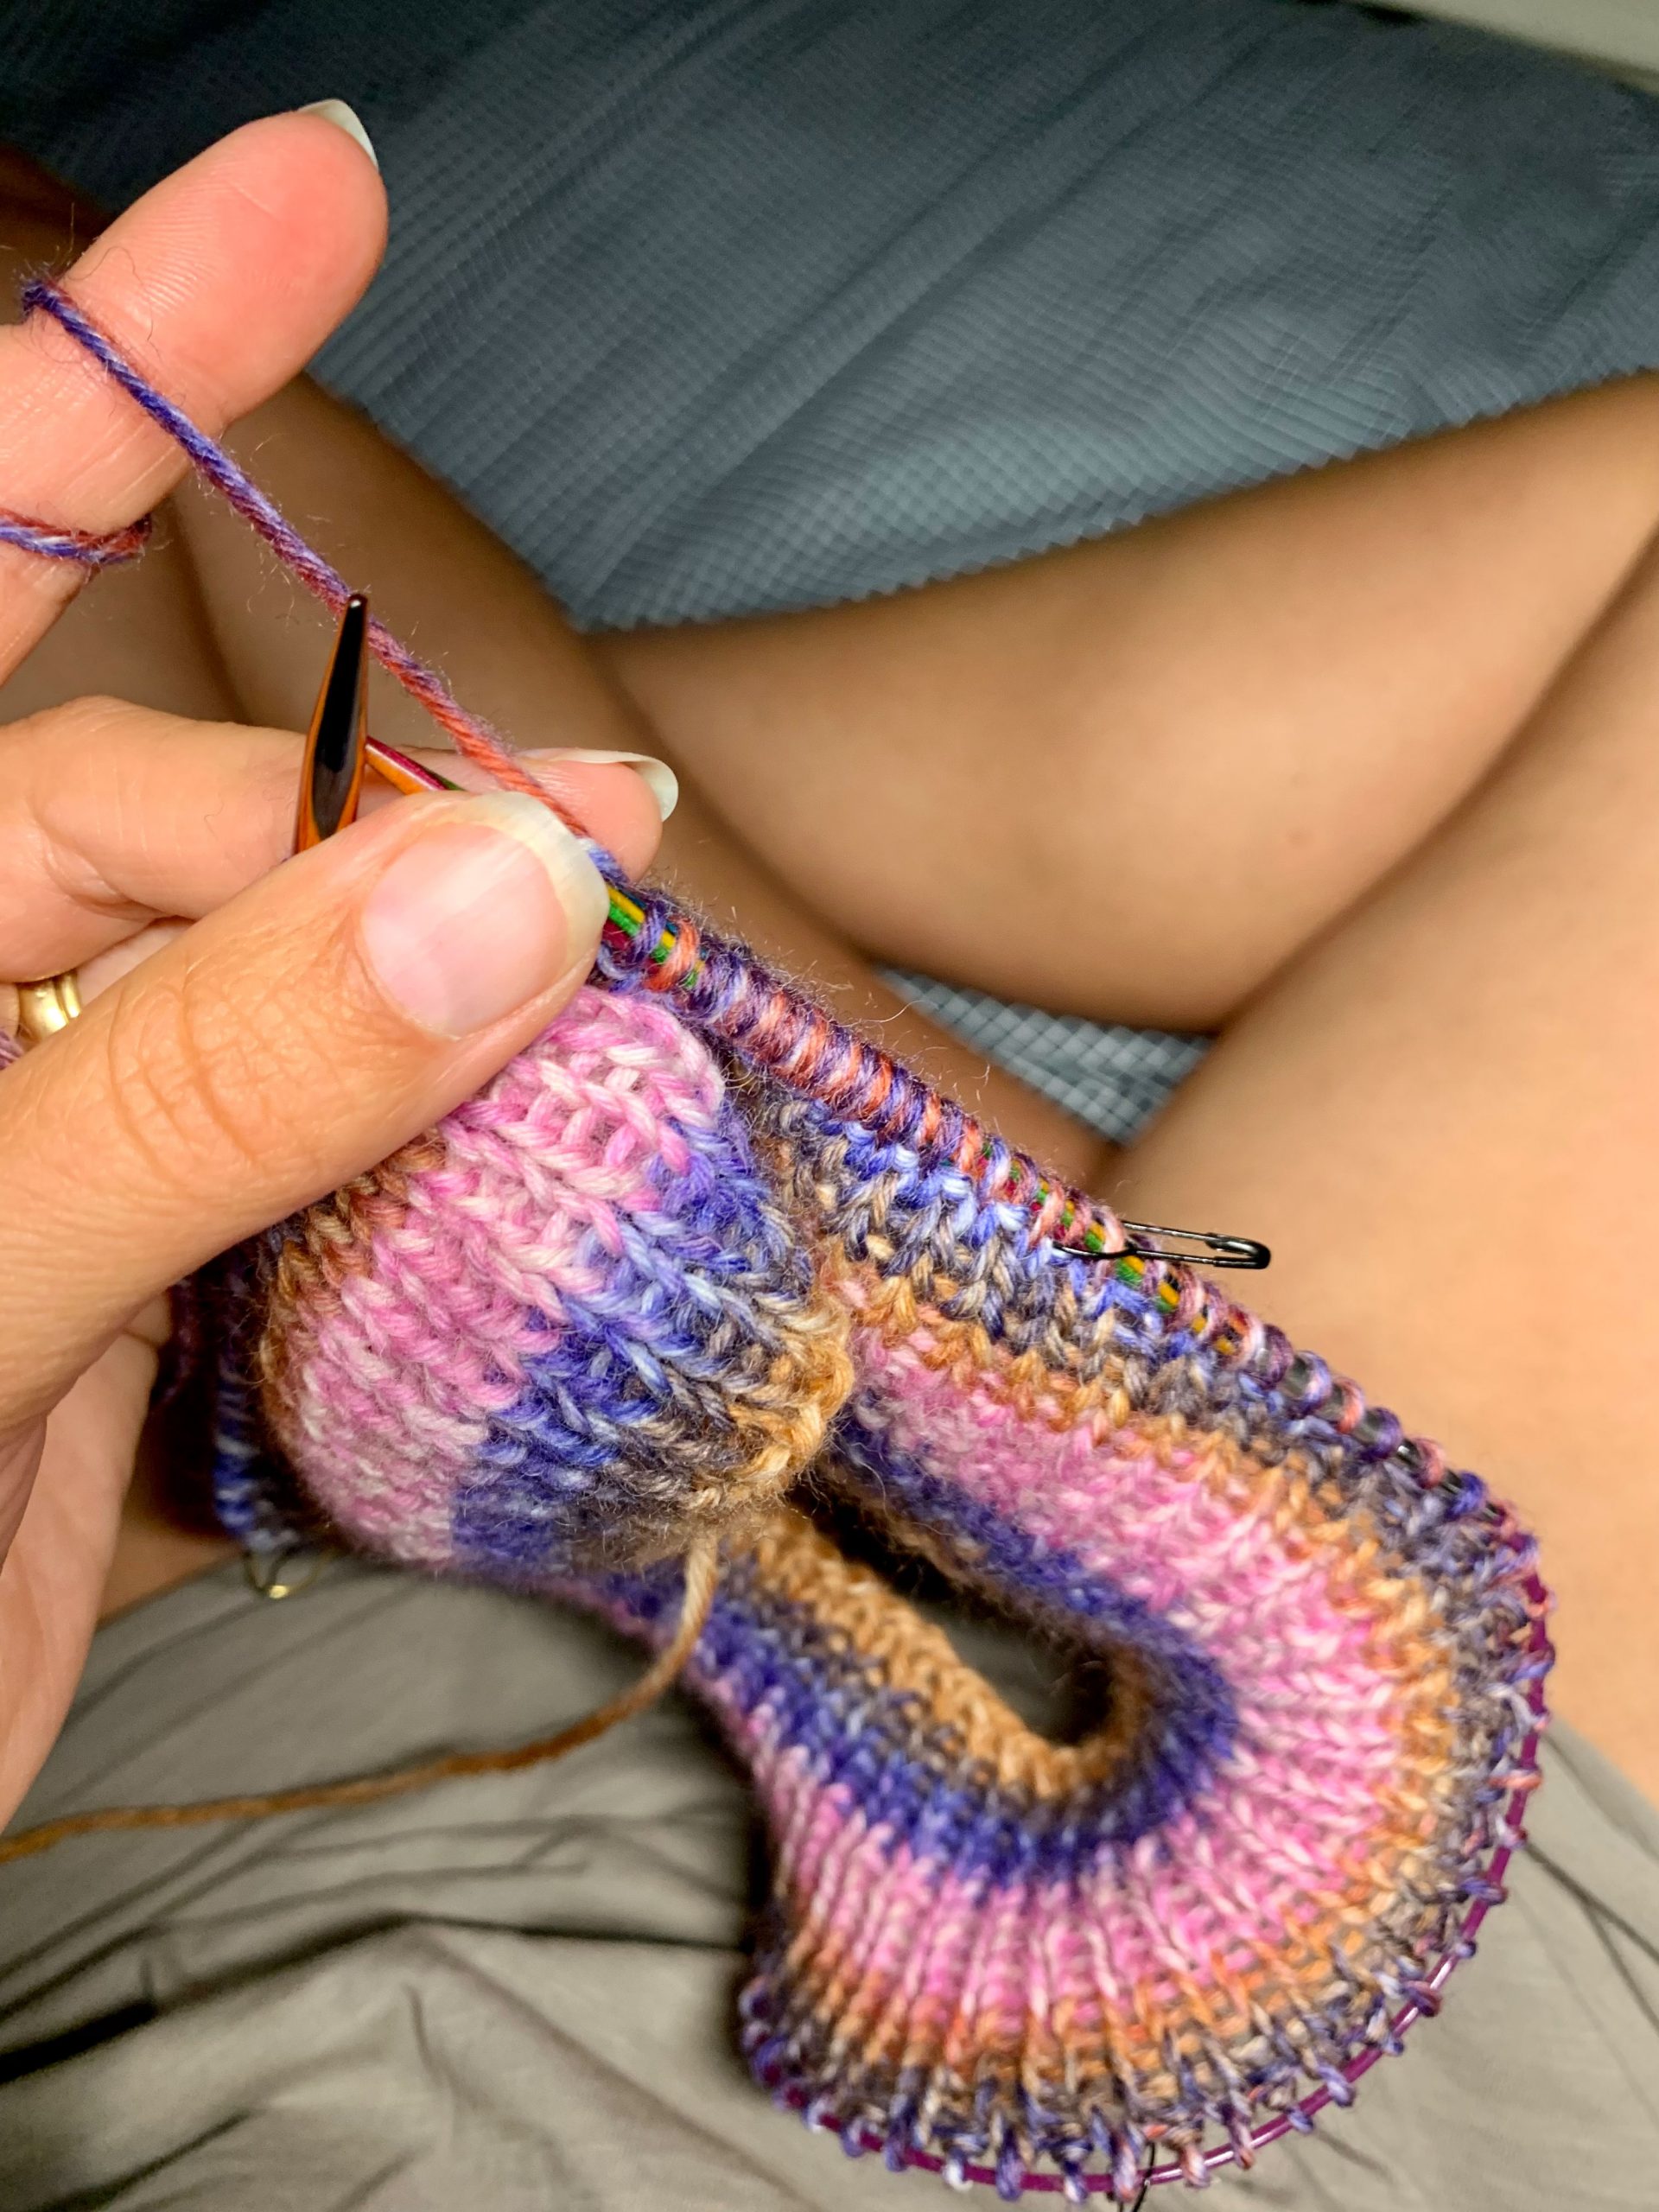
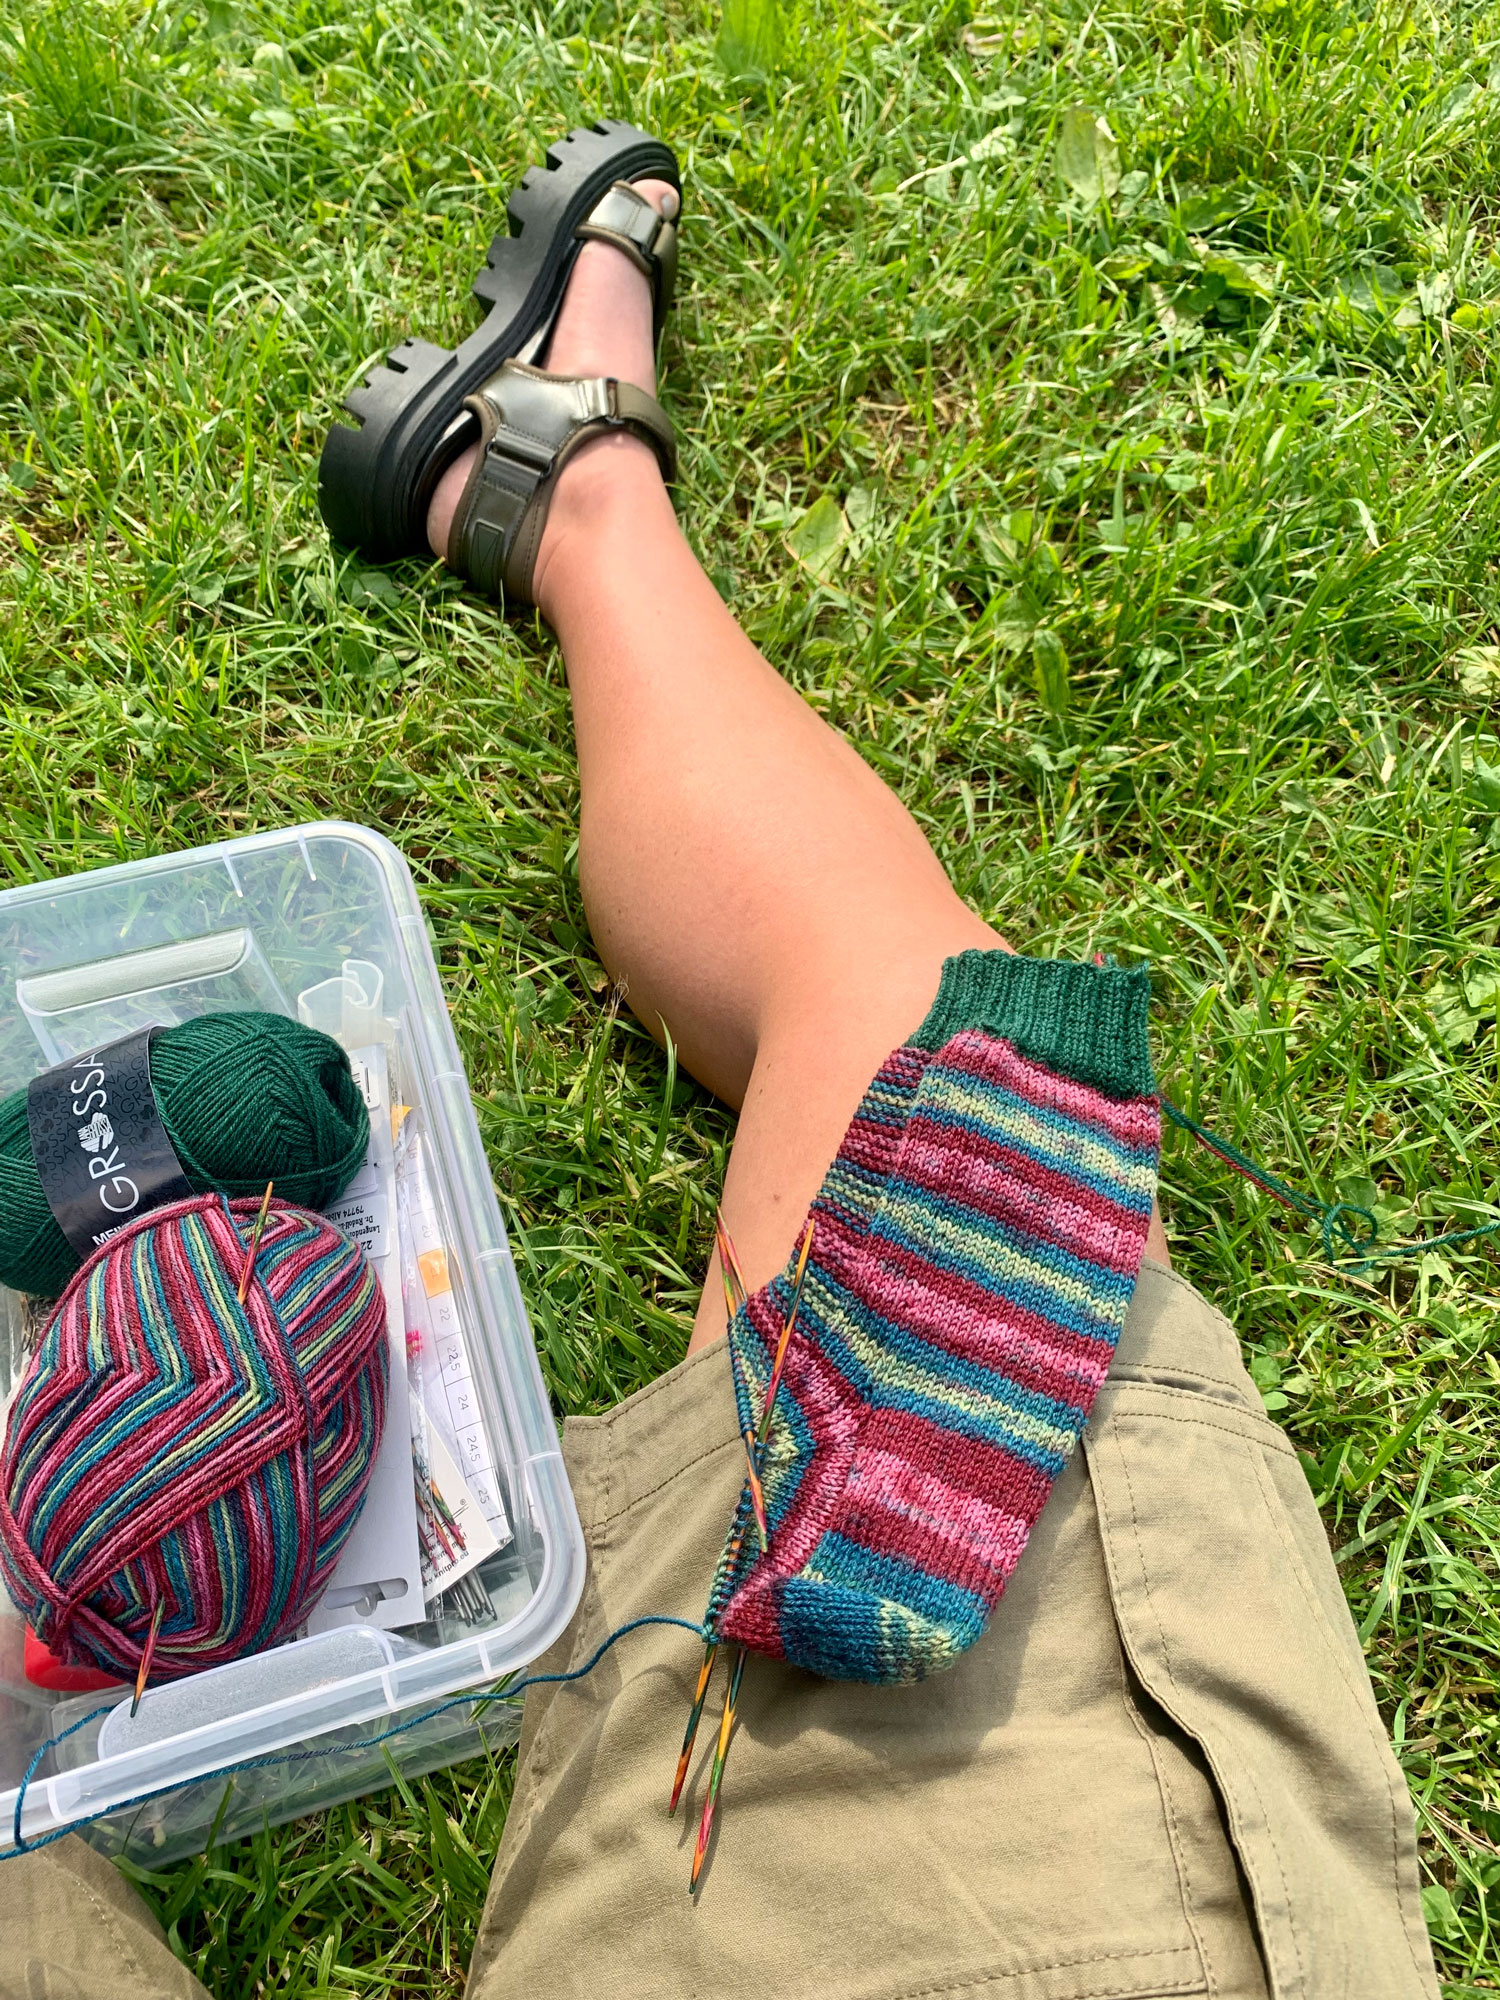
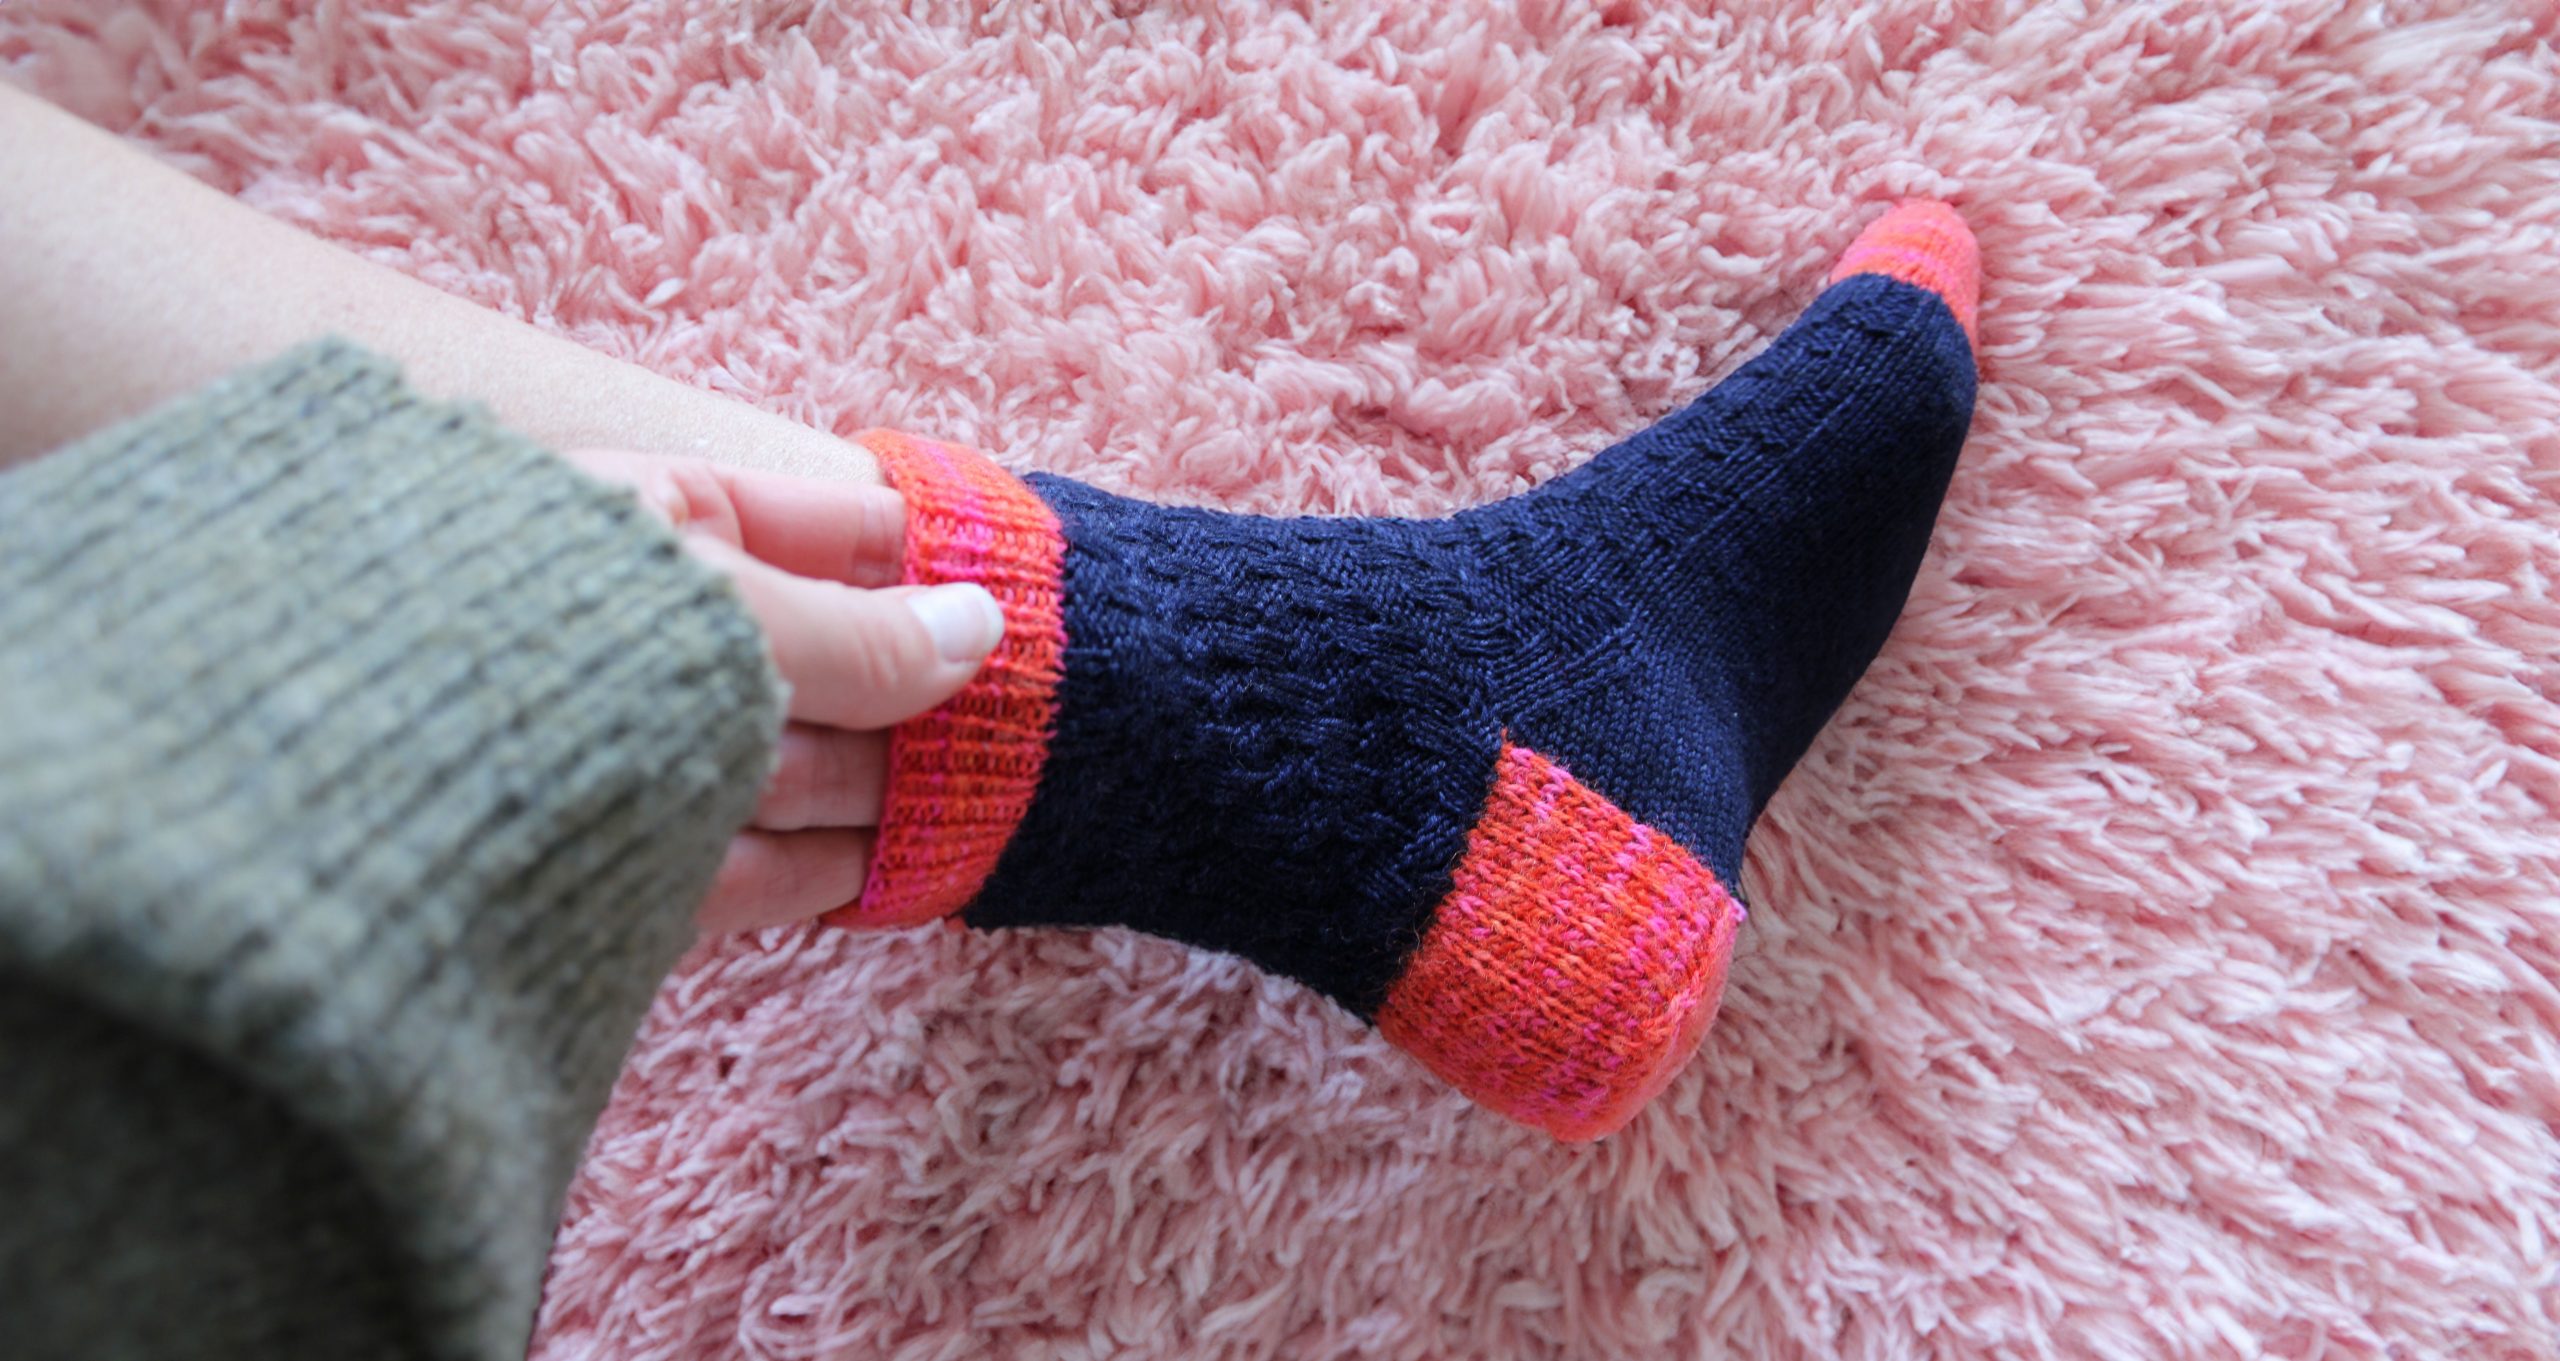
Heute möchte ich euch daher wieder ein neues Sockenmuster vorstellen. Ich habe es „Trepp auf, Trepp ab“ genannt und es handelt sich dabei um mein 1. Sockenmuster 2024. Das Strickmuster ist selbstverständlich kostenlos und ich hoffe, ihr habt viel Freude dabei es einmal selbst auszuprobieren.

At the end of last year I also knitted 3 sweaters in addition to my accessories. I enjoyed knitting sweaters a lot, but I realized that I really missed the little projects. In conversation with other knitters, I learned that most of them knit socks all year round. Mostly not for themself, but for a good cause at the end of the year. I thought that was so great and it motivated me to record short sock tutorials for you again.

Today I would like to introduce you to a new sock pattern. I called it „Stairs up, stairs down“ and it is my first sock pattern of 2024. The knitting pattern is of course free and I hope you have a lot of fun trying it out for yourself.

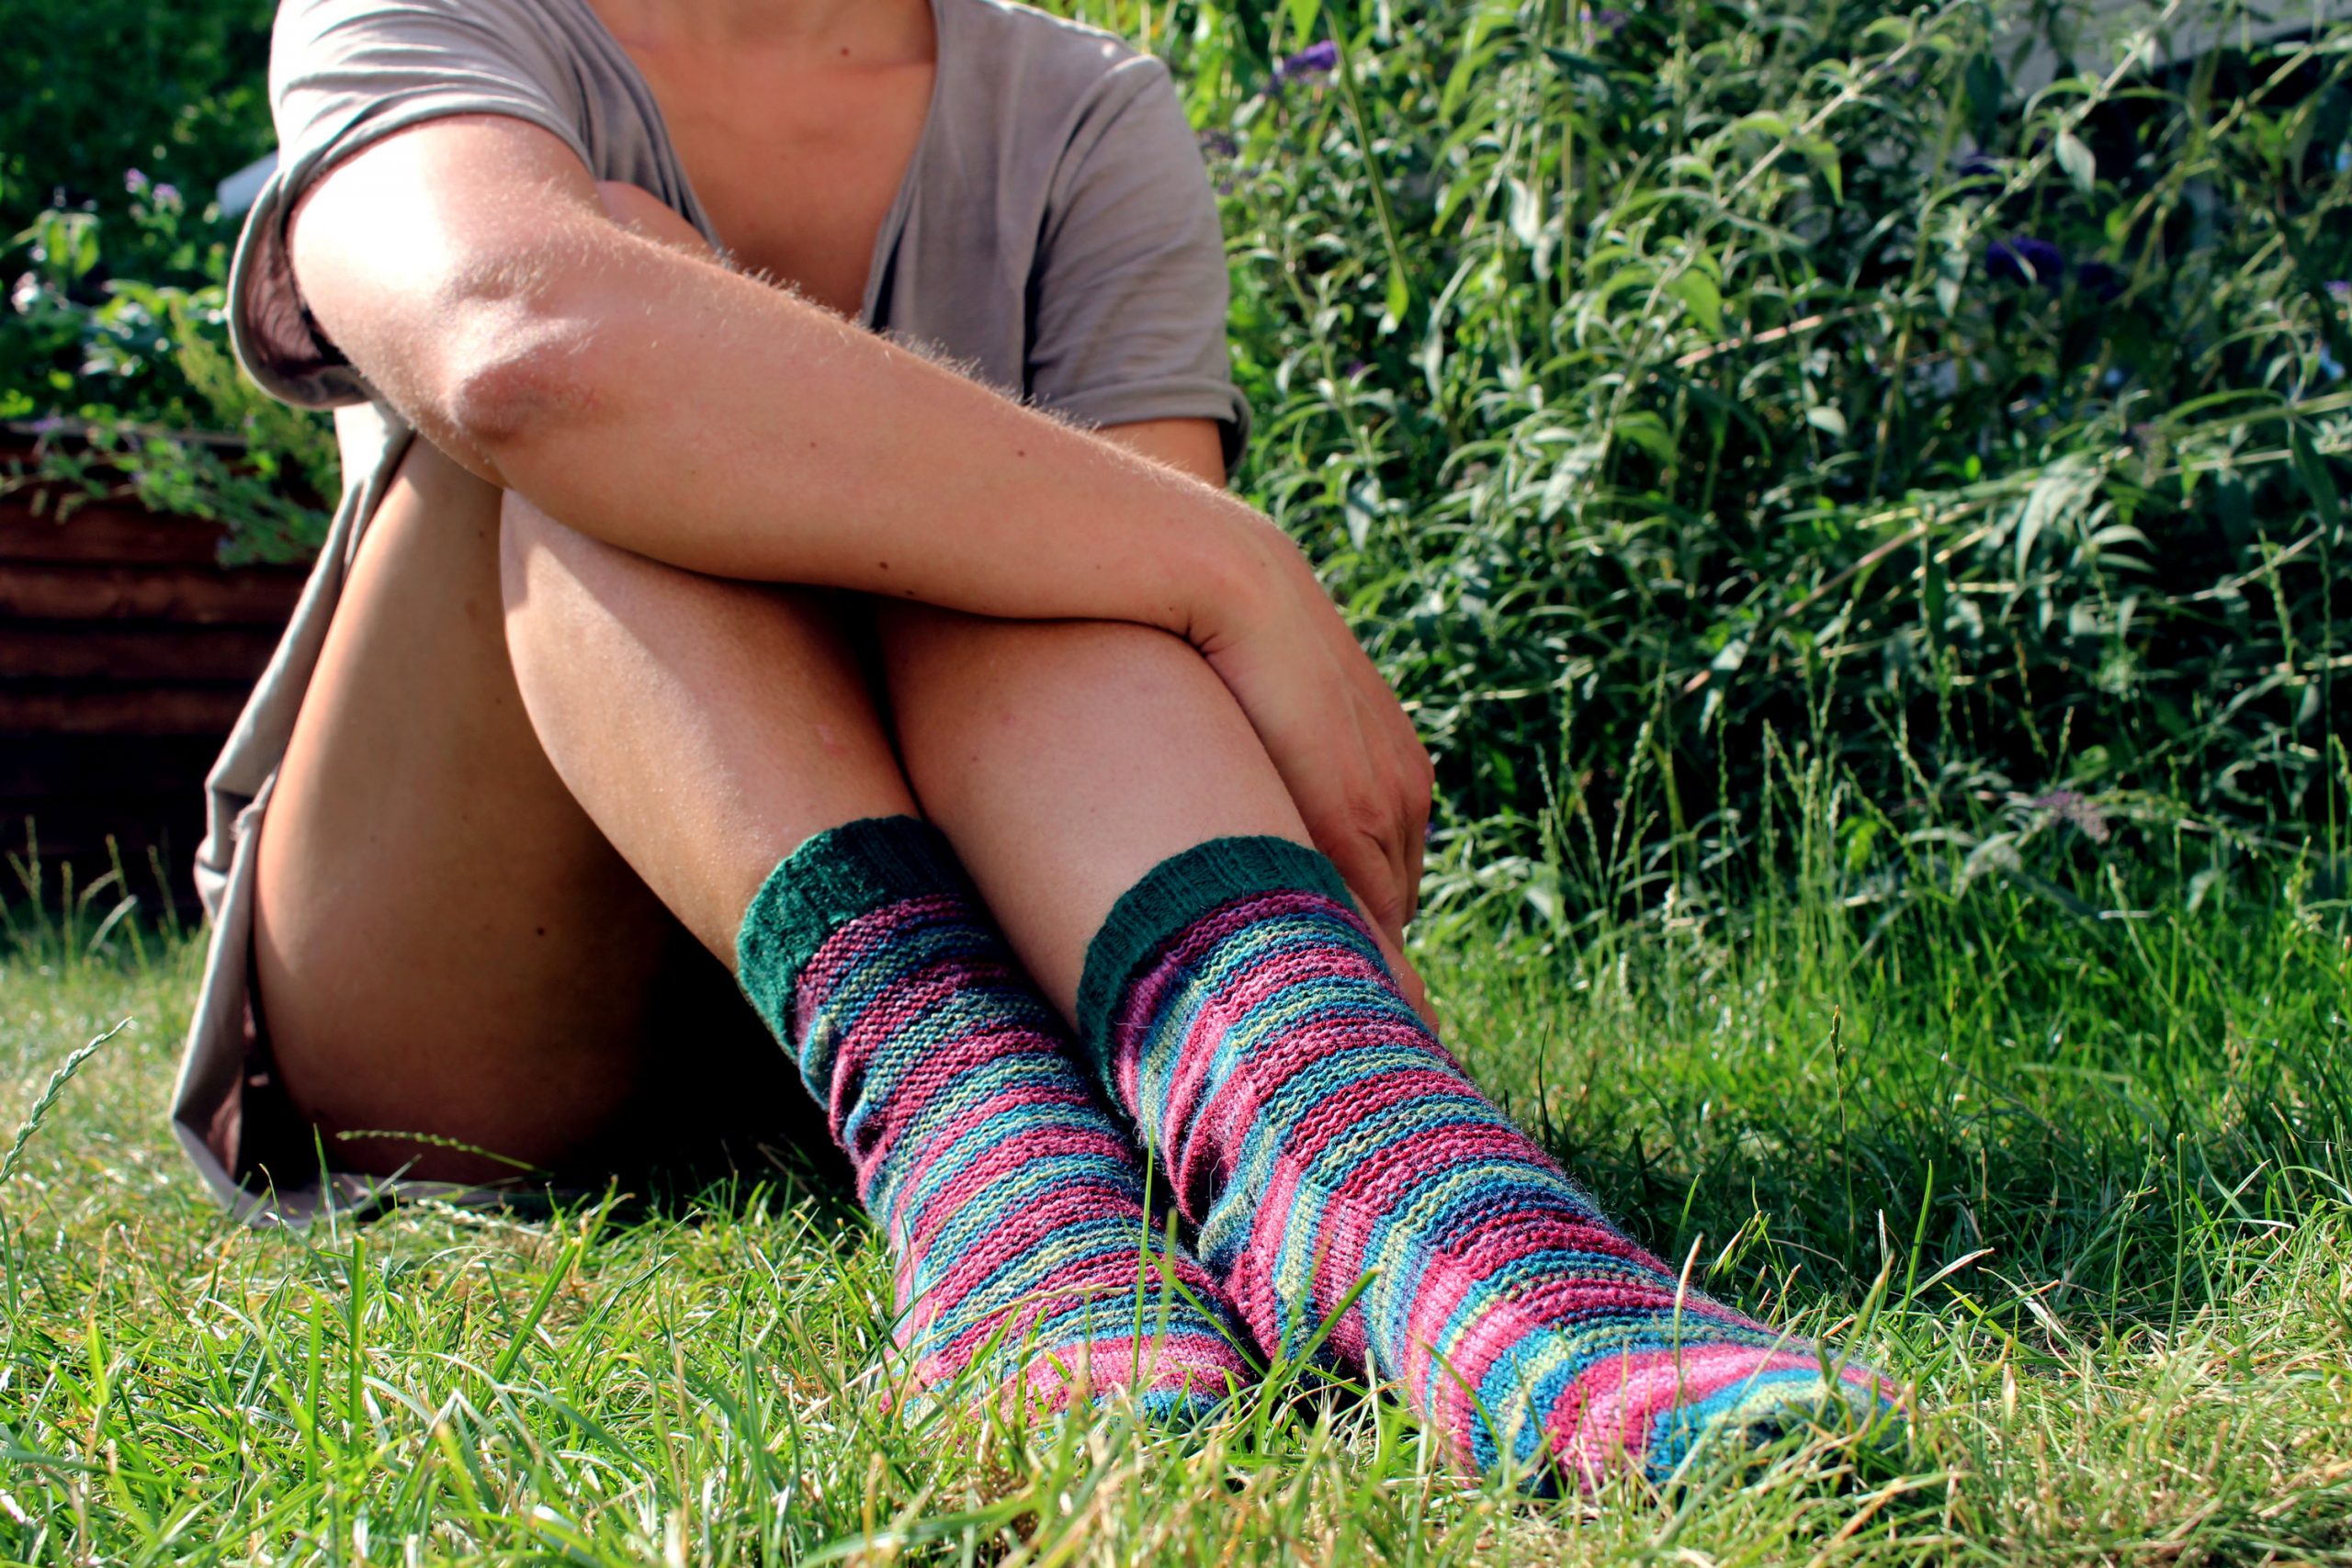
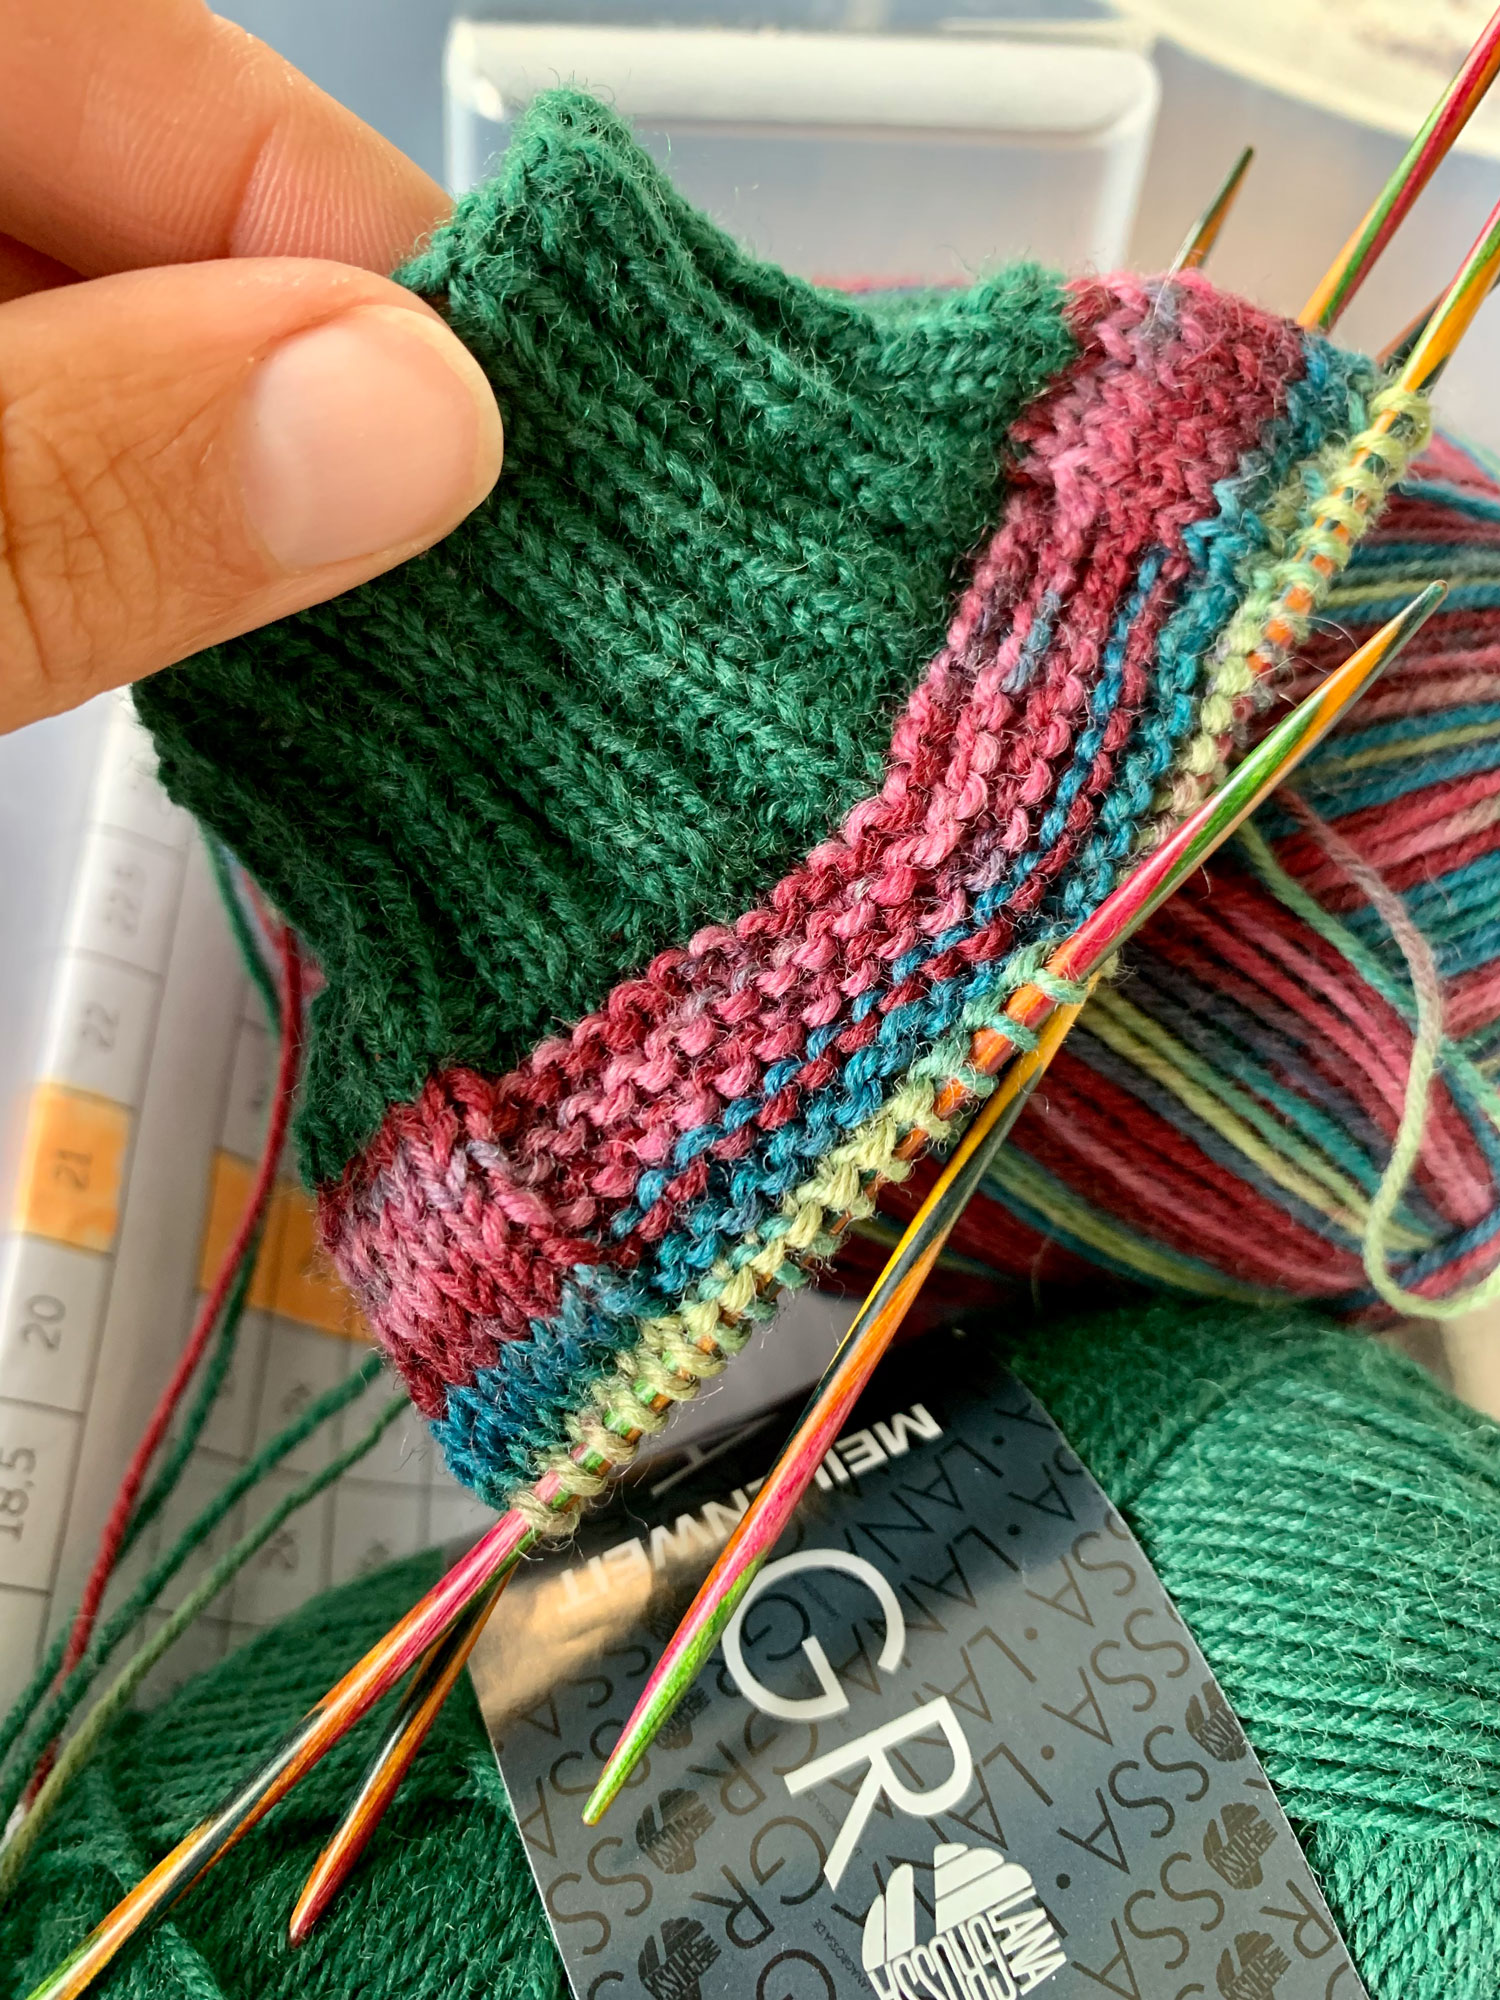
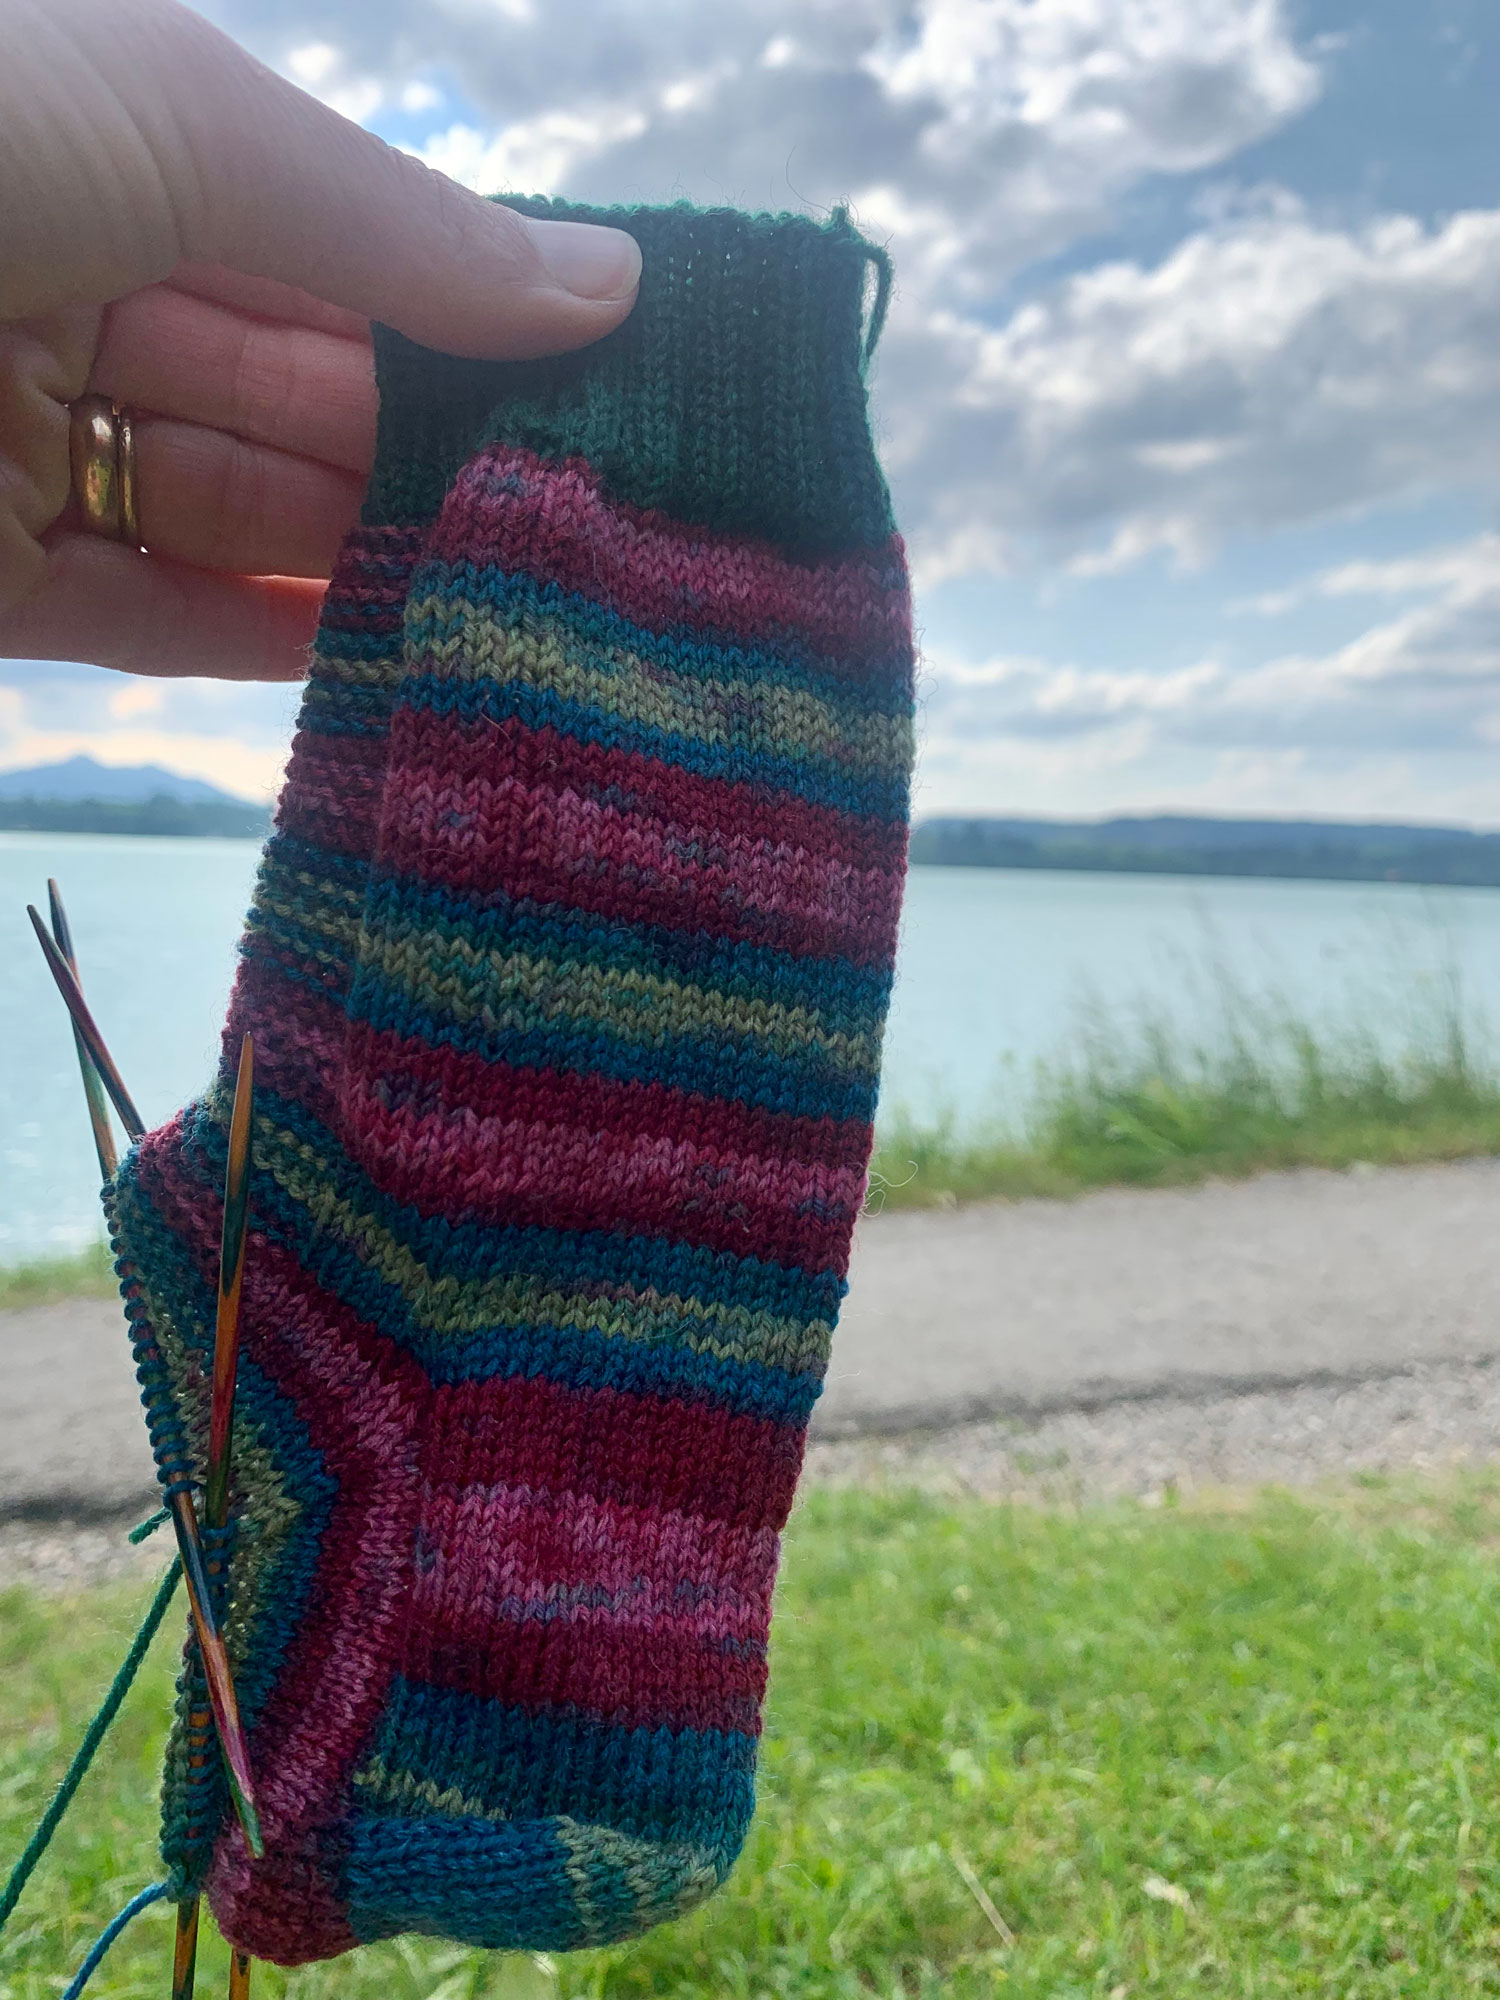
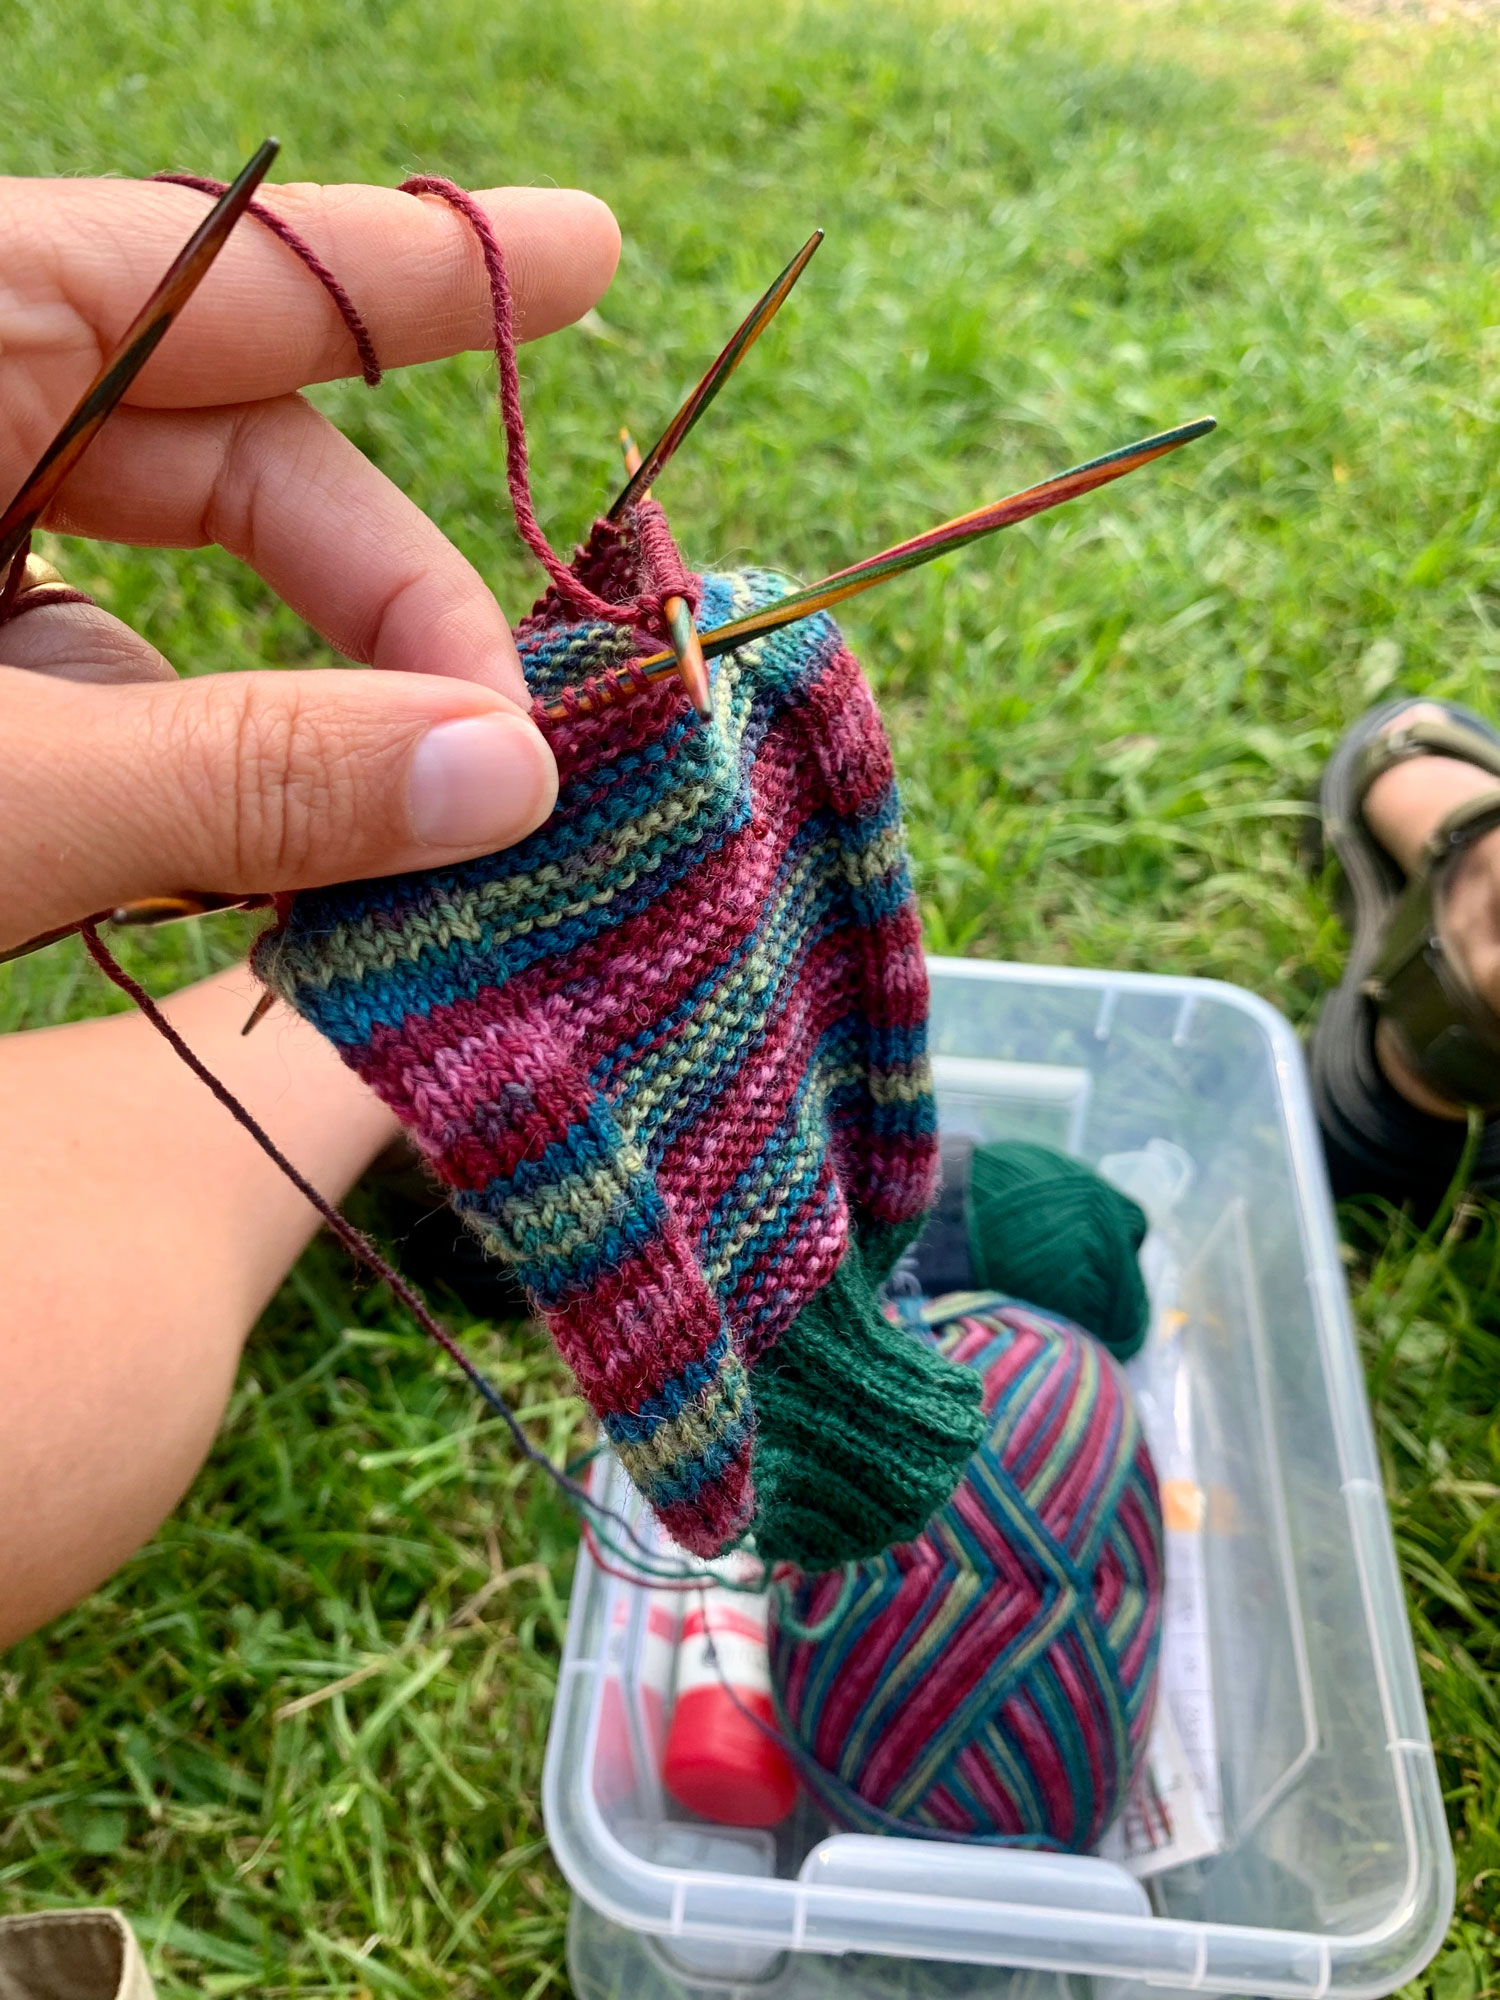
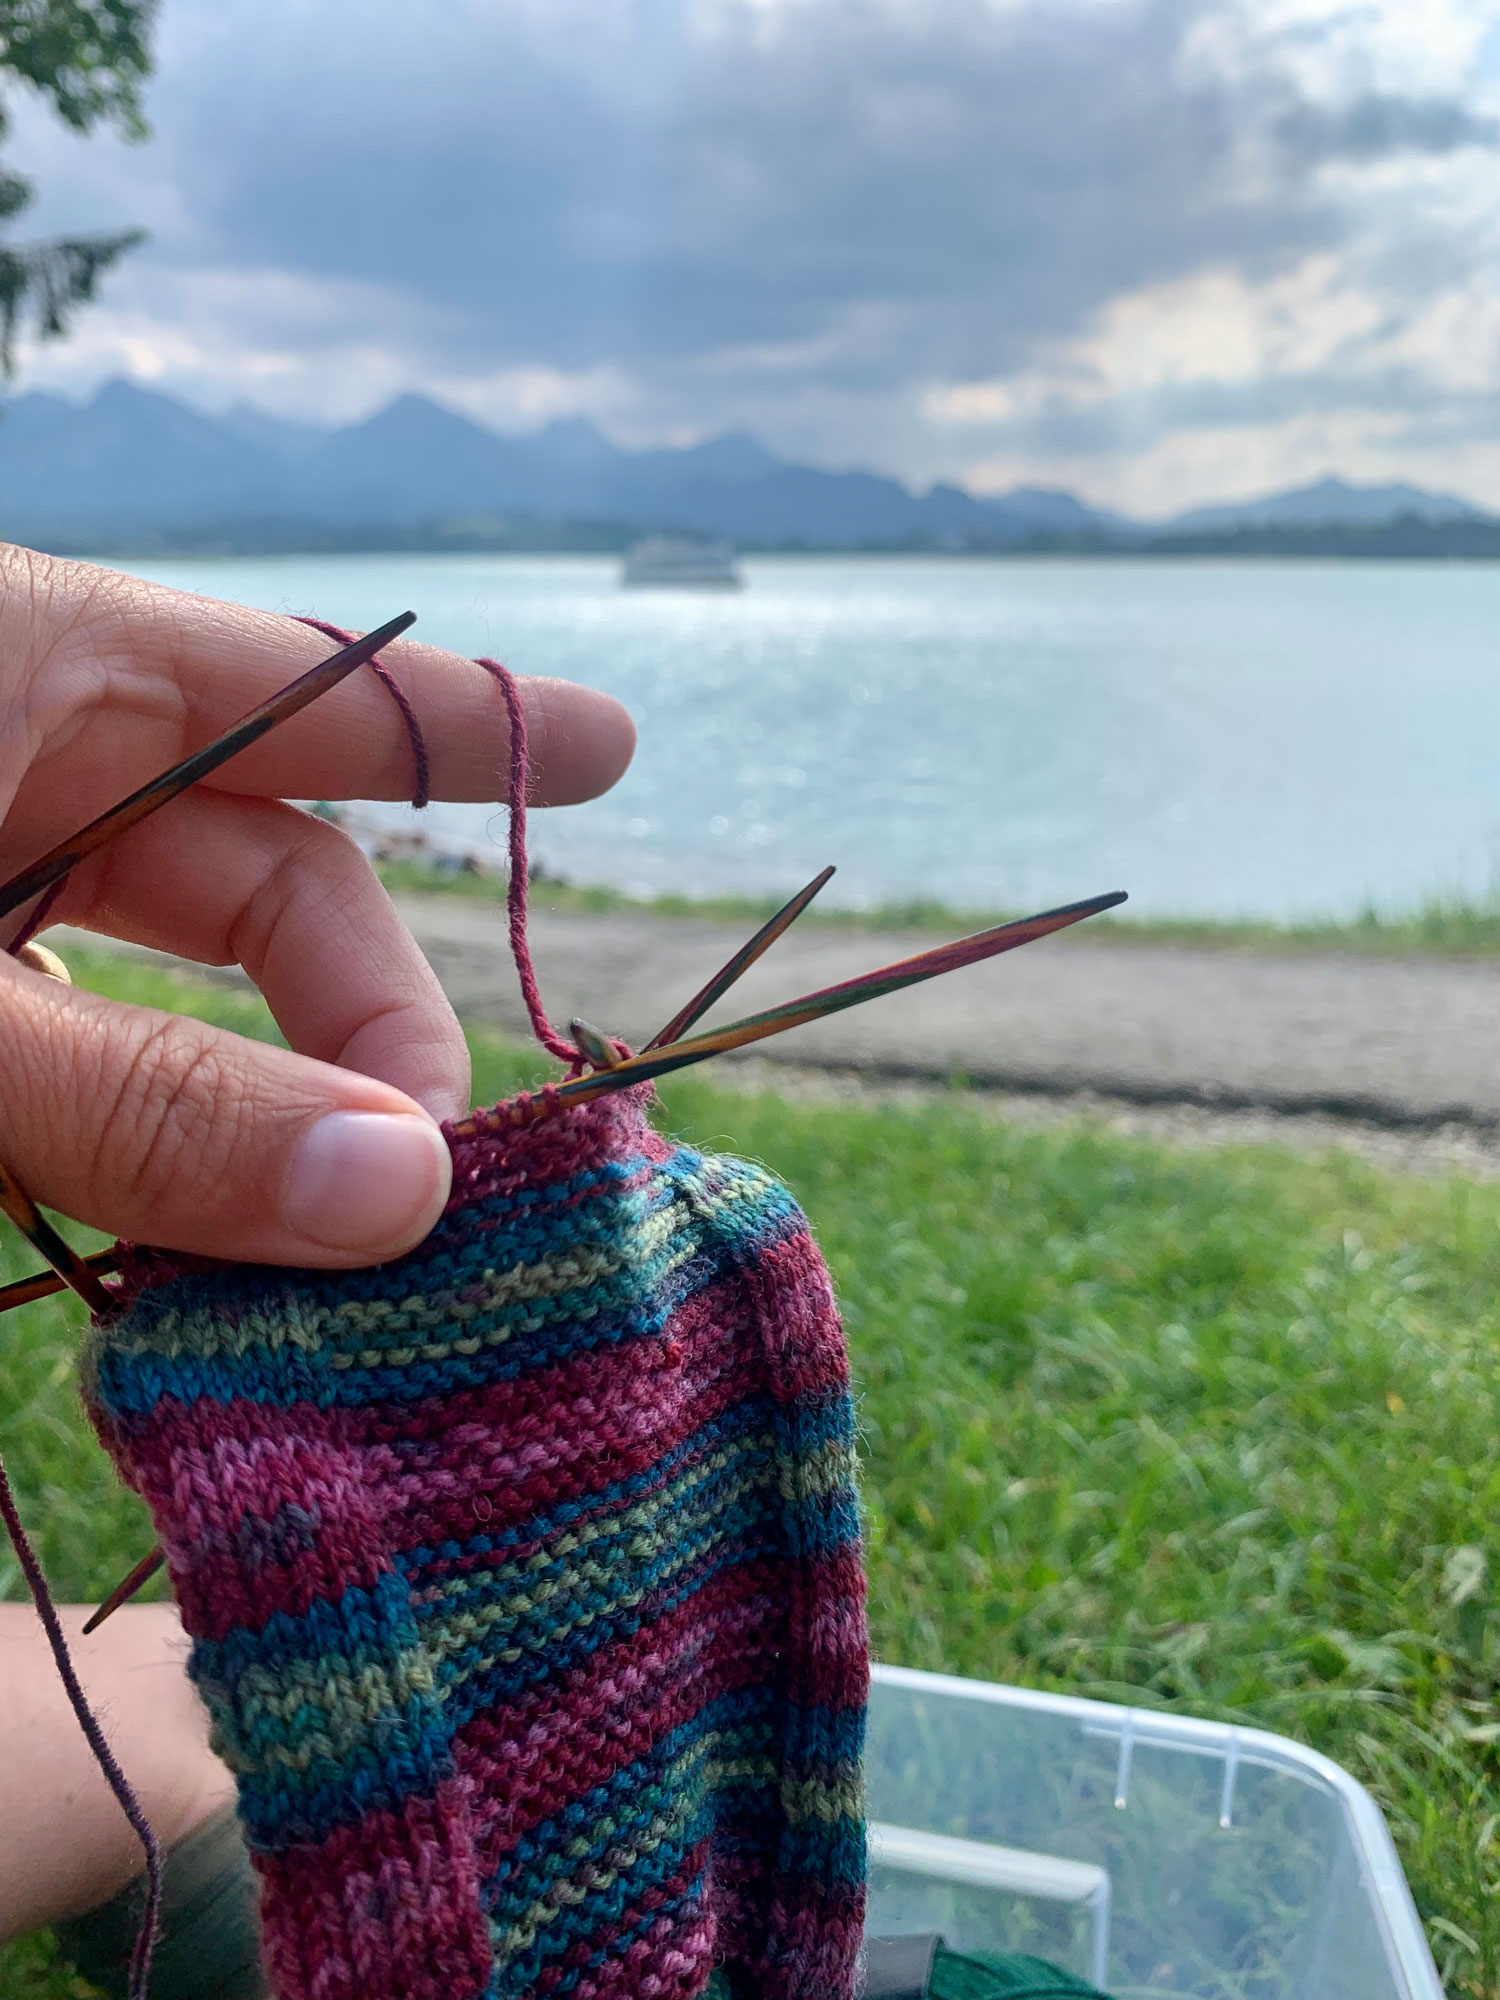
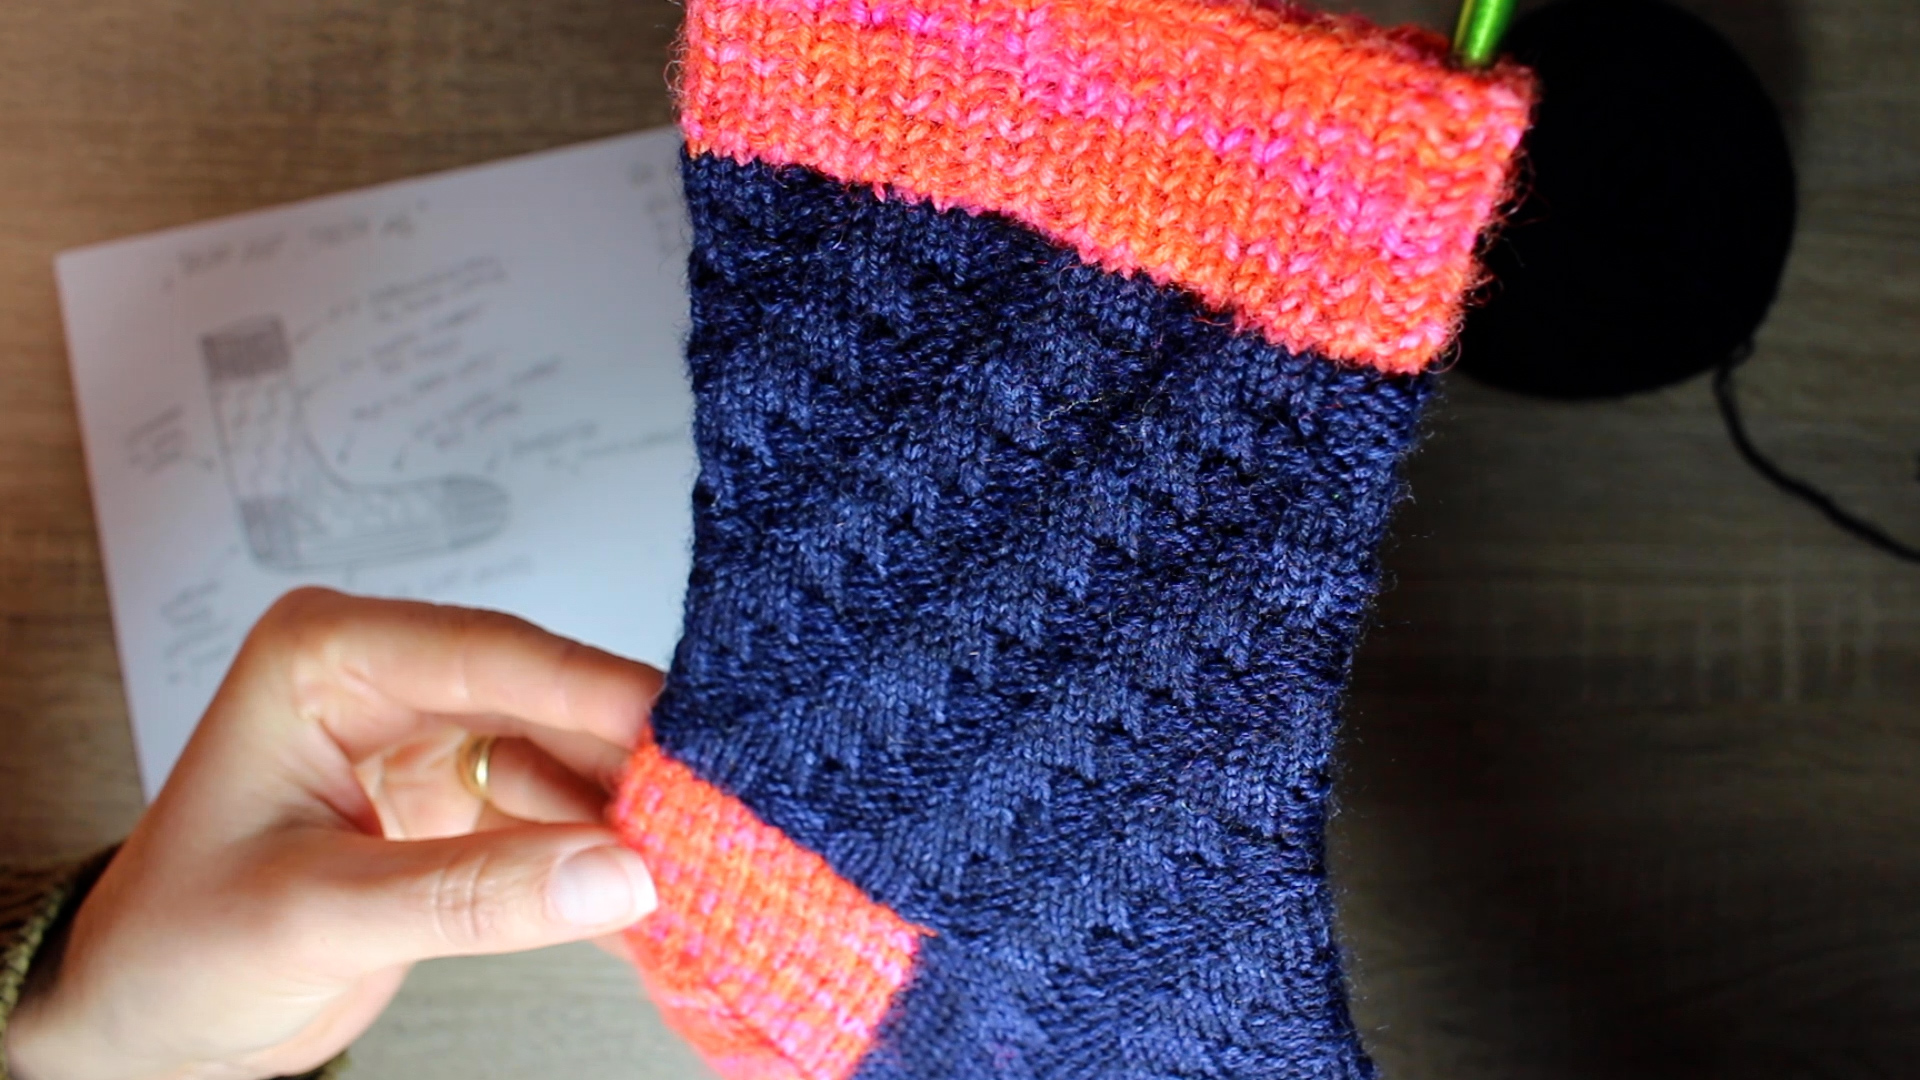
Ich habe das Muster 3x für den Schaft und 4x für den Fuß verwendet. Im Fuß-Bereich habe ich das Muster jedoch nur im oberen Bereich verwendet, da ich dies zum einen optisch ganz toll finde, aber auch für den Tragekomfort besser finde. Ihr könnt das Muster aber selbstverständlich komplett durch stricken.
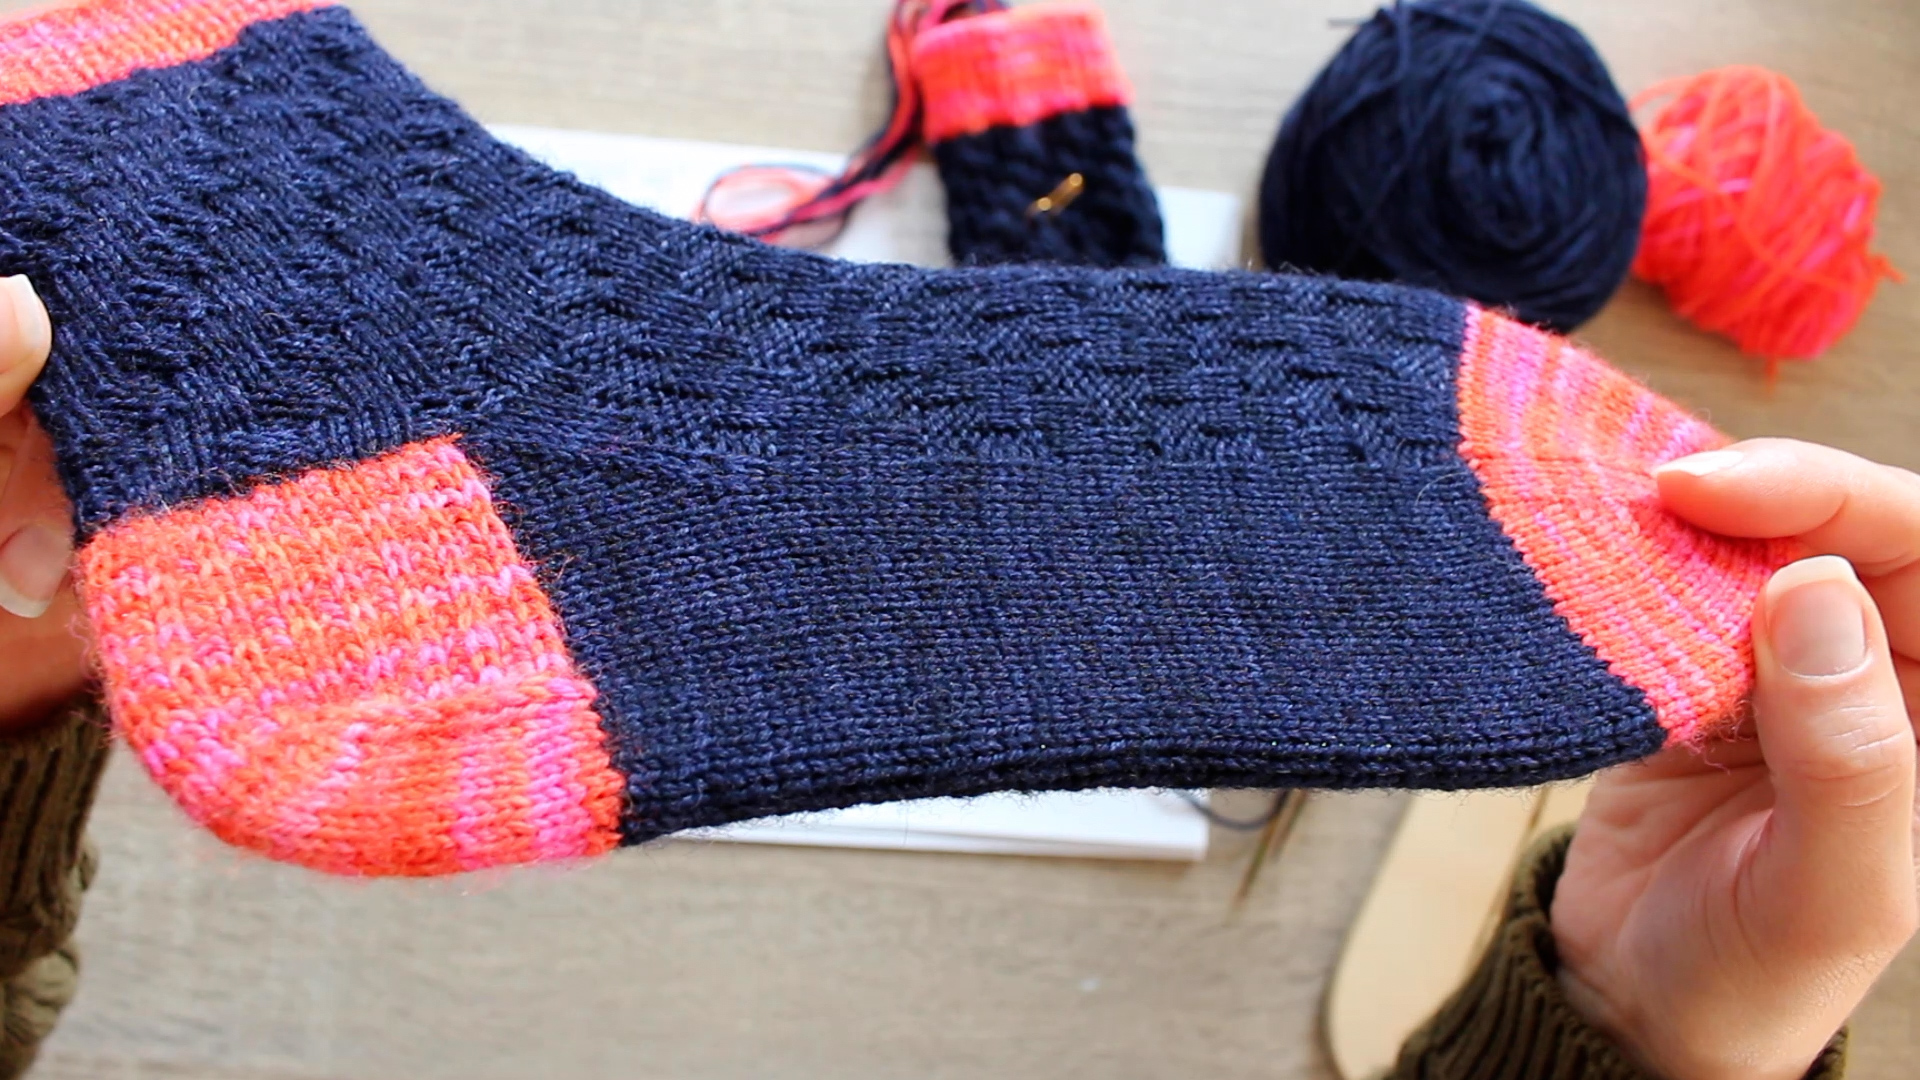
I used the pattern 3x for the shaft and 4x for the foot. In the foot area, however, I only used the pattern in the upper area because I think it’s visually great, but I also think it’s more comfortable to wear. Of course you can knit the pattern completely.

Das Treppen-Muster ist leicht zu merken, lässt sich super einfach stricken und gibt dem Socken auch noch zusätzlich einen tollen Tragekomfort. Besser geht es doch gar nicht, oder!?! Wie ihr nun dieses Sockenmuster strickt, das zeige ich euch in meinem aktuellsten YouTube-Video. Das Strickmuster hat einen Rapport über 8 Maschen und ist für eine Sockengröße 40/41 mit einem Anschlag von 64 Maschen designt.
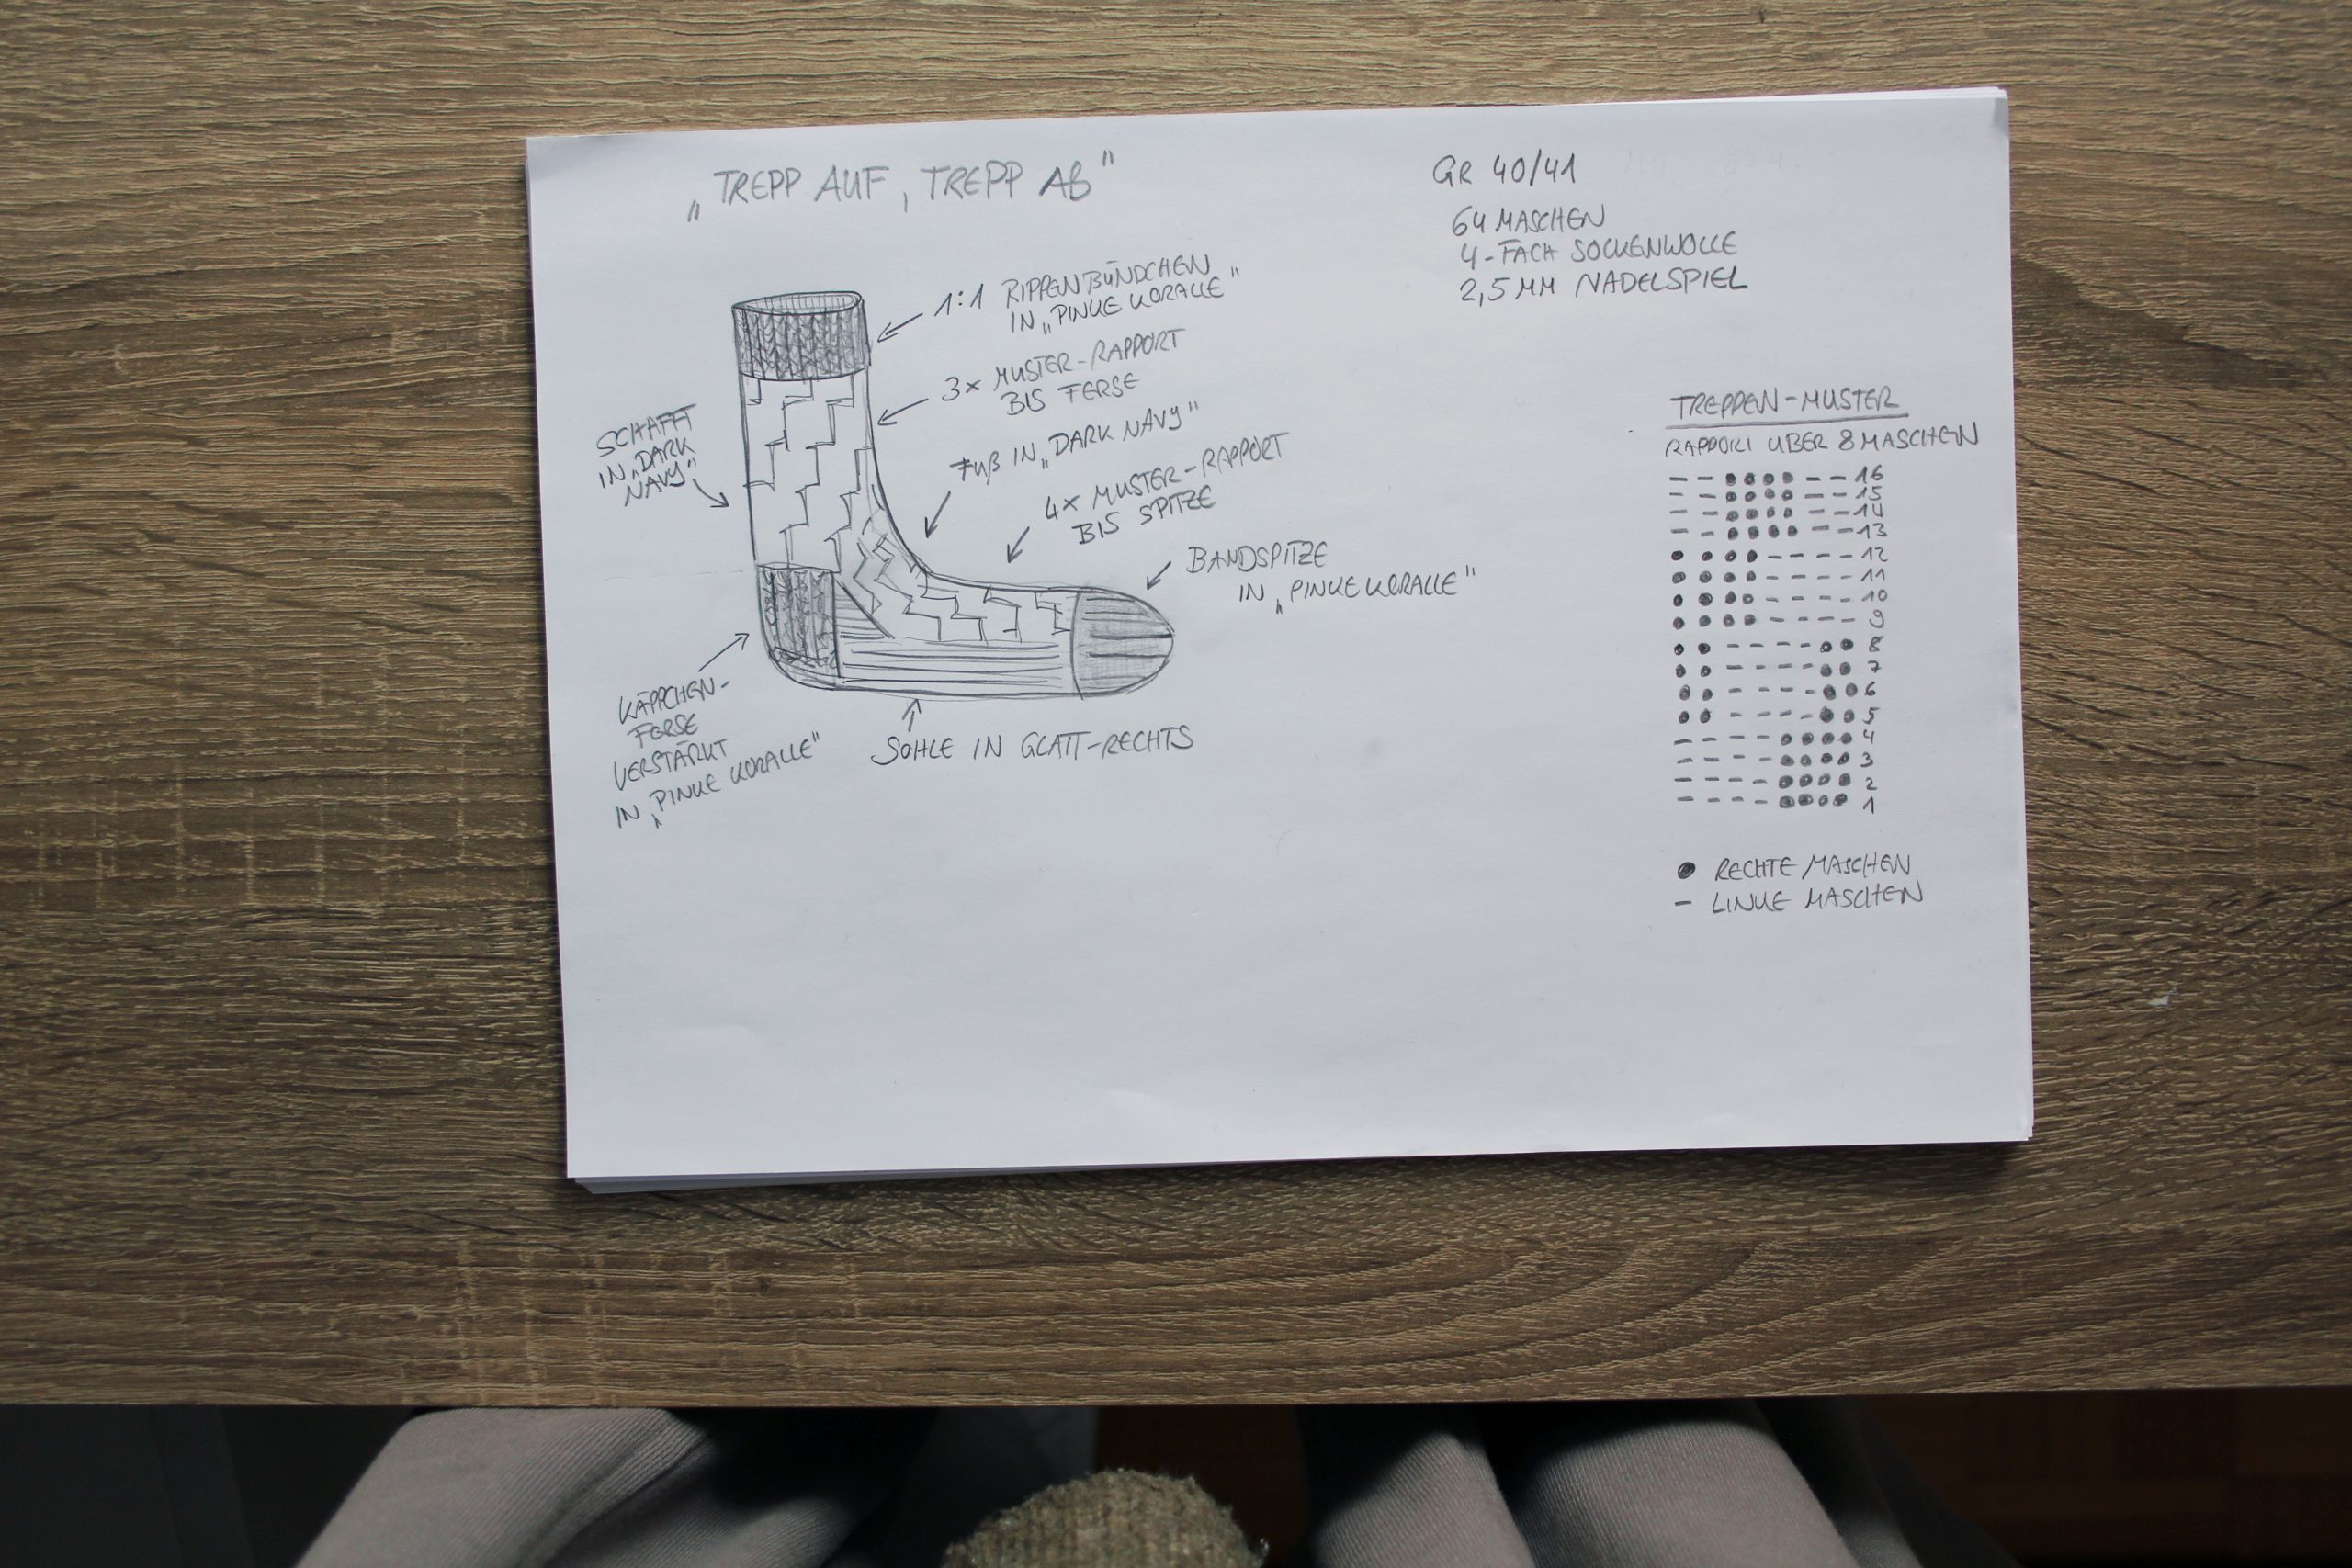
The staircase pattern is easy to remember, is super easy to knit and also gives the socks great comfort. It doesn’t get any better than that, right!?! I’ll show you how to knit this sock pattern in my latest YouTube video. The knitting pattern has a repeat of 8 stitches and is designed for a sock size 40/41 with a cast on of 64 stitches.

Damit euch das Muster ganz einfach von der Nadel geht, habe ich euch wieder einmal ein kurzes Strick-Tutorial aufgenommen. Wenn euch das Video gefällt, gebt mir bitte ein LIKE und ABONNIERT meinen Kanal. Das motiviert mich, neue Videos für euch aufzunehmen.

To make it easy for you, I have once again recorded a short knitting tutorial for you. If you like the video, please give me a LIKE and SUBSCRIBE to my channel. This motivates me to record new videos for you.

Für meine Socken verwende ich folgende Materialien (alle selbst bezahlt):

Nadelspiel: Symfonie von Knit Pro, Nadelstärke 2,5
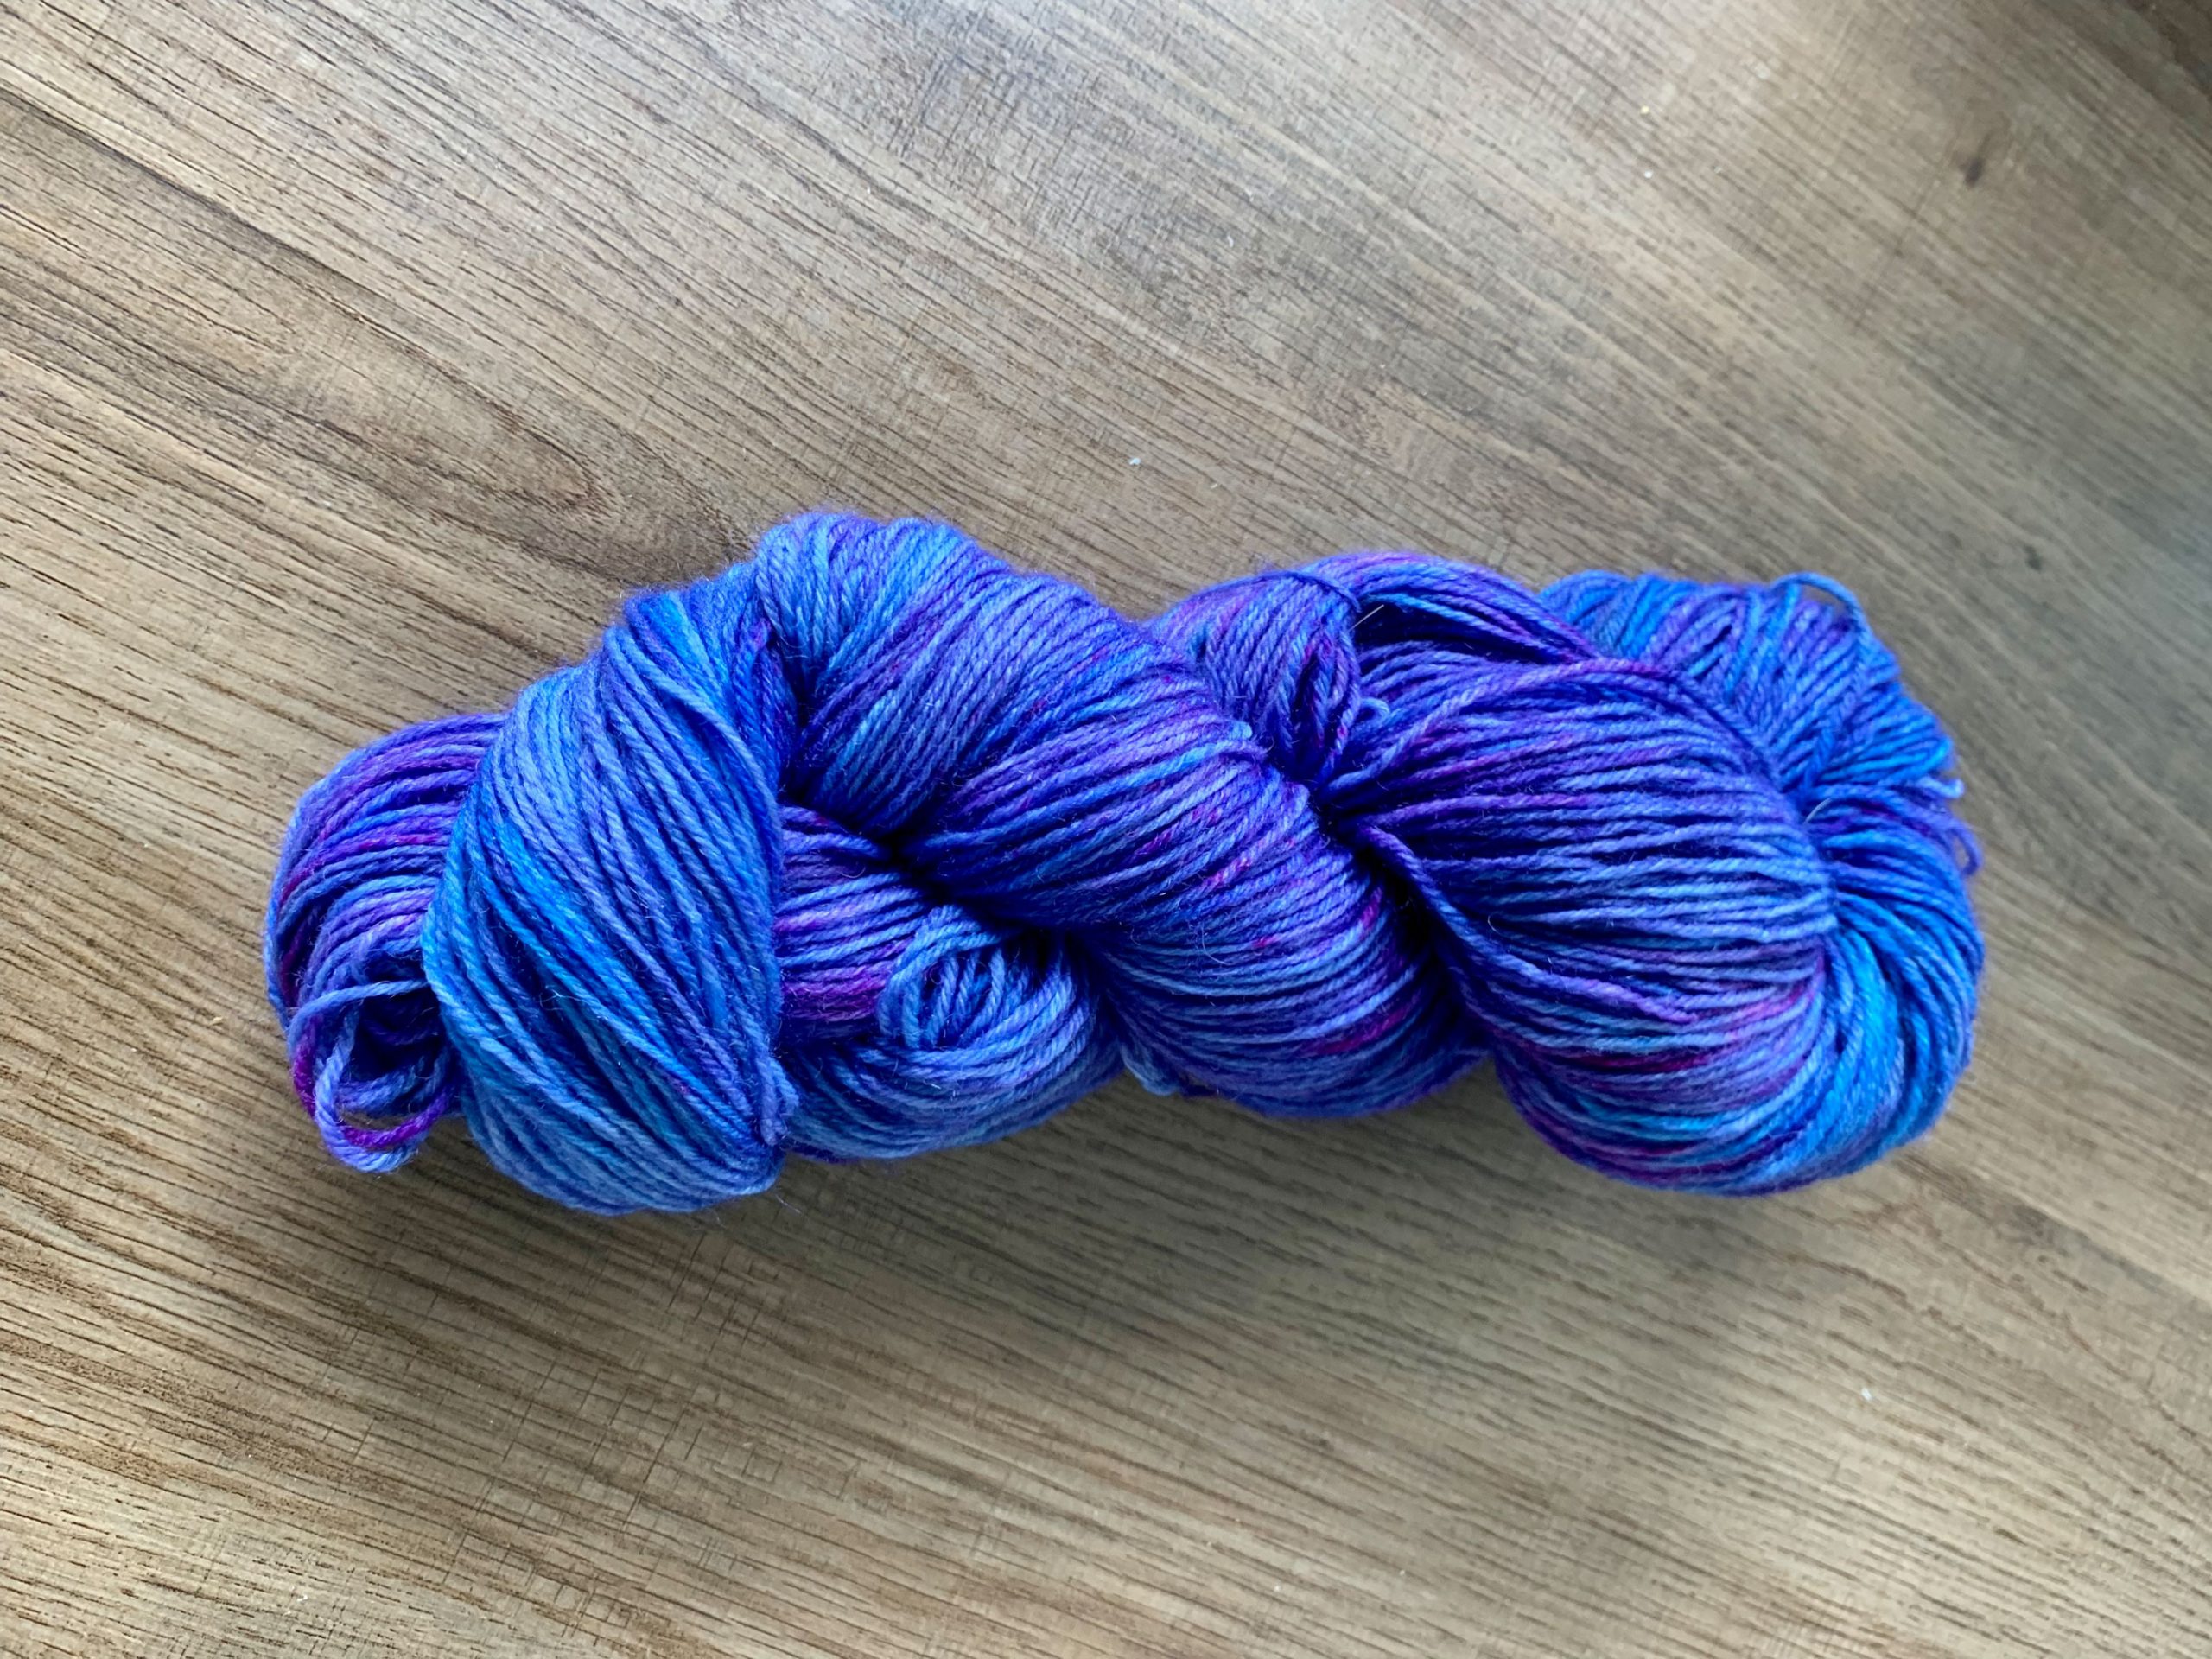
Blaue Wolle: Selbst gefärbte 4-fach Sockenwolle „Dark Navy“
Pink-Orange Wolle: Selbst gefärbte 4-fach Sockenwolle „Pinke Koralle“

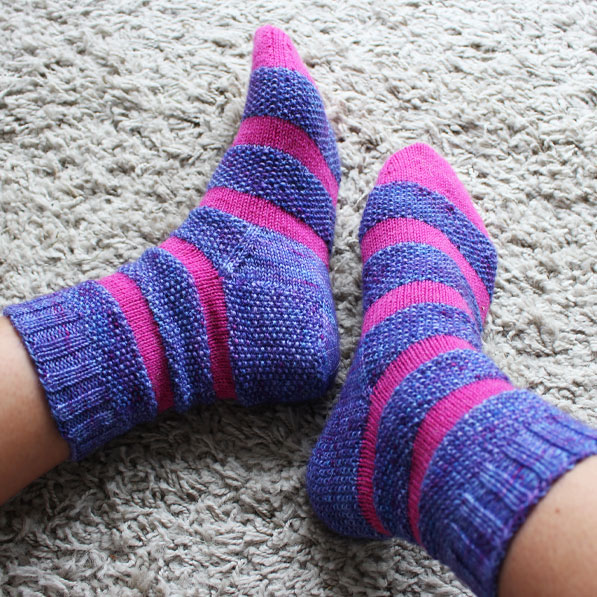
I use the following materials for my socks (all paid for by myself):

Needle game: Symfonie from Knit Pro, needle size 2.5
Blue wool: self-dyed 4-ply sock yarn „Dark Navy“
Pink-orange wool: self-dyed 4-ply sock yarn „Pink Coral“

NEUE RINGELSOCKEN GANZ LEICHT – OHNE TREPPCHEN DANK PERLMUSTER, INKL. TUTORIAL

NEUE RINGELSOCKEN GANZ LEICHT – OHNE TREPPCHEN DANK PERLMUSTER, INKL. TUTORIAL

Wie ihr vielleicht schon einmal mitbekommen habt, LIEBE ich ja gute Zeitschriften. In unserem Wohnzimmer haben wir eine ganze Wand voller Zeitschriften. Und seit ich mit dem Stricken angefangen habe, stehen dort nun auch unterschiedliche Strick-Zeitschriften. Ich liebe es einfach diese (internationalen) Zeitschriften in die Hand zu nehmen, sie durchzublättern und mich inspirieren zu lassen. Da bin ich ganz froh, dass ich einen ganz tollen Mann habe, der meine Leidenschaft für den Print unterstützt und mich auch gelegentlich mit neuen Zeitschriften überrascht.

In einer meiner Zeitschriften bin ich so vor Kurzem über das einfache Perlmuster gestolpert. Ich sah einen Kurzarm-Pullover in Perlmuster und habe mich sofort in das Design verliebt. Mir gefiel diese schöne Struktur, die der einfach Wechsel aus rechten und linken Maschen erzeugt und konnte mir auch gleich richtig gut vorstellen, dass dies ein ideales „Muster“ sei, um handgefärbte Wolle toll in Szene setzen zu können.

As you may have already noticed, I LOVE good magazines. We have a whole wall full of magazines in our living room. And since I started knitting, there are now different knitting magazines there. I just love picking up these (international) magazines, leafing through them and getting inspired. I’m really happy that I have a really great husband who supports my passion for print and occasionally surprises me with new magazines.

I recently came across the simple moss stitch pattern in one of my magazines. I saw a short-sleeved moss-knit sweater and immediately fell in love with the design. I liked this beautiful structure that the simple alternation of right and left stitches creates and I could easily imagine that this would be an ideal „pattern“ for showcasing hand-dyed wool in a great way.

Für alle, die ein Perlmuster vielleicht noch nicht kennen, eine kurze Zusammenfassung, wie man dieses strickt:
1. Runde/Reihe: 1M re, 1M li, 1M re, 1M li …
2. Runde/Reieh: 1 M li, 1Mre, 1M li, 1 M re …

Ihr seht, man strickt einfach jeweils eine Masche in rechten Maschen und eine in linke Maschen und wiederholt das, so oft wie nötig. In der folgenden Runde/Reihe strickt man dann wieder nur rechte und linke Maschen, allerdings gegengleich. Das bedeutet, jede rechte Masche, die man zuvor gestrickt hat, wird nun links gestrickt und jede linke Masche wird rechts gestrickt. Und das war es dann auch schon. Das Perlmuster ist leicht zu merken, lässt sich super einfach stricken und gibt dem Strick-Objekt eine tolle stabile, dreidimensionale Struktur.

For anyone who may not be familiar with a moss stitch, a brief summary of how to knit it:
1st round/row: K 1, P 1, K 1, P 1 …
2nd round/row: P1, K1, P1, K1…

You see, you simply knit one stitch in knit stitches and one in purl stitches and repeat this as often as necessary. In the following round/row you only knit right and left stitches, but in opposite directions. This means that every knit stitch that was previously knitted is now knitted on the left and every left stitch is knitted on the right. And that was it. The seed stitch is easy to remember, is super easy to knit and gives the knitted object a great, stable, three-dimensional structure.

Da ich erst vor einiger Zeit ein blau-lila Sockengarn selbst gefärbt hatte, wollte ich das Perlmuster doch gleich einmal mit dieser Wolle in einem neuen Socken-Design testen. Denn kleine Projekte gehen ja immer, oder?

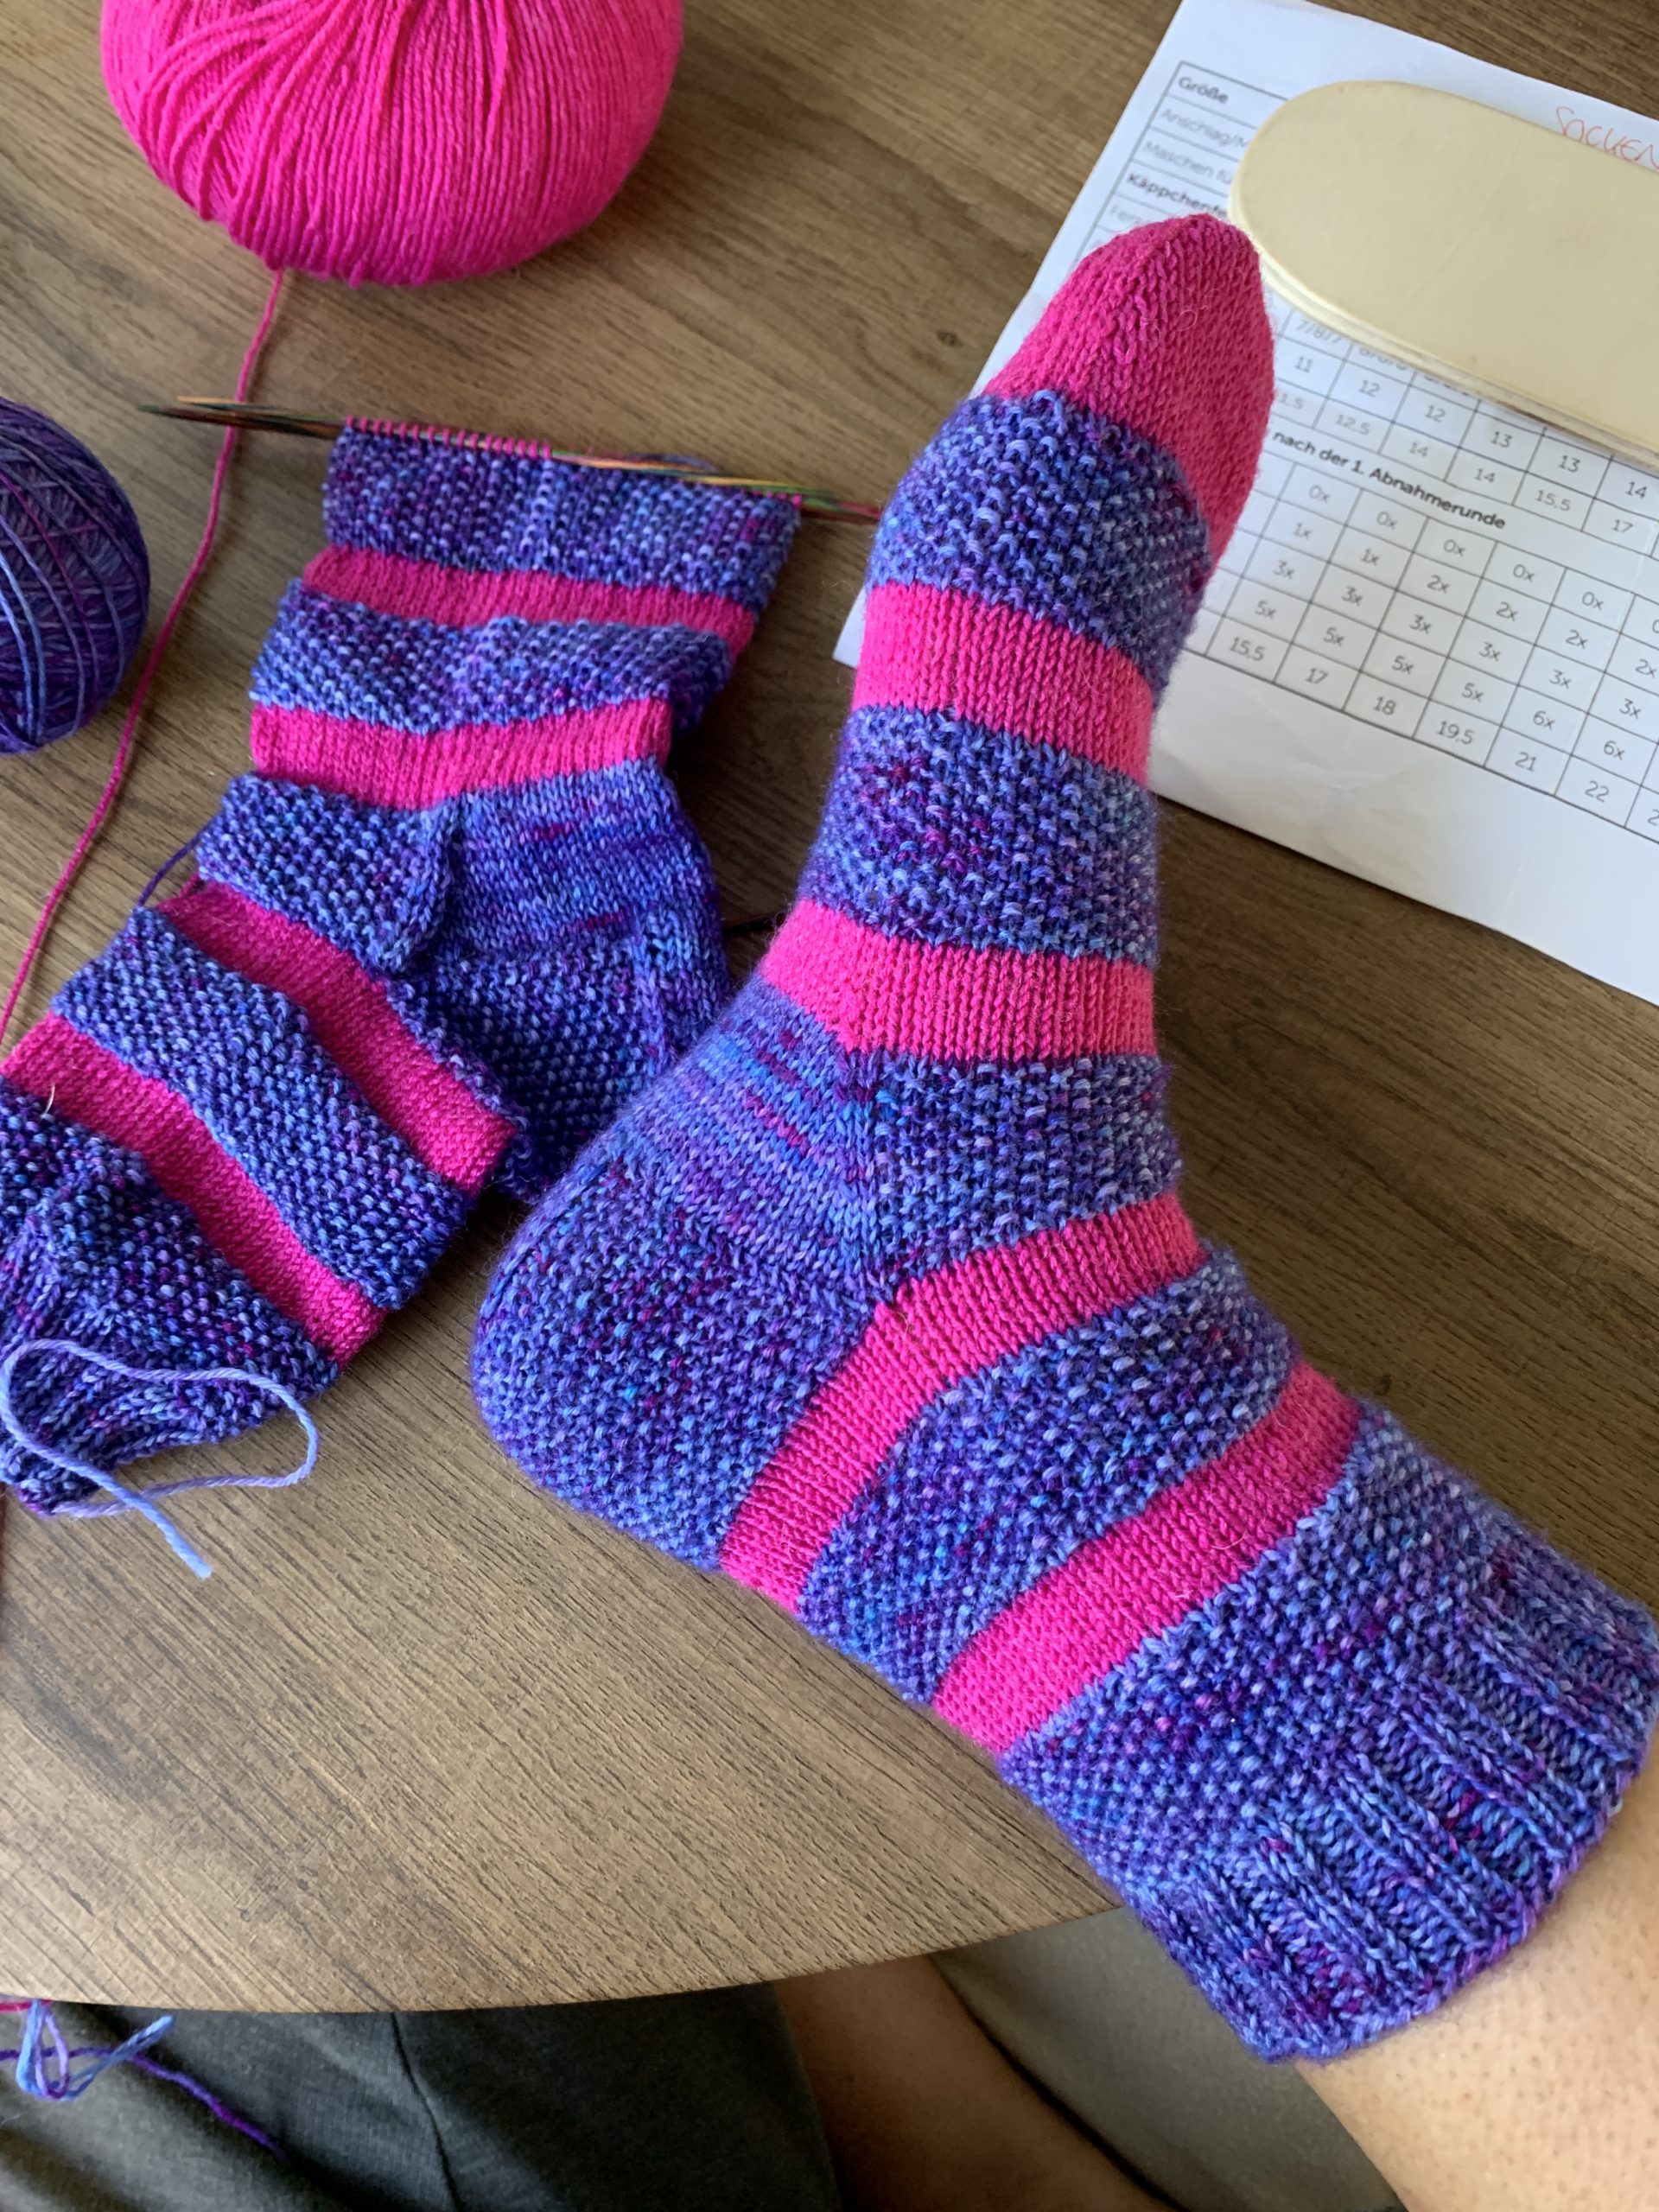
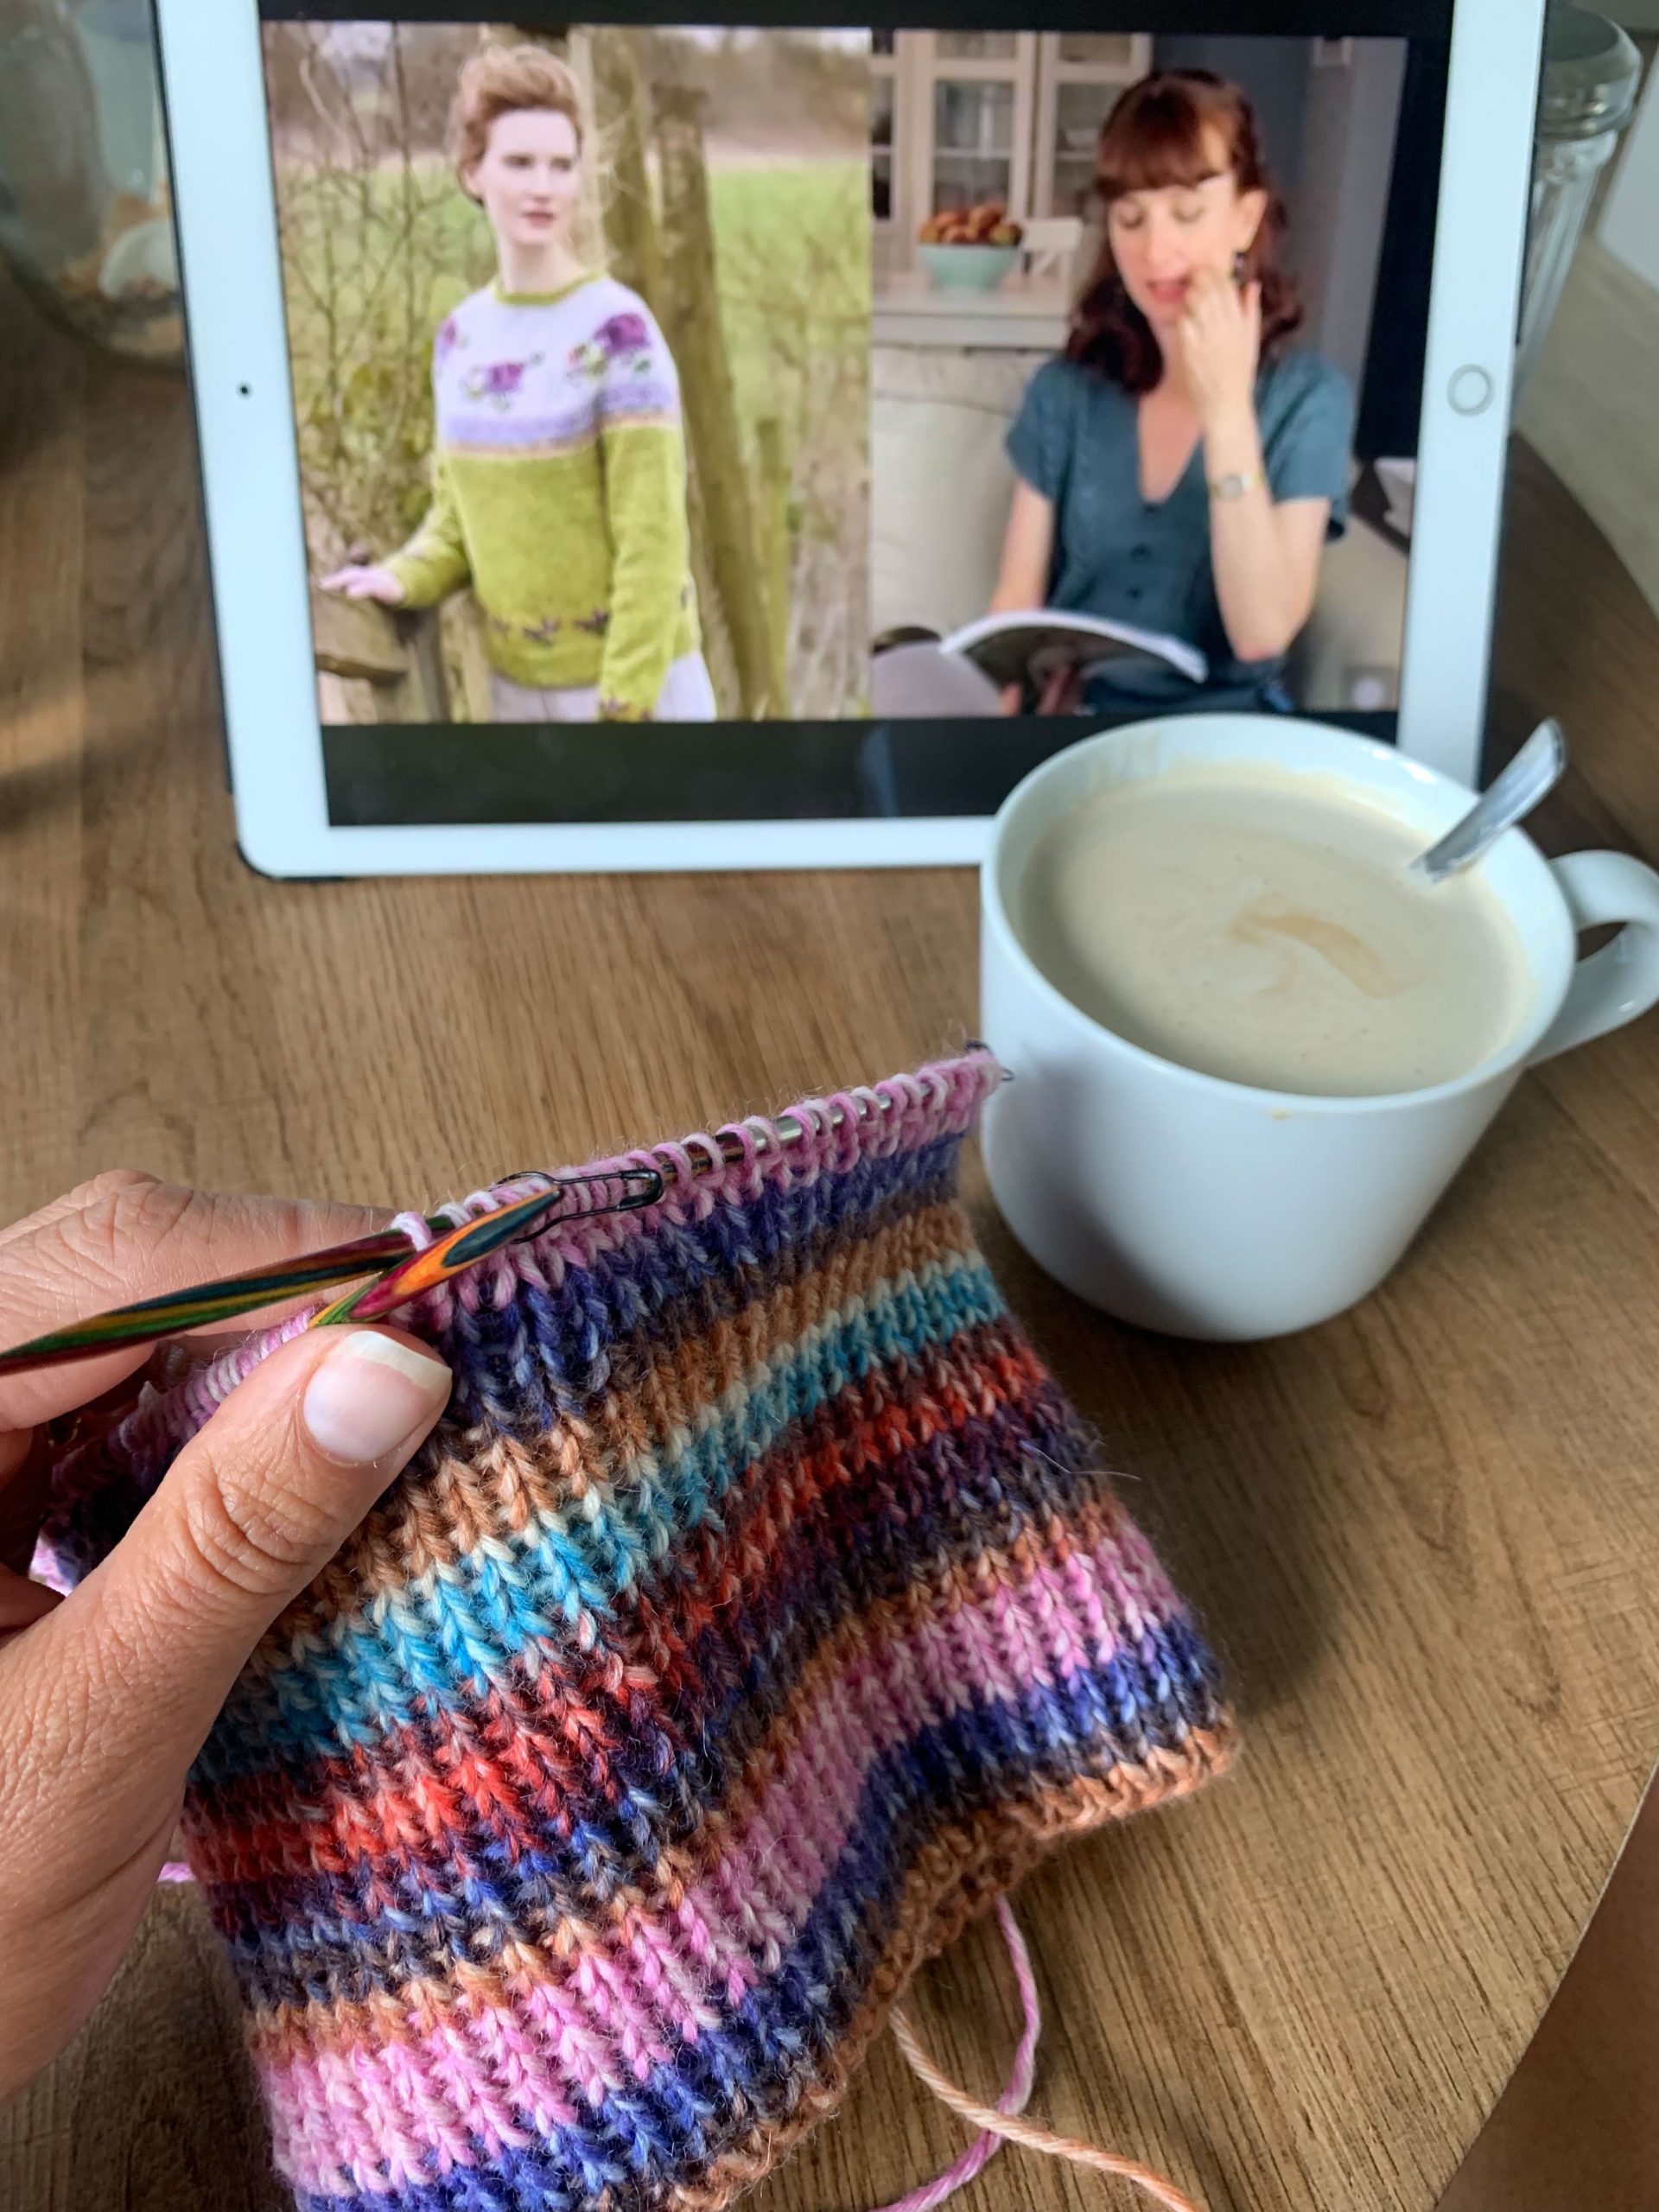
Das Grundmuster meiner Socke stricke ich von Anfang an nach der REGIA Sockentabelle. Die Socken in Größe 40/41 passen mir einfach perfekt, warum sollte ich daran also etwas ändern? Für mein nächstes Socken-Projekt wollte ich das Perlmuster als besonderes Element in eine knallige Ringelsocke aus meiner blau-lila Wolle und einem Hot Pink integrieren. 

Since I had only dyed a blue-purple sock yarn myself some time ago, I wanted to test the pearl pattern with this yarn in a new sock design. Because small projects always work, right?

I knit the basic pattern of my sock from the beginning according to the REGIA sock chart. The socks in size 40/41 fit me perfectly, so why should I change them? For my next sock project, I wanted to integrate the pearl stitch as a special element into a bright striped sock made from my blue-purple wool and a hot pink.

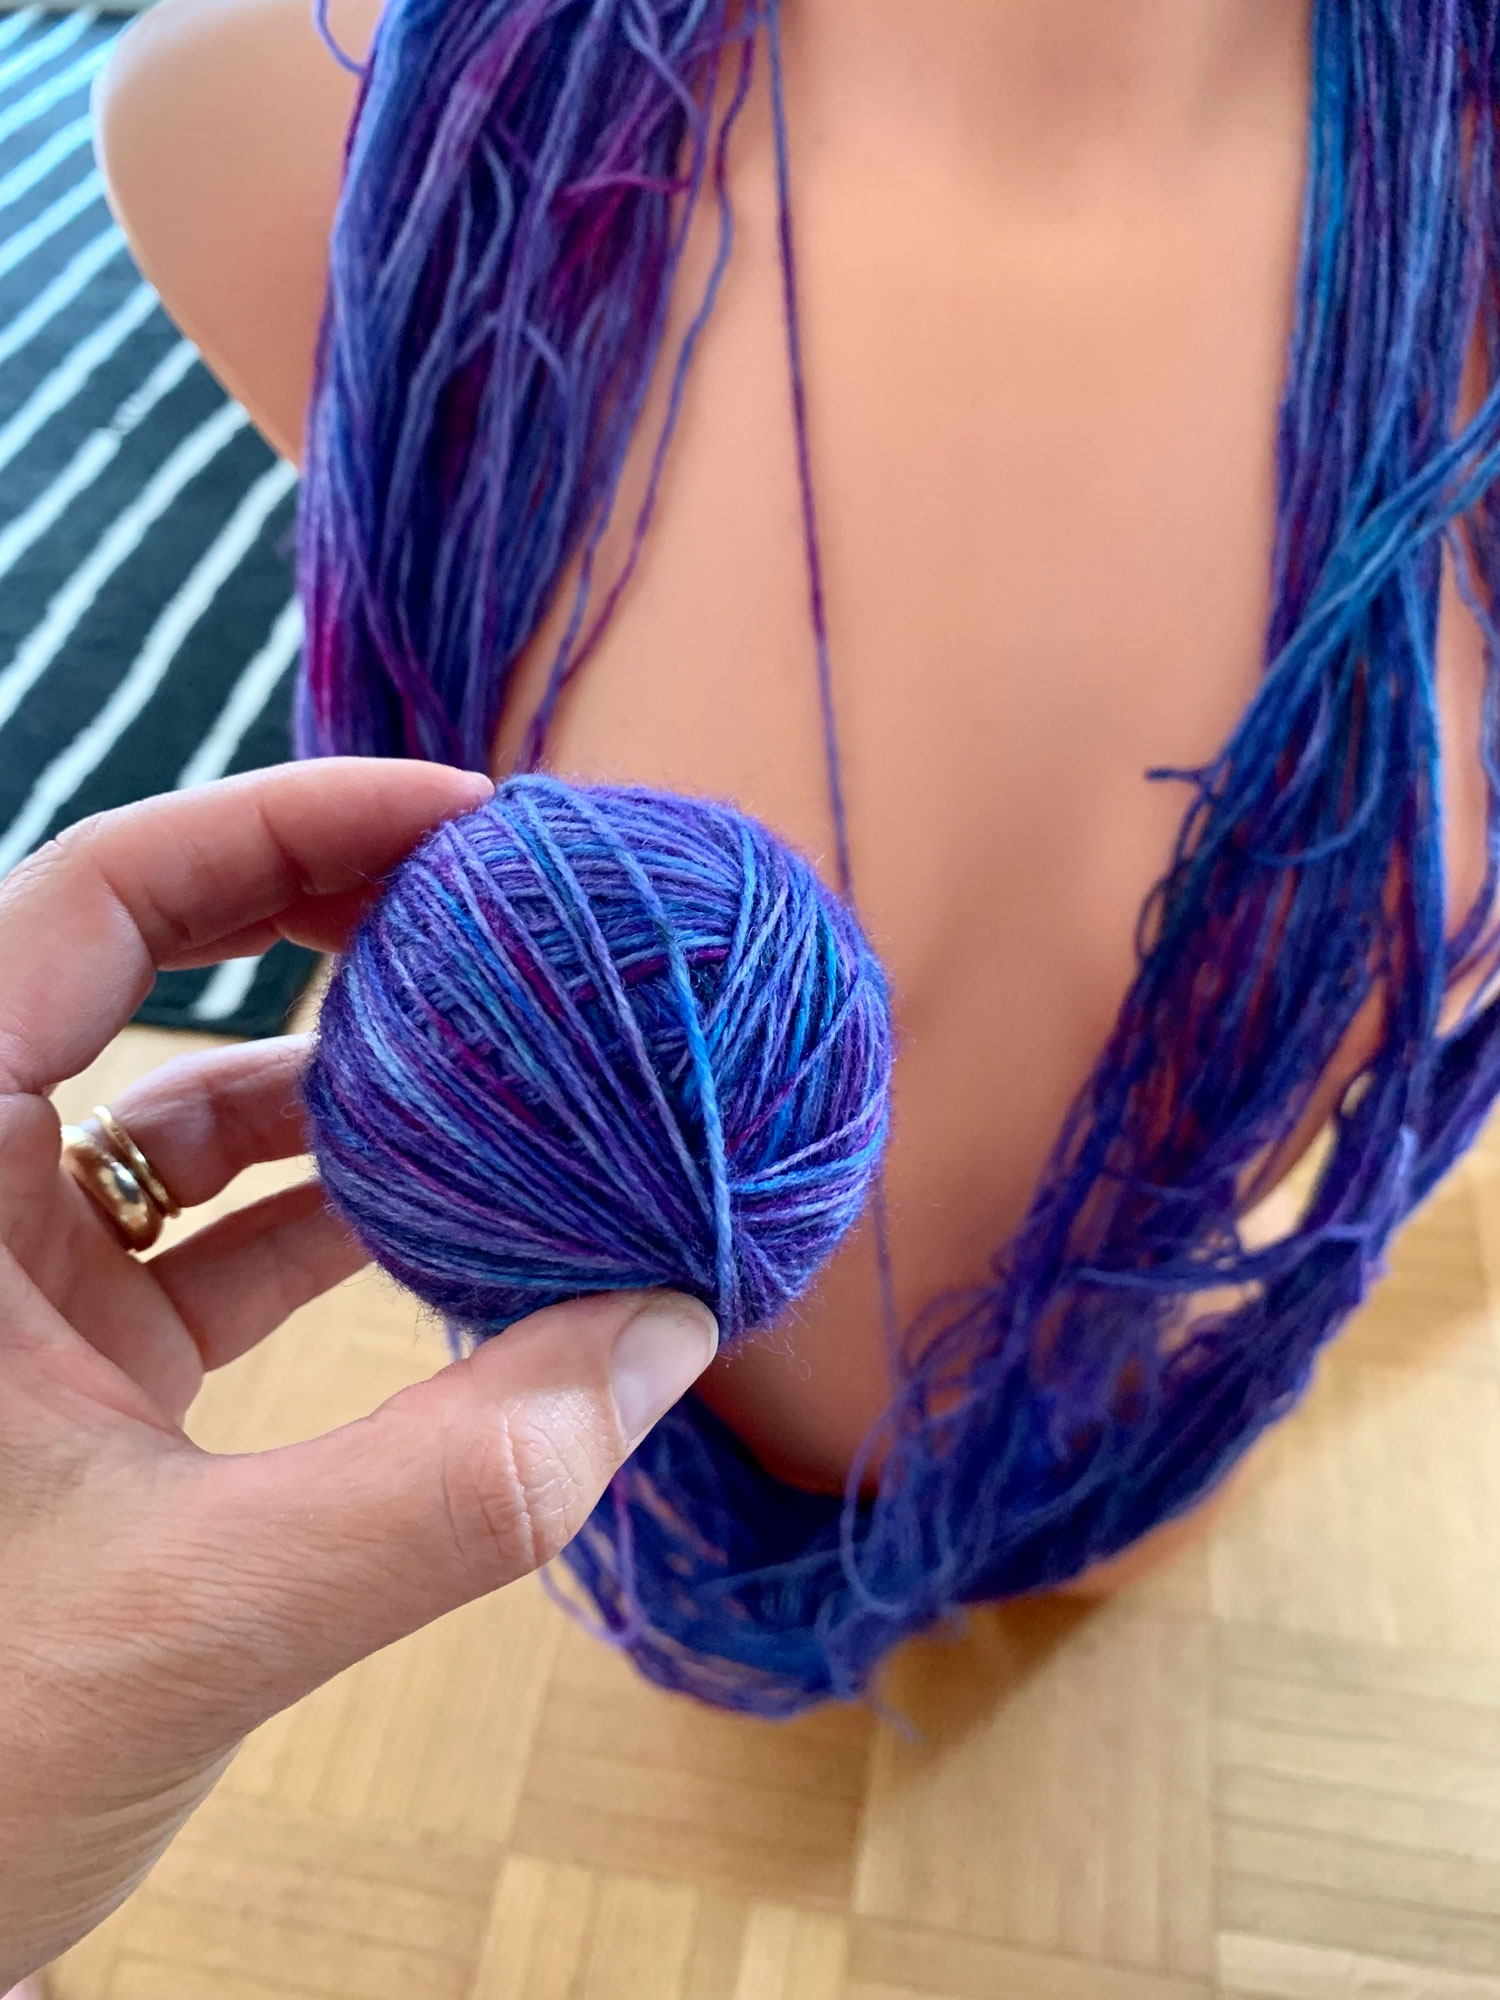
Eigentlich sind Lila und Blau gar nicht so meine Farben, aber bei meinem letzten Färbe-Versuch habe ich einfach etwas herum experimentiert und mit dem fertigen Ergebnis war ich tatsächlich ganz happy. Also habe ich das Garn zum gebrauchsfertigen Knäuel gewickelt und mich gleich auf die Suche nach einem Kontrastgarn gemacht. Das „Hot Pink“ von Lana Grossa fiel mir dazu sofort in die Hände. Was für eine Farb-Kombination. Wenn das mal nicht Barbie-Alarm schreit!

Actually, purple and blue aren’t my colors at all, but the last time I tried dyeing them I just experimented a bit and I was actually quite happy with the finished result. So I wound the yarn into a ready-to-use ball and immediately started looking for a contrasting yarn. The “Hot Pink” by Lana Grossa immediately fell into my hands. What a color combination. If that doesn’t raise a barbie alarm!

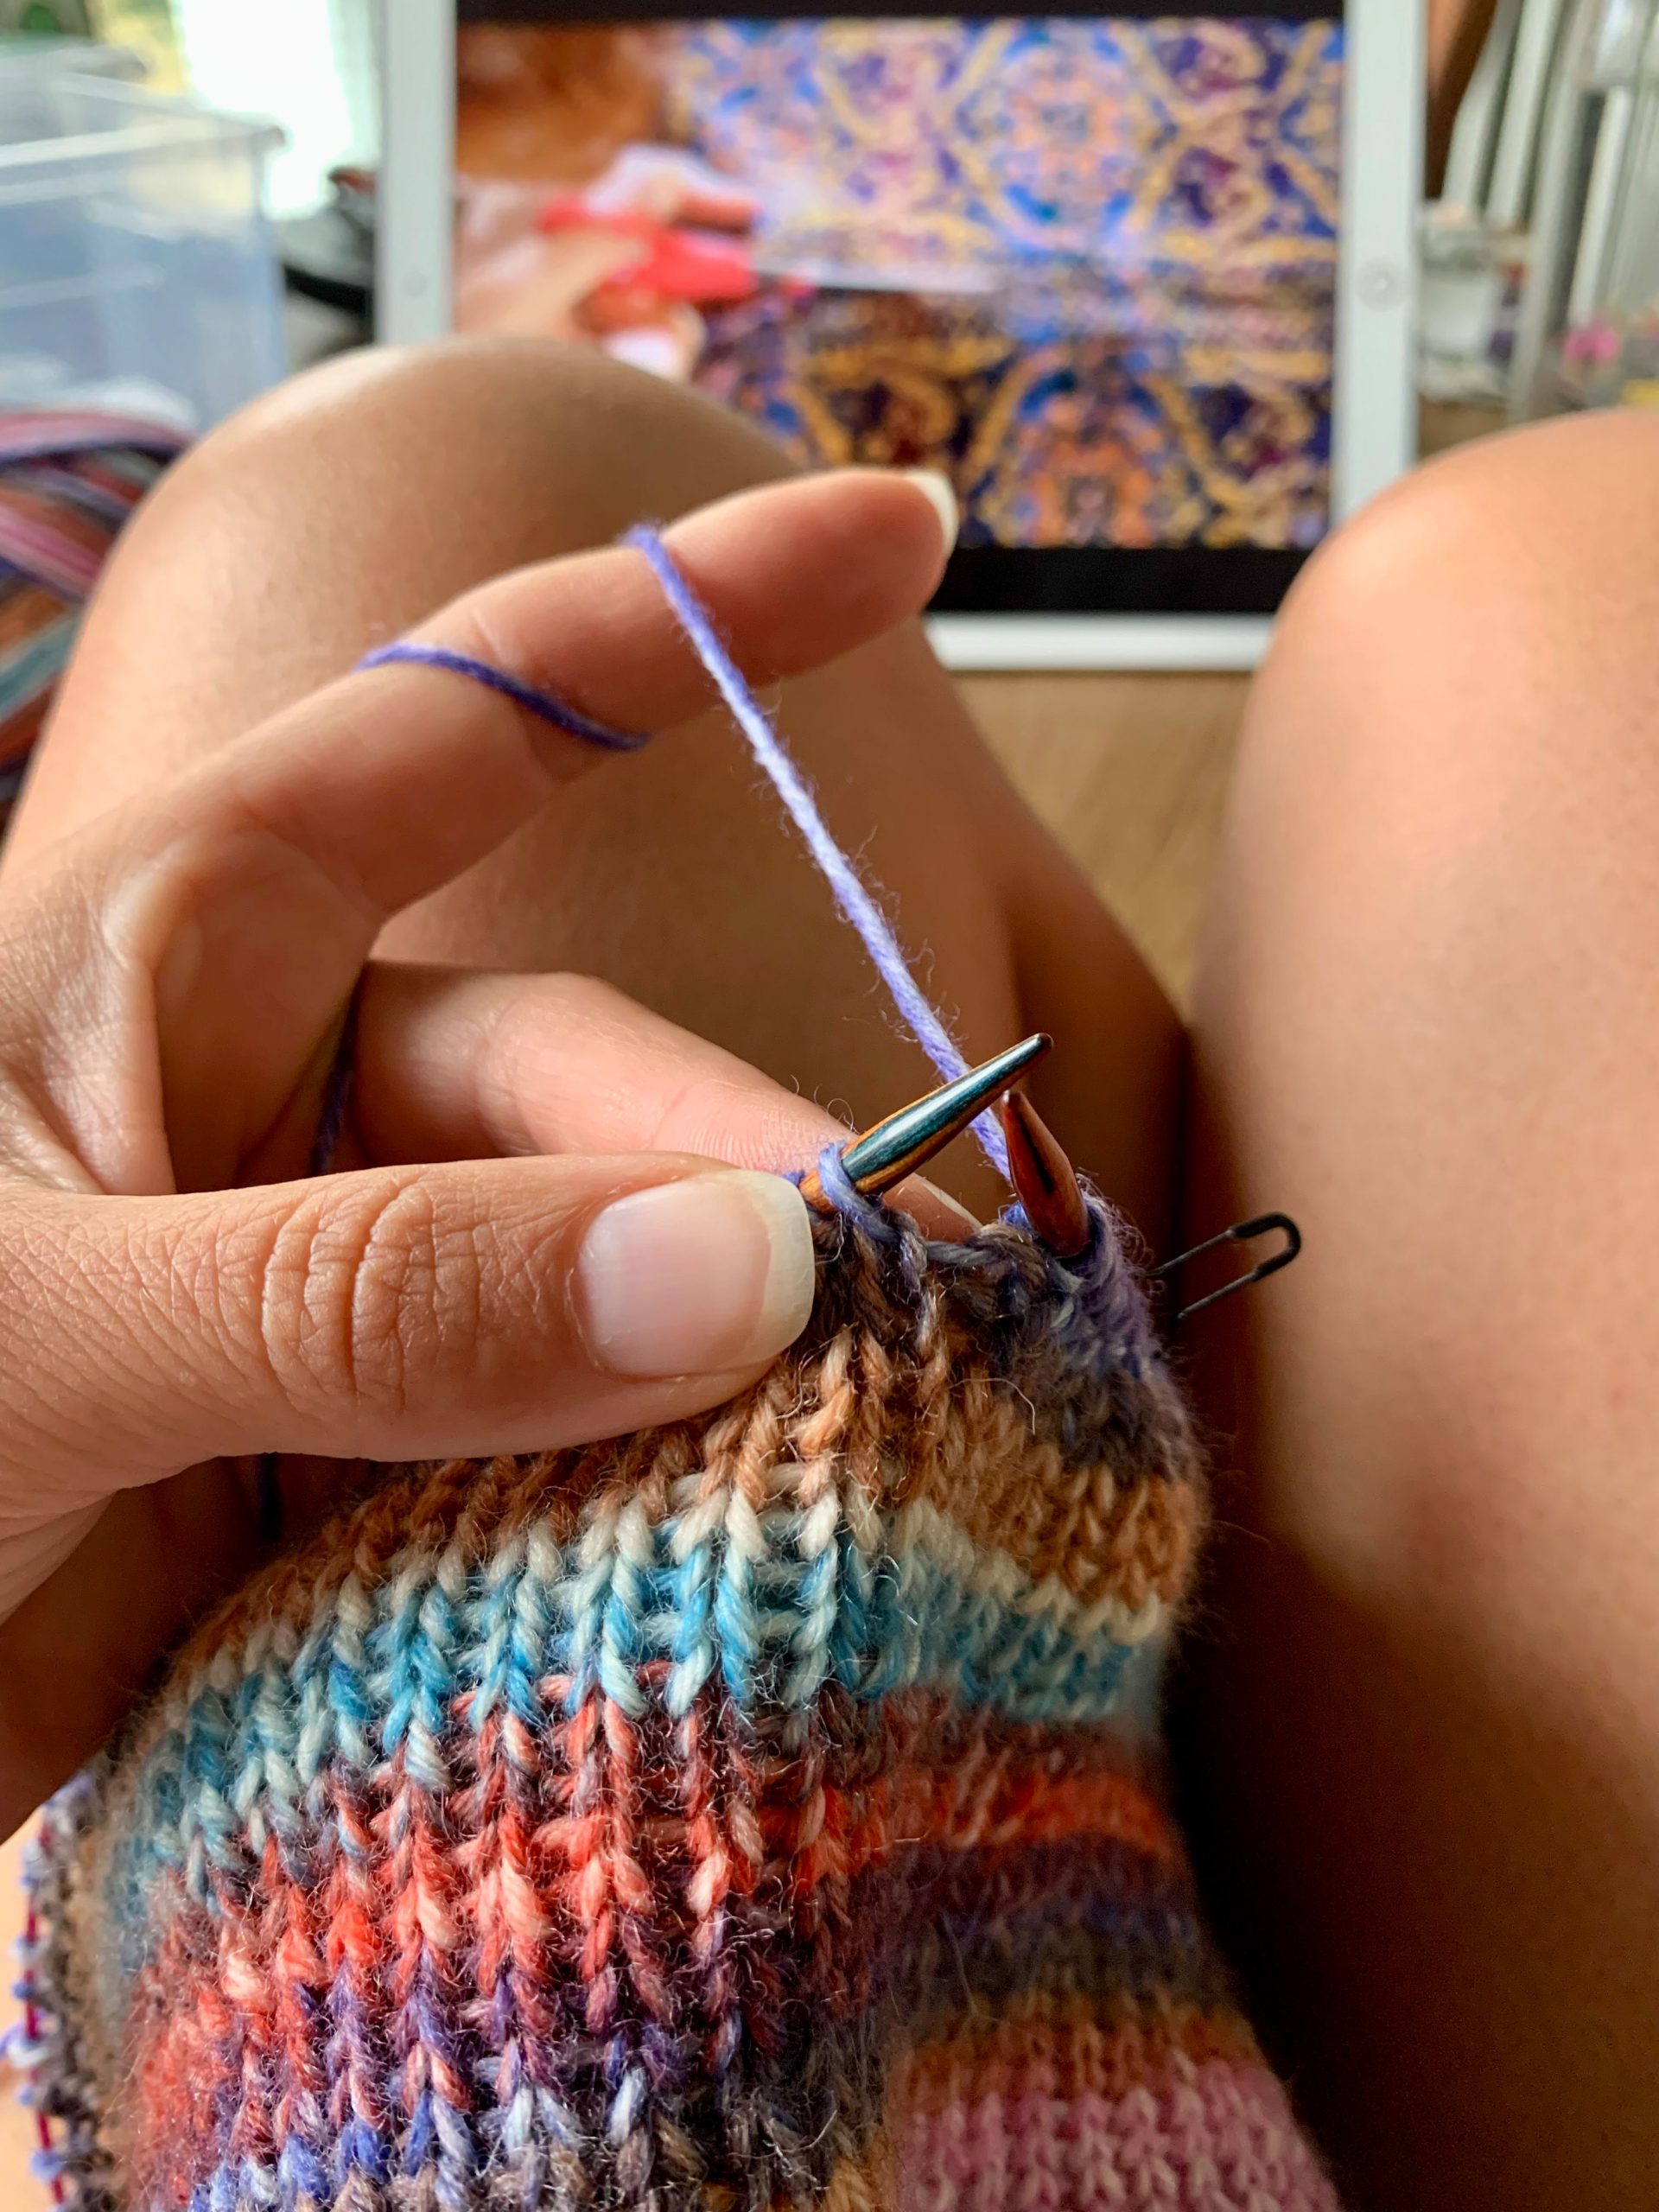
Beim Stricken viel mir auf, dass die Kombination aus unterschiedliche Streifen in „glatt rechts“ und in „Perlmuster“ einfach genial ist! Denn dank dem dreidimensionalen Effekt des Perlmusters muss man sich überhaupt keine Gedanken über den Farbwechsel machen. Es gibt vielleicht 1-2 Dinge, auf die man generell achten muss, aber man muss keine Tricks anwenden, um stufenlose Streifen stricken zu können. Ist das nicht toll?!? Die Socke ist also definitiv absolut Anfänger-freundlich.

While knitting, I noticed that the combination of different stripes in stockinette stitch and in moss stitch is simply brilliant! Because thanks to the three-dimensional effect of the pearl pattern, you don’t have to worry about changing colors at all. There are maybe 1-2 things to pay attention to in general, but you don’t have to use any tricks to knit continuous stripes. Is not that great?!? So the sock is definitely absolutely beginner-friendly.

Und damit ihr nun genau wisst, wie ihr meine neuesten Ringelsocken mit Perlmuster stricken könnt, habe ich euch extra ein kurzes Video dazu aufgenommen. In meinem 9. Strick-Tutorial auf meinem YouTube Kanal zeige ich euch, wie ich meine knalligen, Barbie-inspirierten, Streifensocken OHNE Stufen beim Farbwechsel stricke.

Viel Spaß beim Ansehen und Nach-Stricken!
Und denkt daran, wenn euch das Video gefällt, dann gebt mir doch bitte ein „LIKE“ und ABONNIERT meinen Kanal.

And so that you now know exactly how to knit my latest striped socks with a moss stitch, I recorded a short video for you. In my 9th knitting tutorial on my YouTube channel, I show you how I knit my bright, Barbie-inspired, striped socks WITHOUT steps in the color change.

Have fun watching and knitting!
And remember, if you like the video, please give me a THUMB UP and SUBSCRIBE to my channel.

Für meine Ringelsocken verwende ich folgende Materialien (alle selbst bezahlt):

Nadelspiel: Symfonie von Knit Pro, Nadelstärke 2,5
Blaue Wolle: Selbst gefärbte Sockenwolle
Pinke Wolle: Sockenwolle Cool Wool 4 Socks Uni von Lana Grossa, Fuchsia (7717)

I use the following materials for my striped socks (all paid for by myself):

Needles: Symfonie from Knit Pro, needle size 2.5
Blue wool: self-dyed sock yarn
Pink wool: sock yarn Cool Wool 4 Socks Uni by Lana Grossa, Fuchsia (7717)

ACHTUNG, DIE RAUPEN SIND LOS! EIN NEUES PAAR LIEBLINGSSOCKEN MIT MEINEM STRICKMUSTER „VERWANDLUNGS-PFAD“ IST FERTIG – INKL. TUTORIAL

ACHTUNG, DIE RAUPEN SIND LOS! EIN NEUES PAAR LIEBLINGSSOCKEN MIT MEINEM STRICKMUSTER „VERWANDLUNGS-PFAD“ IST FERTIG – INKL. TUTORIAL

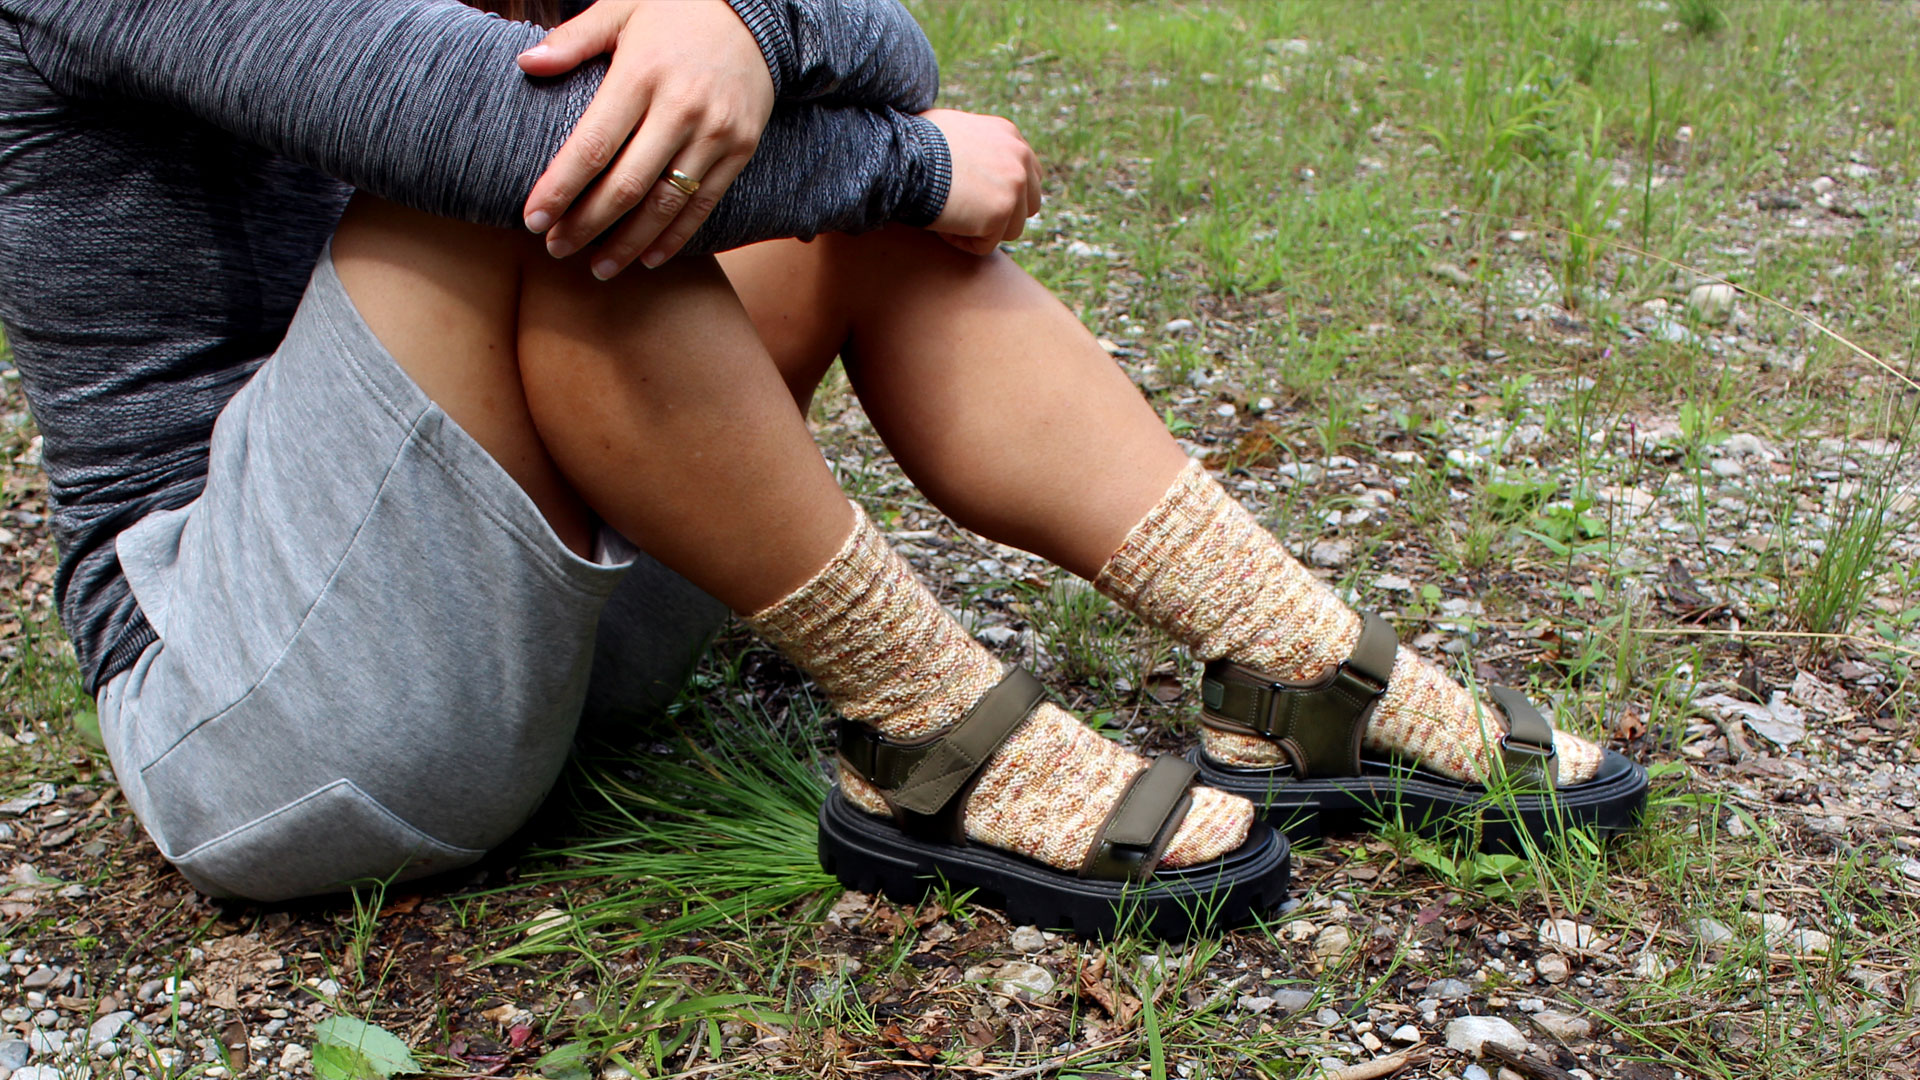
Heute möchte ich ein neues Socken-Muster mit euch teilen. Es handelt sich dabei um mein 1. eigenes Struktur-Muster für Socken, das ich selbst entworfen habe. Das Strickmuster „Verwandlungs-Pfad“ besteht größtenteils aus Maschen, die ihr bereits vom Socken-Stricken kennt. 

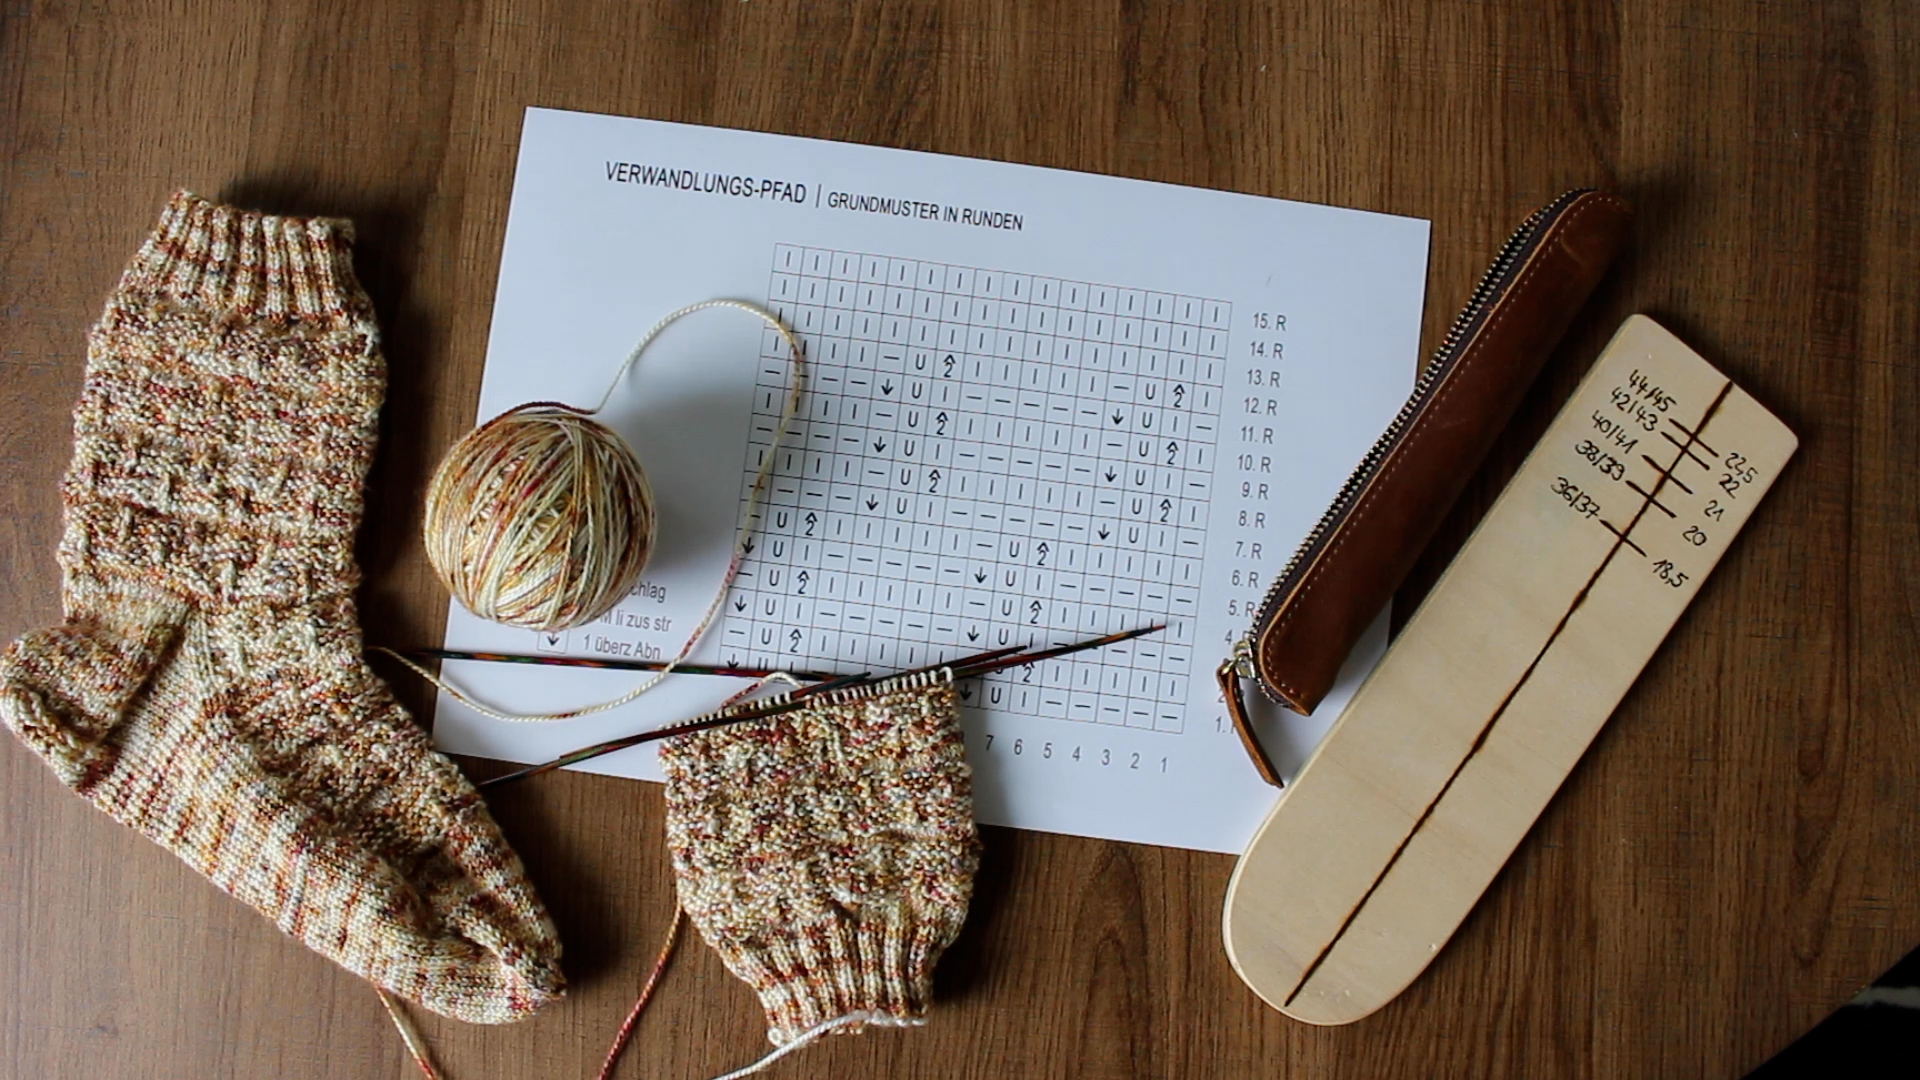
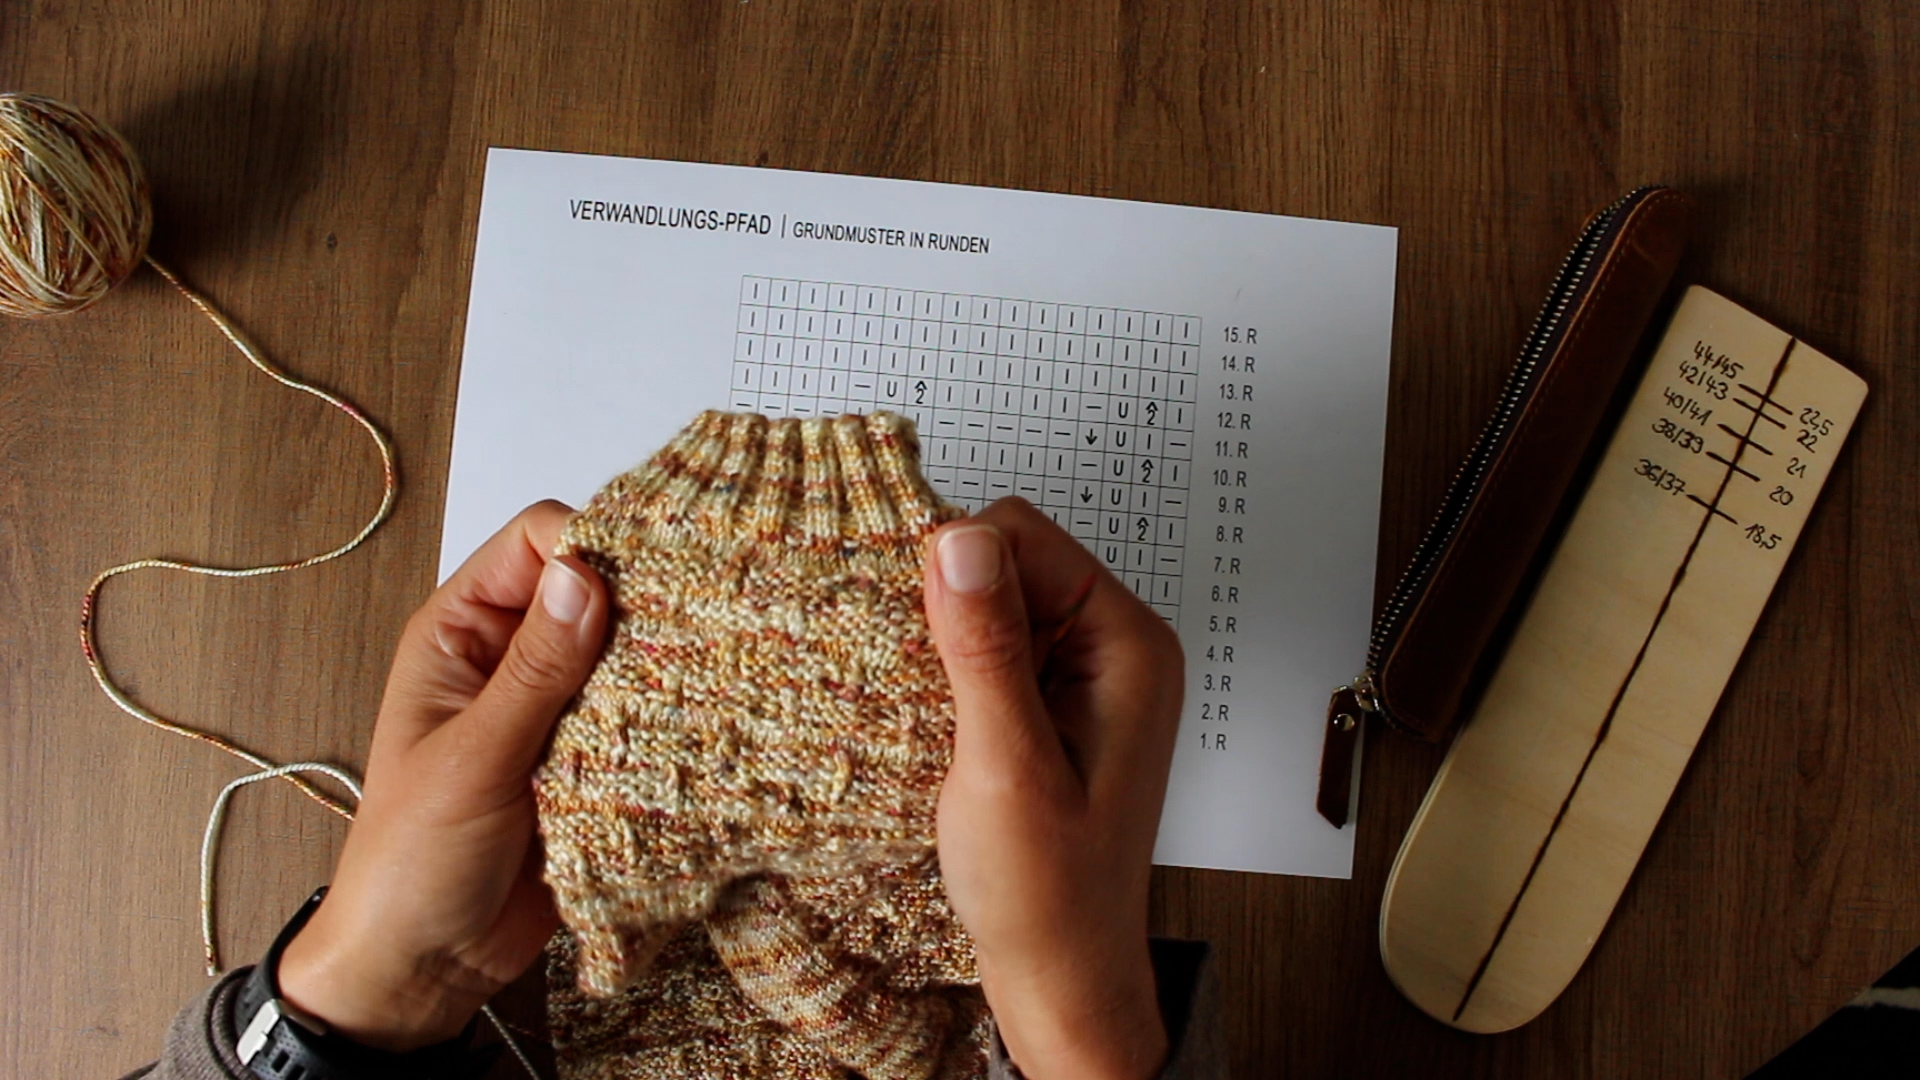
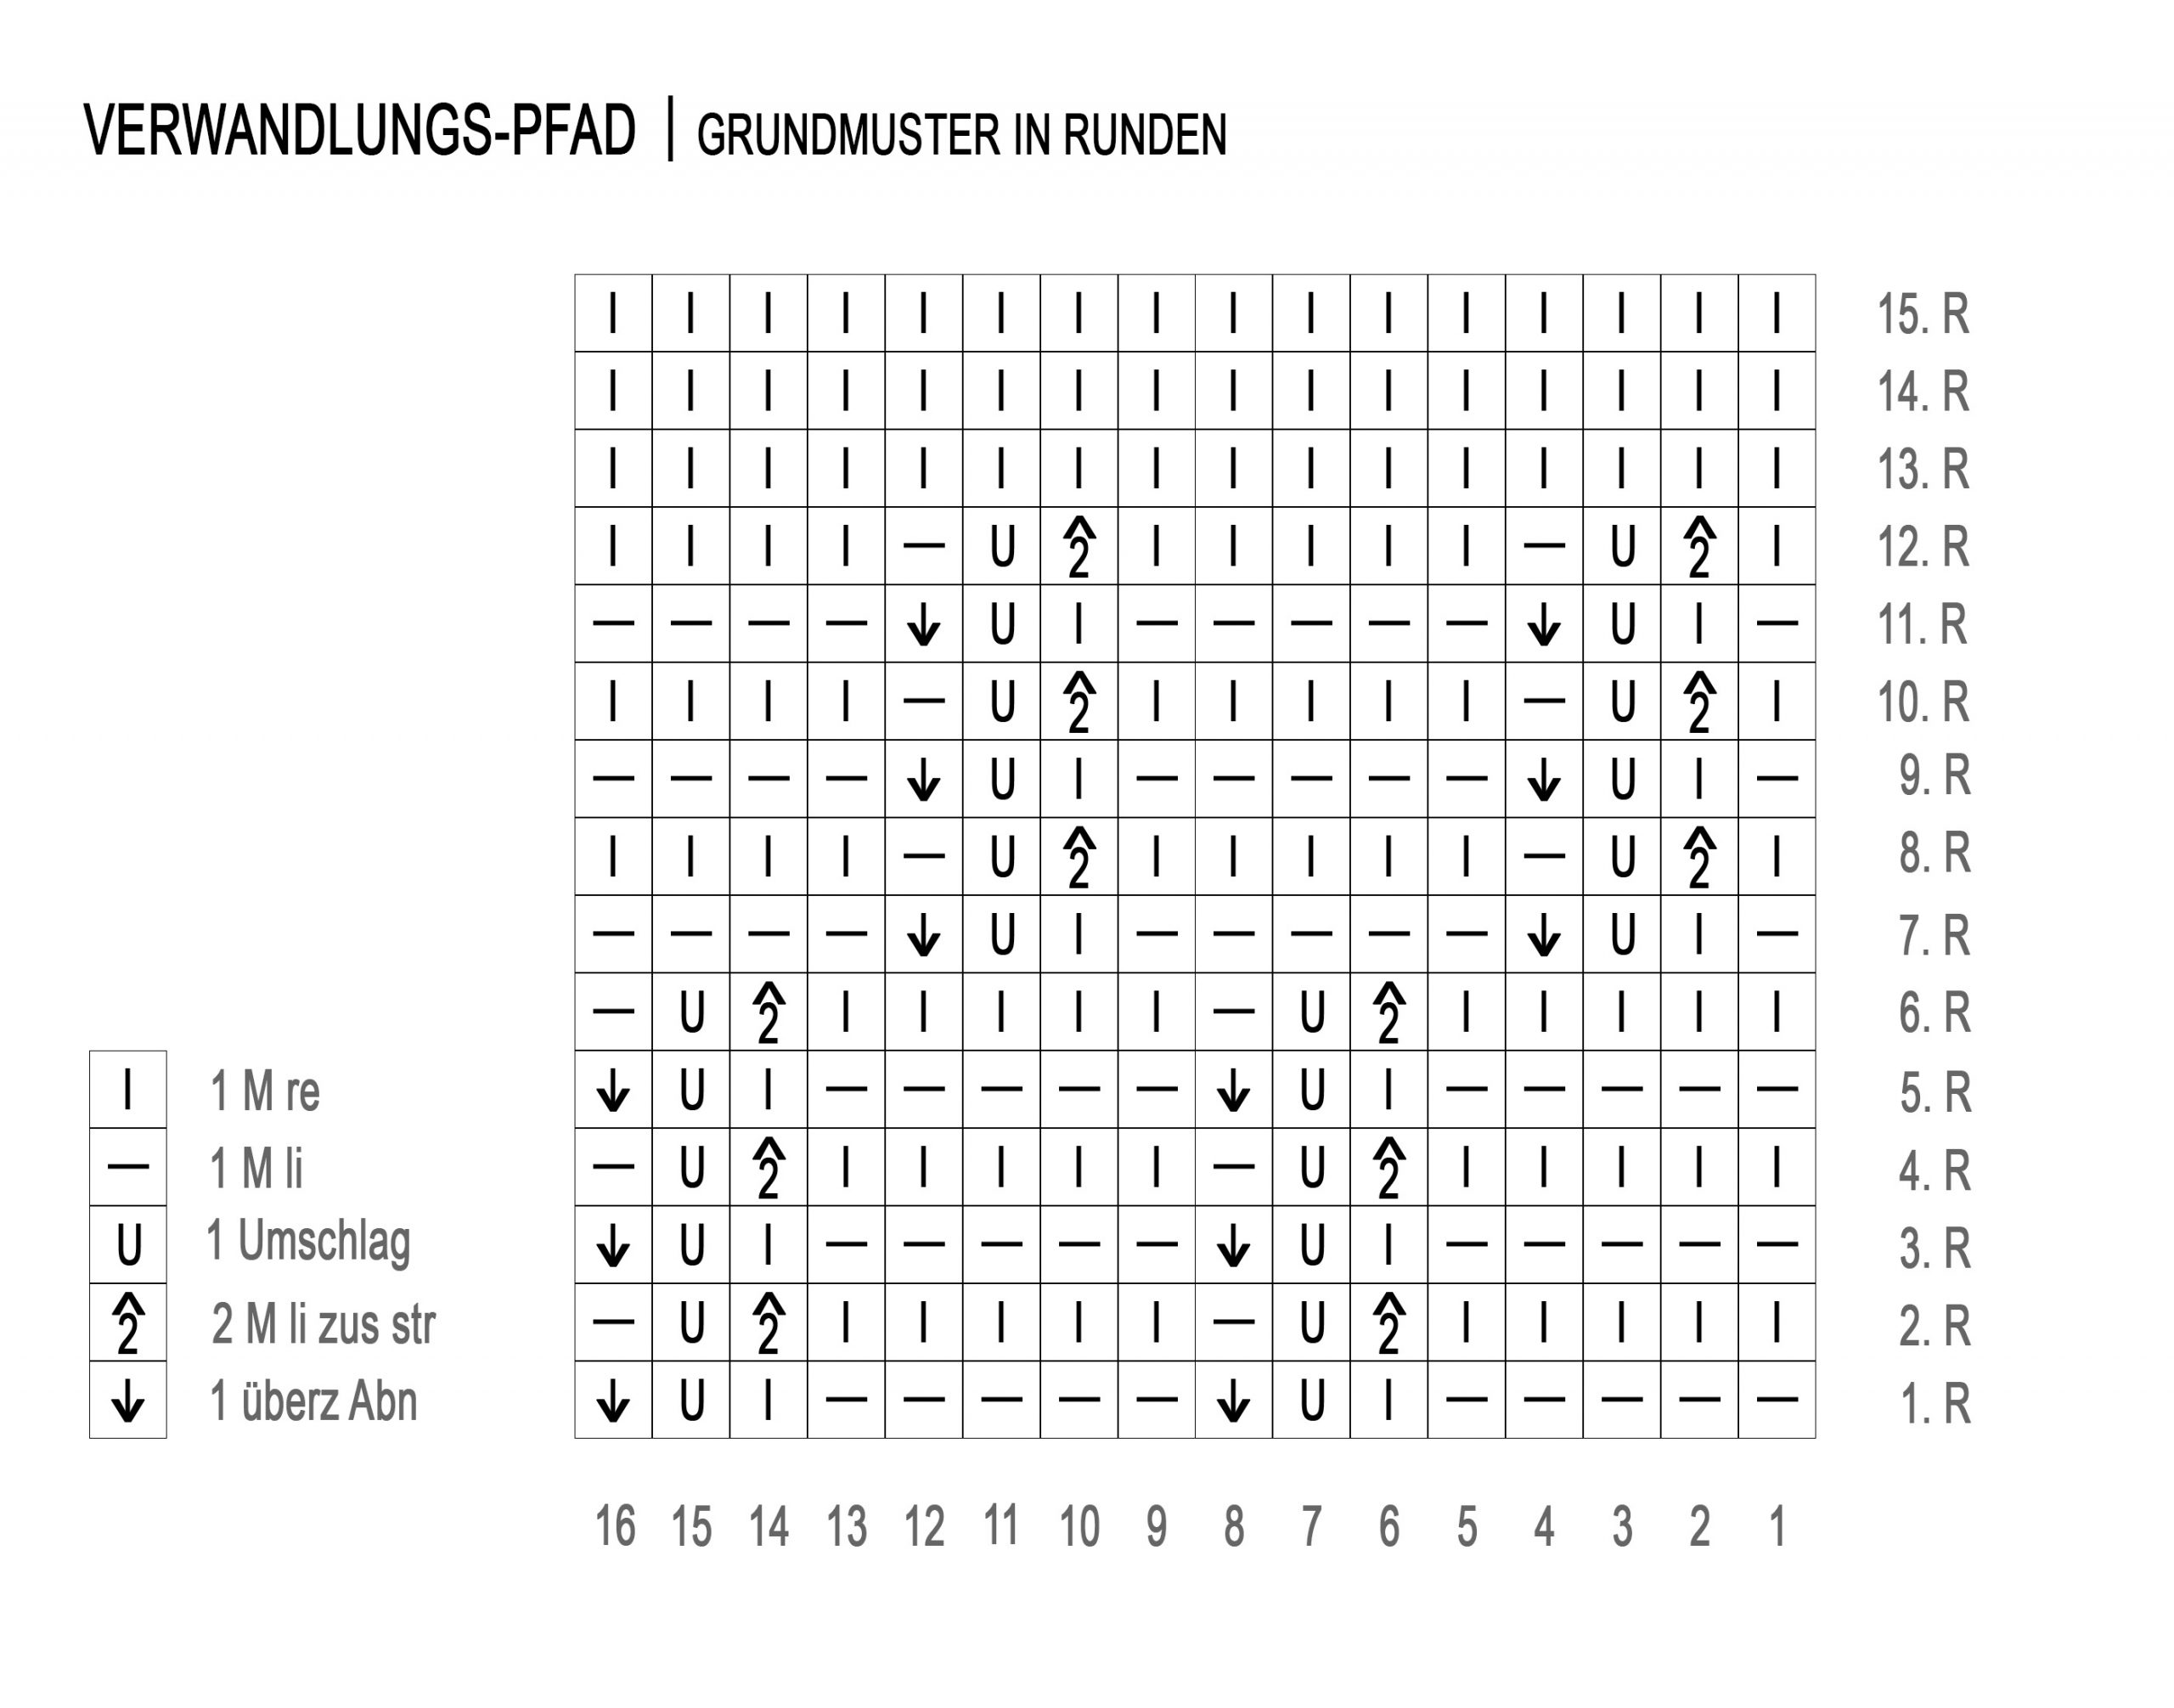
Im Muster verwende ich rechte Maschen, linke Maschen, Umschläge, links zusammen gestrickte Abnahmen und rechts überzogene Abnahmen. 

Today I want to share a new sock pattern with you. This is my first own structure pattern for socks, which I designed myself. The knitting pattern „Transformation Path“ mainly consists of stitches that you already know from sock knitting.

In the pattern I use knit stitches, purl stitches, yarn overs, purl together decreases and knit over decreases.

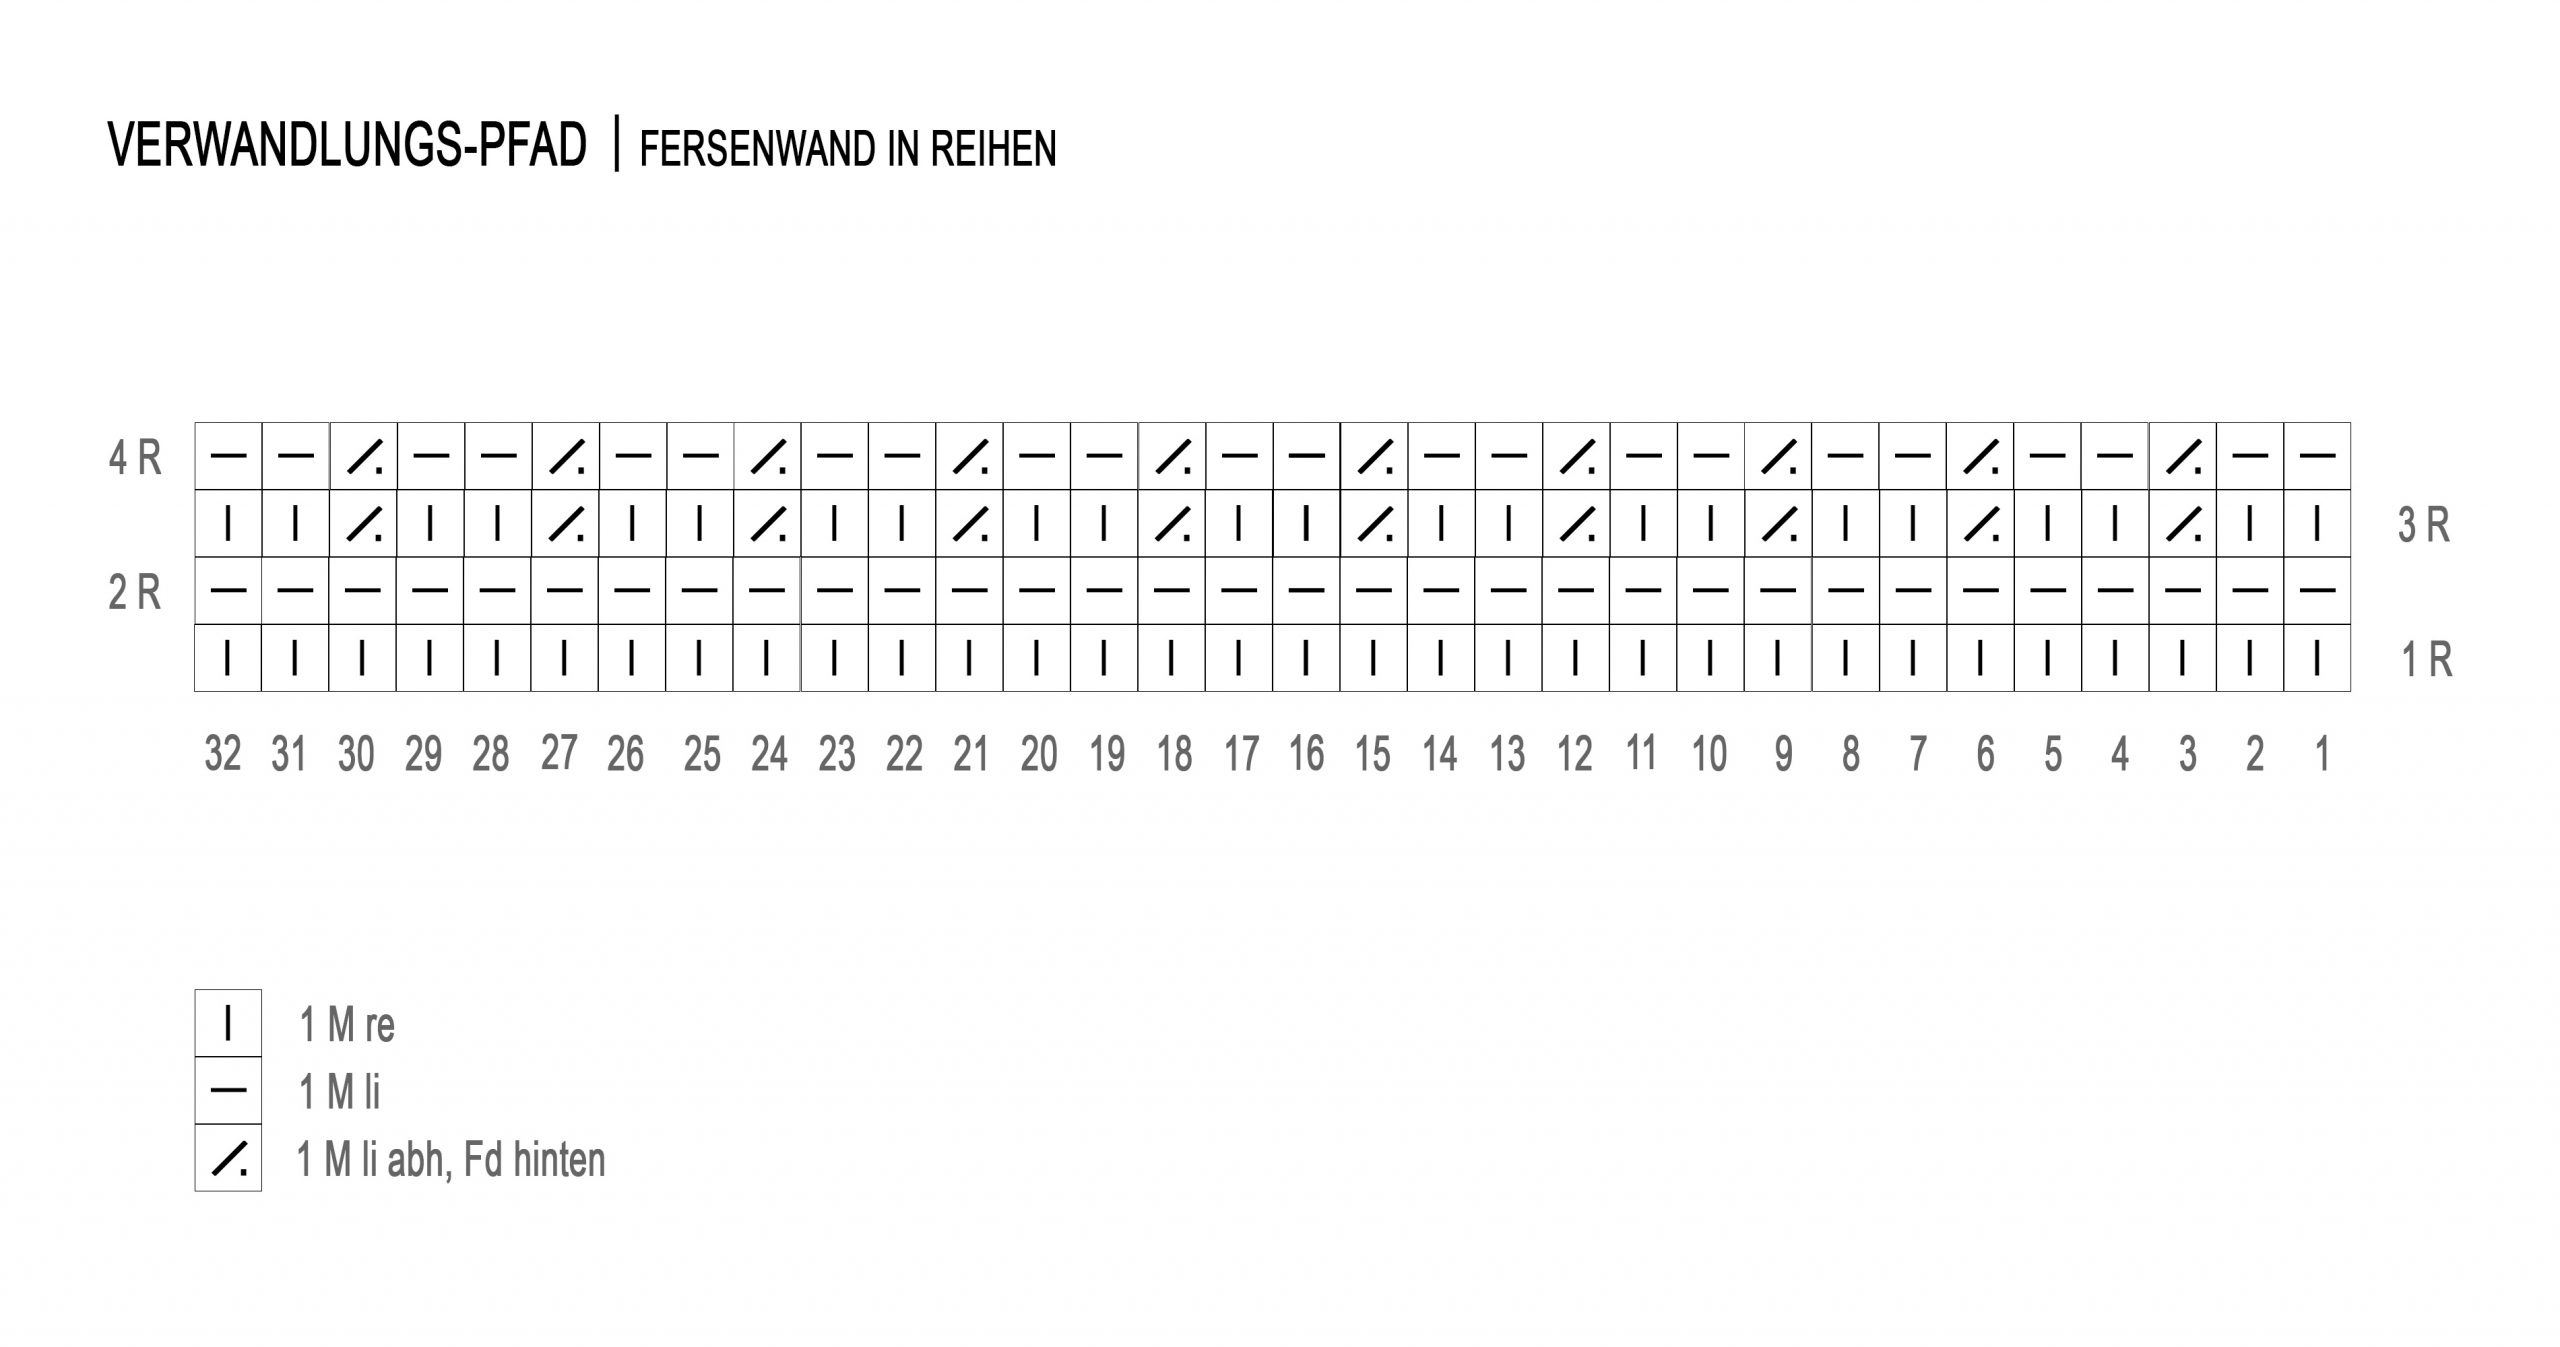
Das Sockenmuster habe ich für eine Socke mit 64 Maschen und einer Käppchenferse entworfen. Eine Strick-Anleitung für das Grundmuster in Runden und der Fersenwand in Reihen stelle ich euch gerne zum kostenlosen Download bereit. Anpassungen für eure Größe könnt ihr selbstverstänlich gerne vornehmen.

I designed the sock pattern for a sock with 64 stitches and a cap heel. I am happy to provide you with knitting instructions for the basic pattern in rounds and the heel wall in rows for free download. Of course you can make adjustments for your size.

Das Strickmuster „Verwandlungs-Pfad“ kombiniert die Vorstellung der Metamorphose einer Raupe zu einem Schmetterling mit den bildhaften Pfaden oder Wegen, die im Raupenmuster dargestellt werden. Das Name soll sowohl die Entwicklung als auch die Struktur des Musters widerspiegeln.

The „Transformation Path“ knitting pattern combines the idea of the metamorphosis of a caterpillar into a butterfly with the pictorial paths or paths depicted in the caterpillar pattern. The name is intended to reflect both the development and the structure of the pattern.

Um diese Grundidee des Musters perfekt widerspiegeln zu können, sollte man für die Socken idealerweise ein handgefärbtes Garn mit Sprenkel-Muster und einem gewissen Seiden-Anteil verwenden. Selbstverständlich funktioniert aber auch jedes andere Sockengarn dafür.

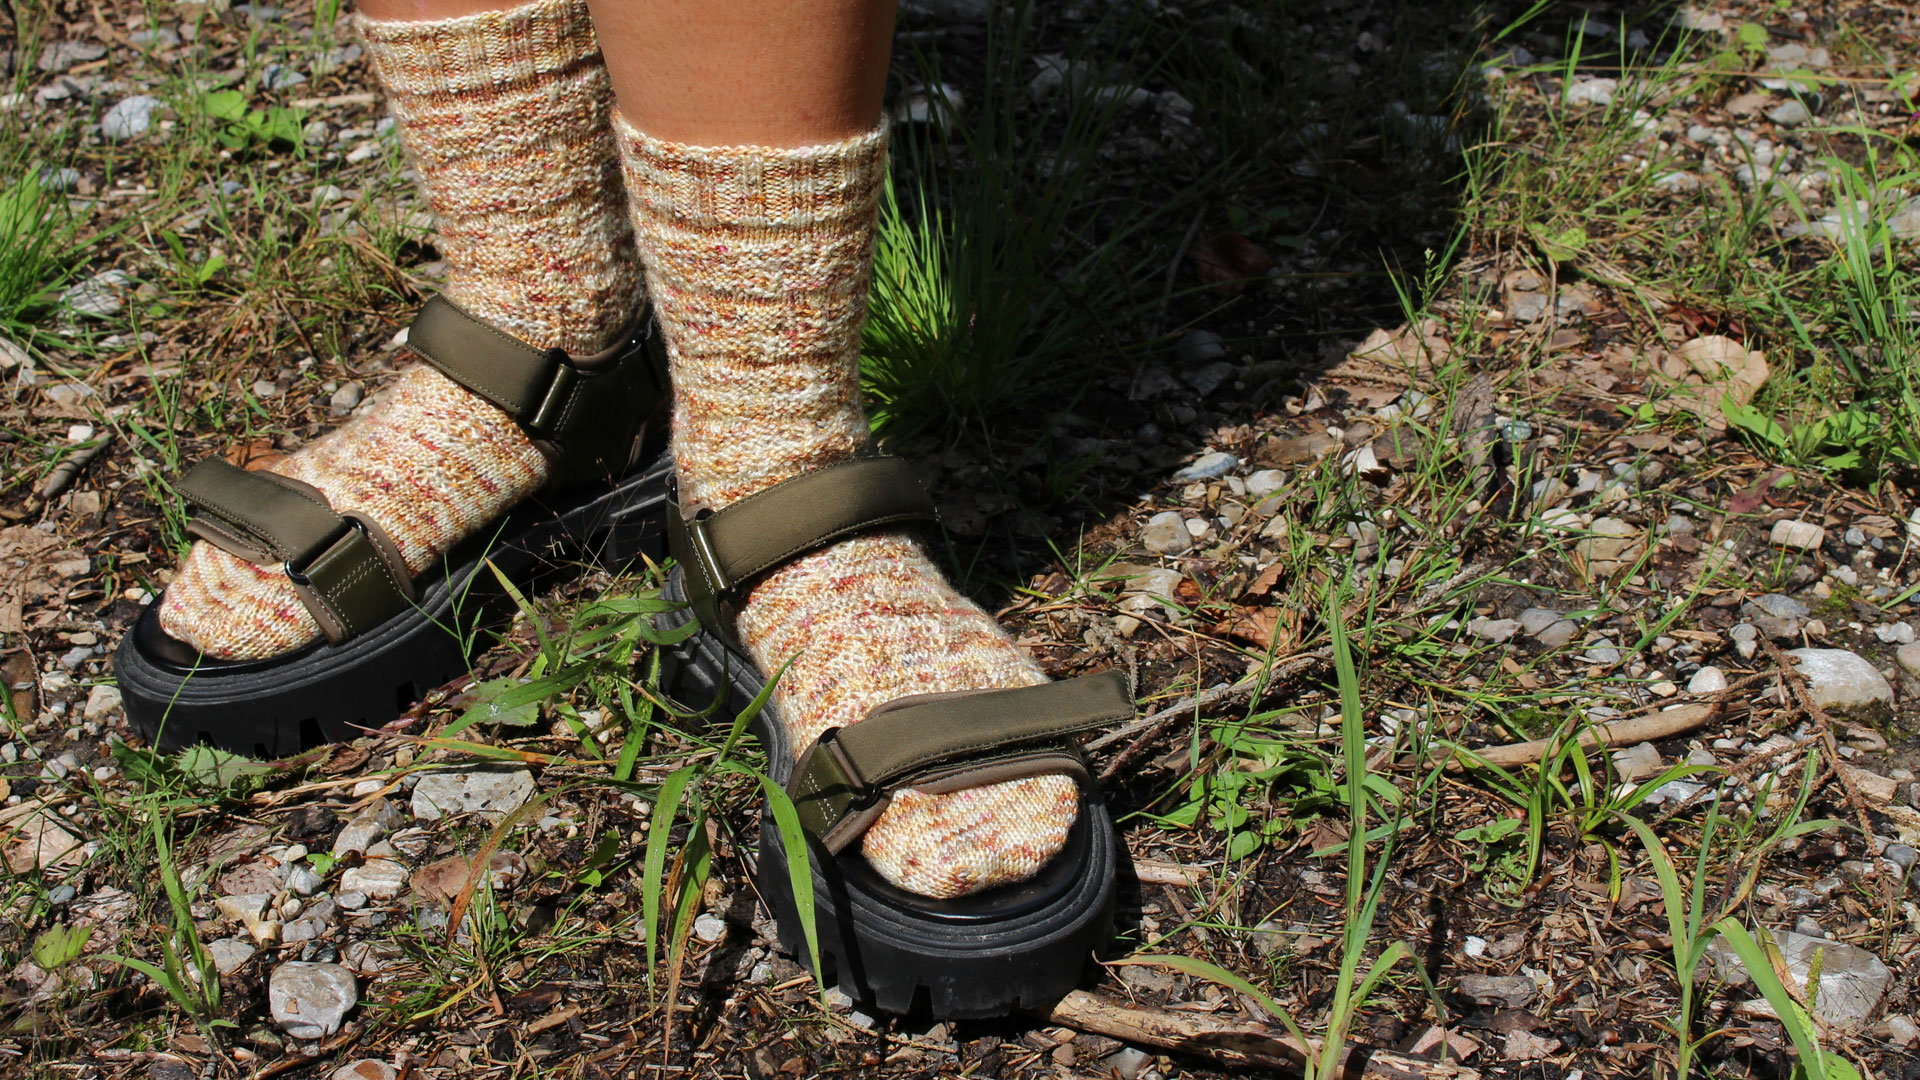
Ich liebe die Kombination aus dem Material, der Farbe und dem Muster. Und ich weiß bereits jetzt, dass diese Socken im kommenden Herbst definitiv zu meinen Lieblingssocken gehören werden!

Für meine Socken verwende ich folgende Materialien (alle selbst bezahlt):
Nadelspiel: Symfonie von Knit Pro, Nadelstärke 2,5, Länge 15 cm
Handgefärbte Sockenwolle

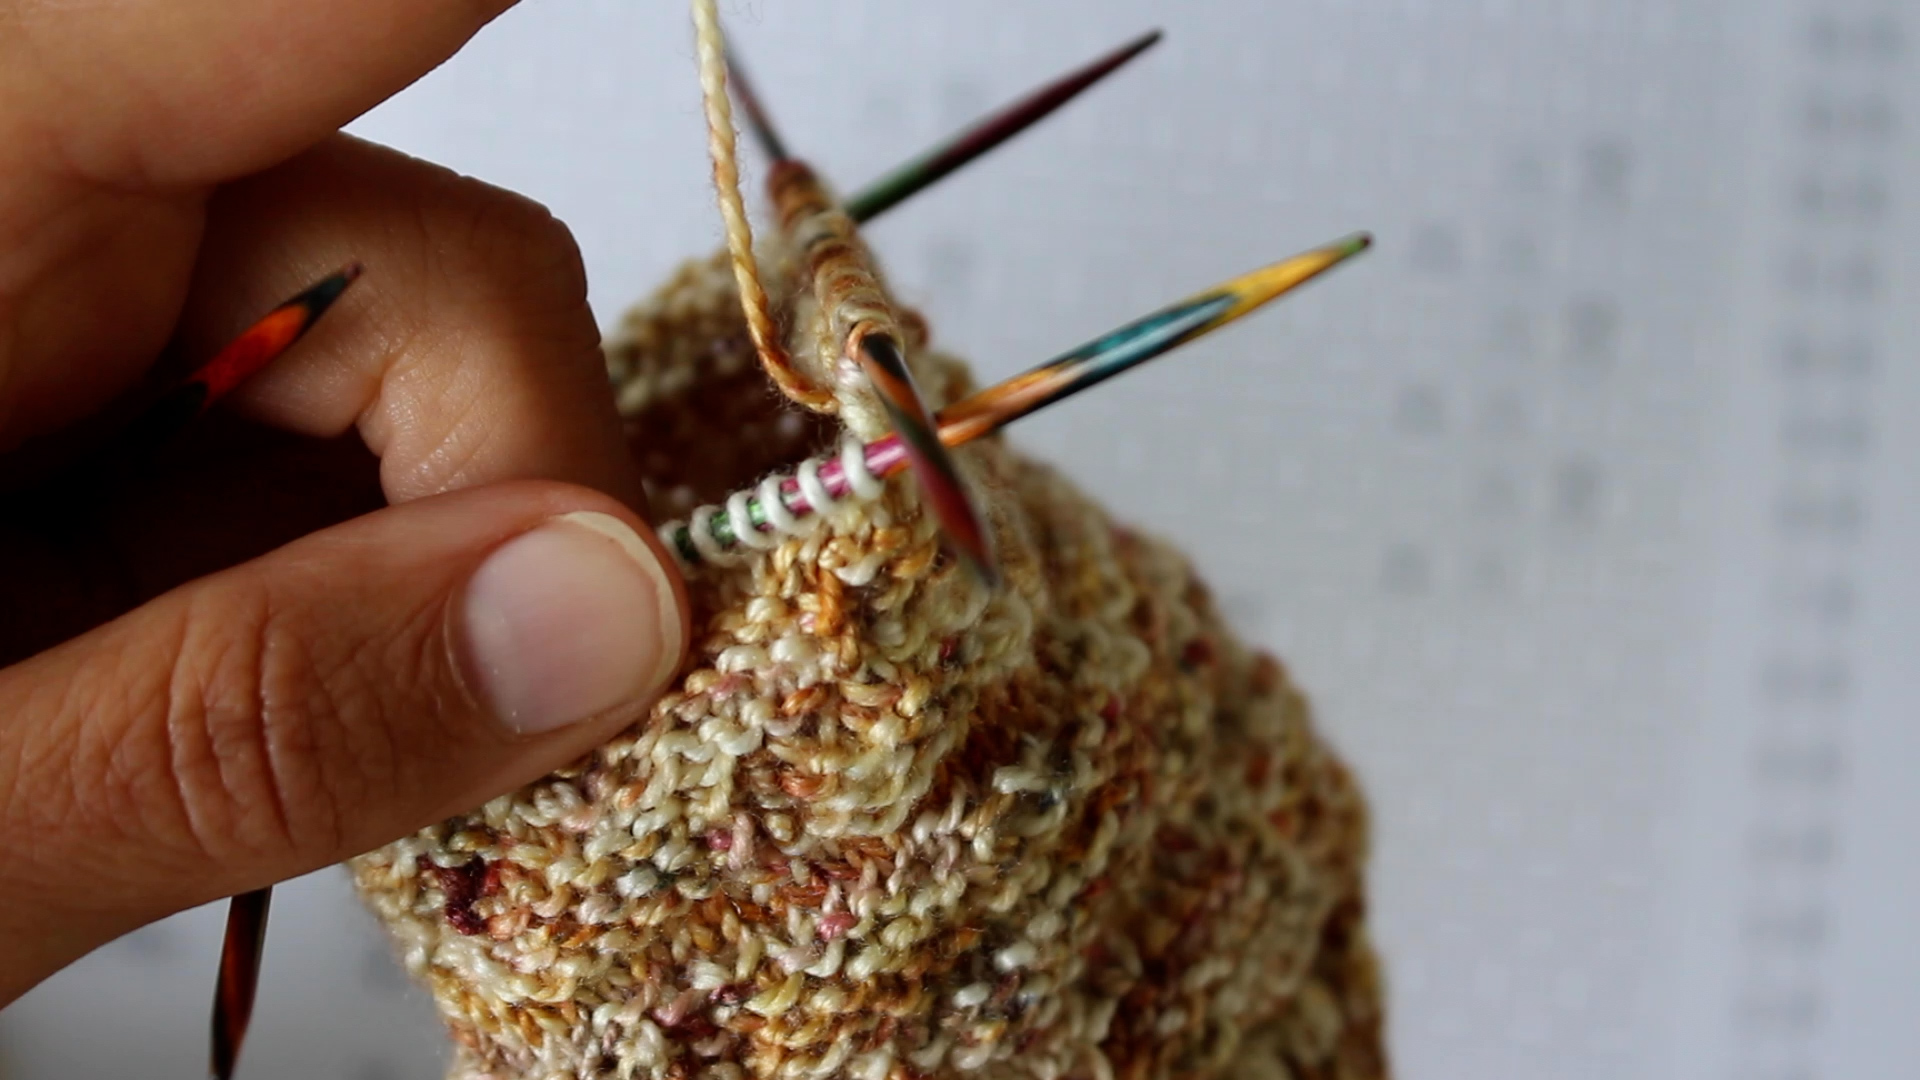
Übrigens, damit euch das Muster noch einfacher von der Hand geht, habe ich für euch ein Strick-Tutorial auf meinen YouTube Kanal hochgeladen. Dort erkläre ich euch kurz die Strick-Anleitung und zeige euch dann, wie ihr das Muster auf dem Nadelspiel strickt.

Viel Spaß beim Nachstricken!

In order to be able to perfectly reflect this basic idea of the pattern, you should ideally use a hand-dyed yarn with a speckled pattern and a certain amount of silk for the socks. Of course, any other sock yarn will also work.

I love the combination of the material, the color and the pattern. And I already know that these socks will definitely be among my favorite socks this fall!

For my socks I use the following materials (all paid for by myself):
Double pointed needles: Symfonie by Knit Pro, needle size 2.5, length 15 cm
Hand dyed sock yarn

By the way, to make the pattern even easier for you, I have uploaded a knitting tutorial to my YouTube channel for you. There I will briefly explain the knitting instructions and then show you how to knit the pattern on double pointed needles.

Happy knitting!

EINFACHE BEANIE MÜTZE MIT 1-1 RIPPEN-MUSTER STRICKEN – INKL. TUTORIAL

EINFACHE BEANIE MÜTZE MIT 1-1 RIPPEN-MUSTER STRICKEN – INKL. TUTORIAL

In meinem letzten Post habe ich euch ja bereits gezeigt, dass ich nun neben Socken auch noch Mützen stricken kann.

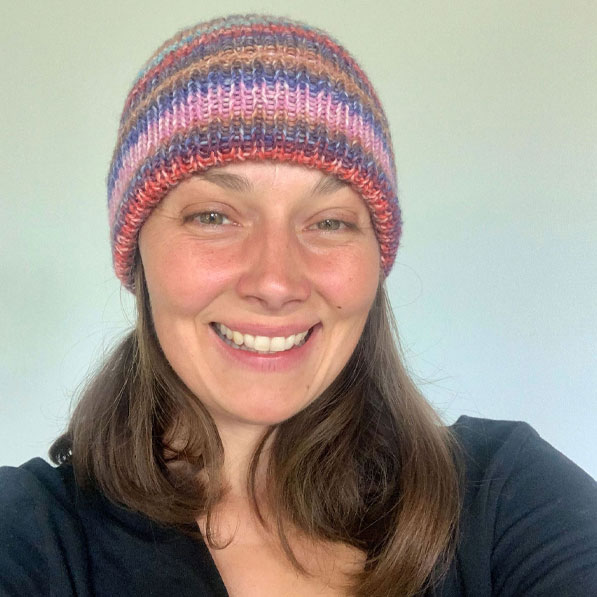
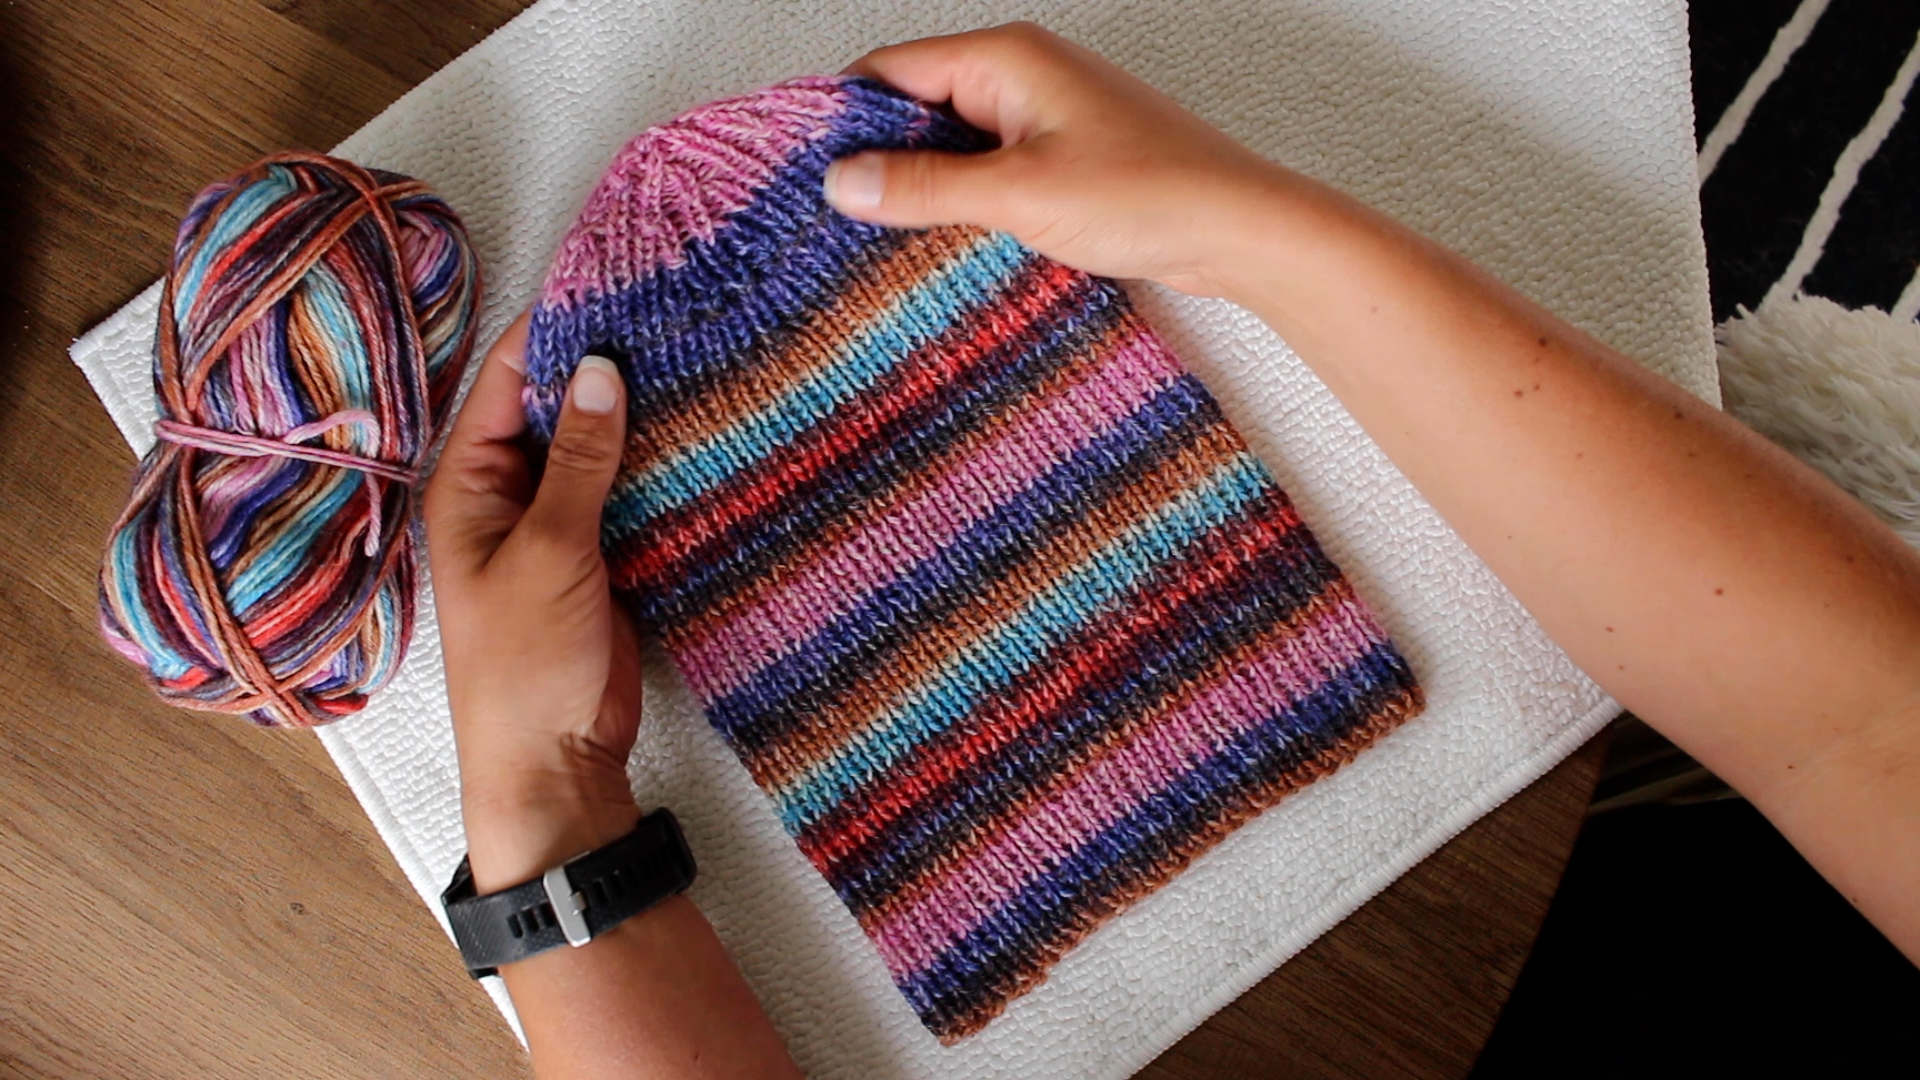
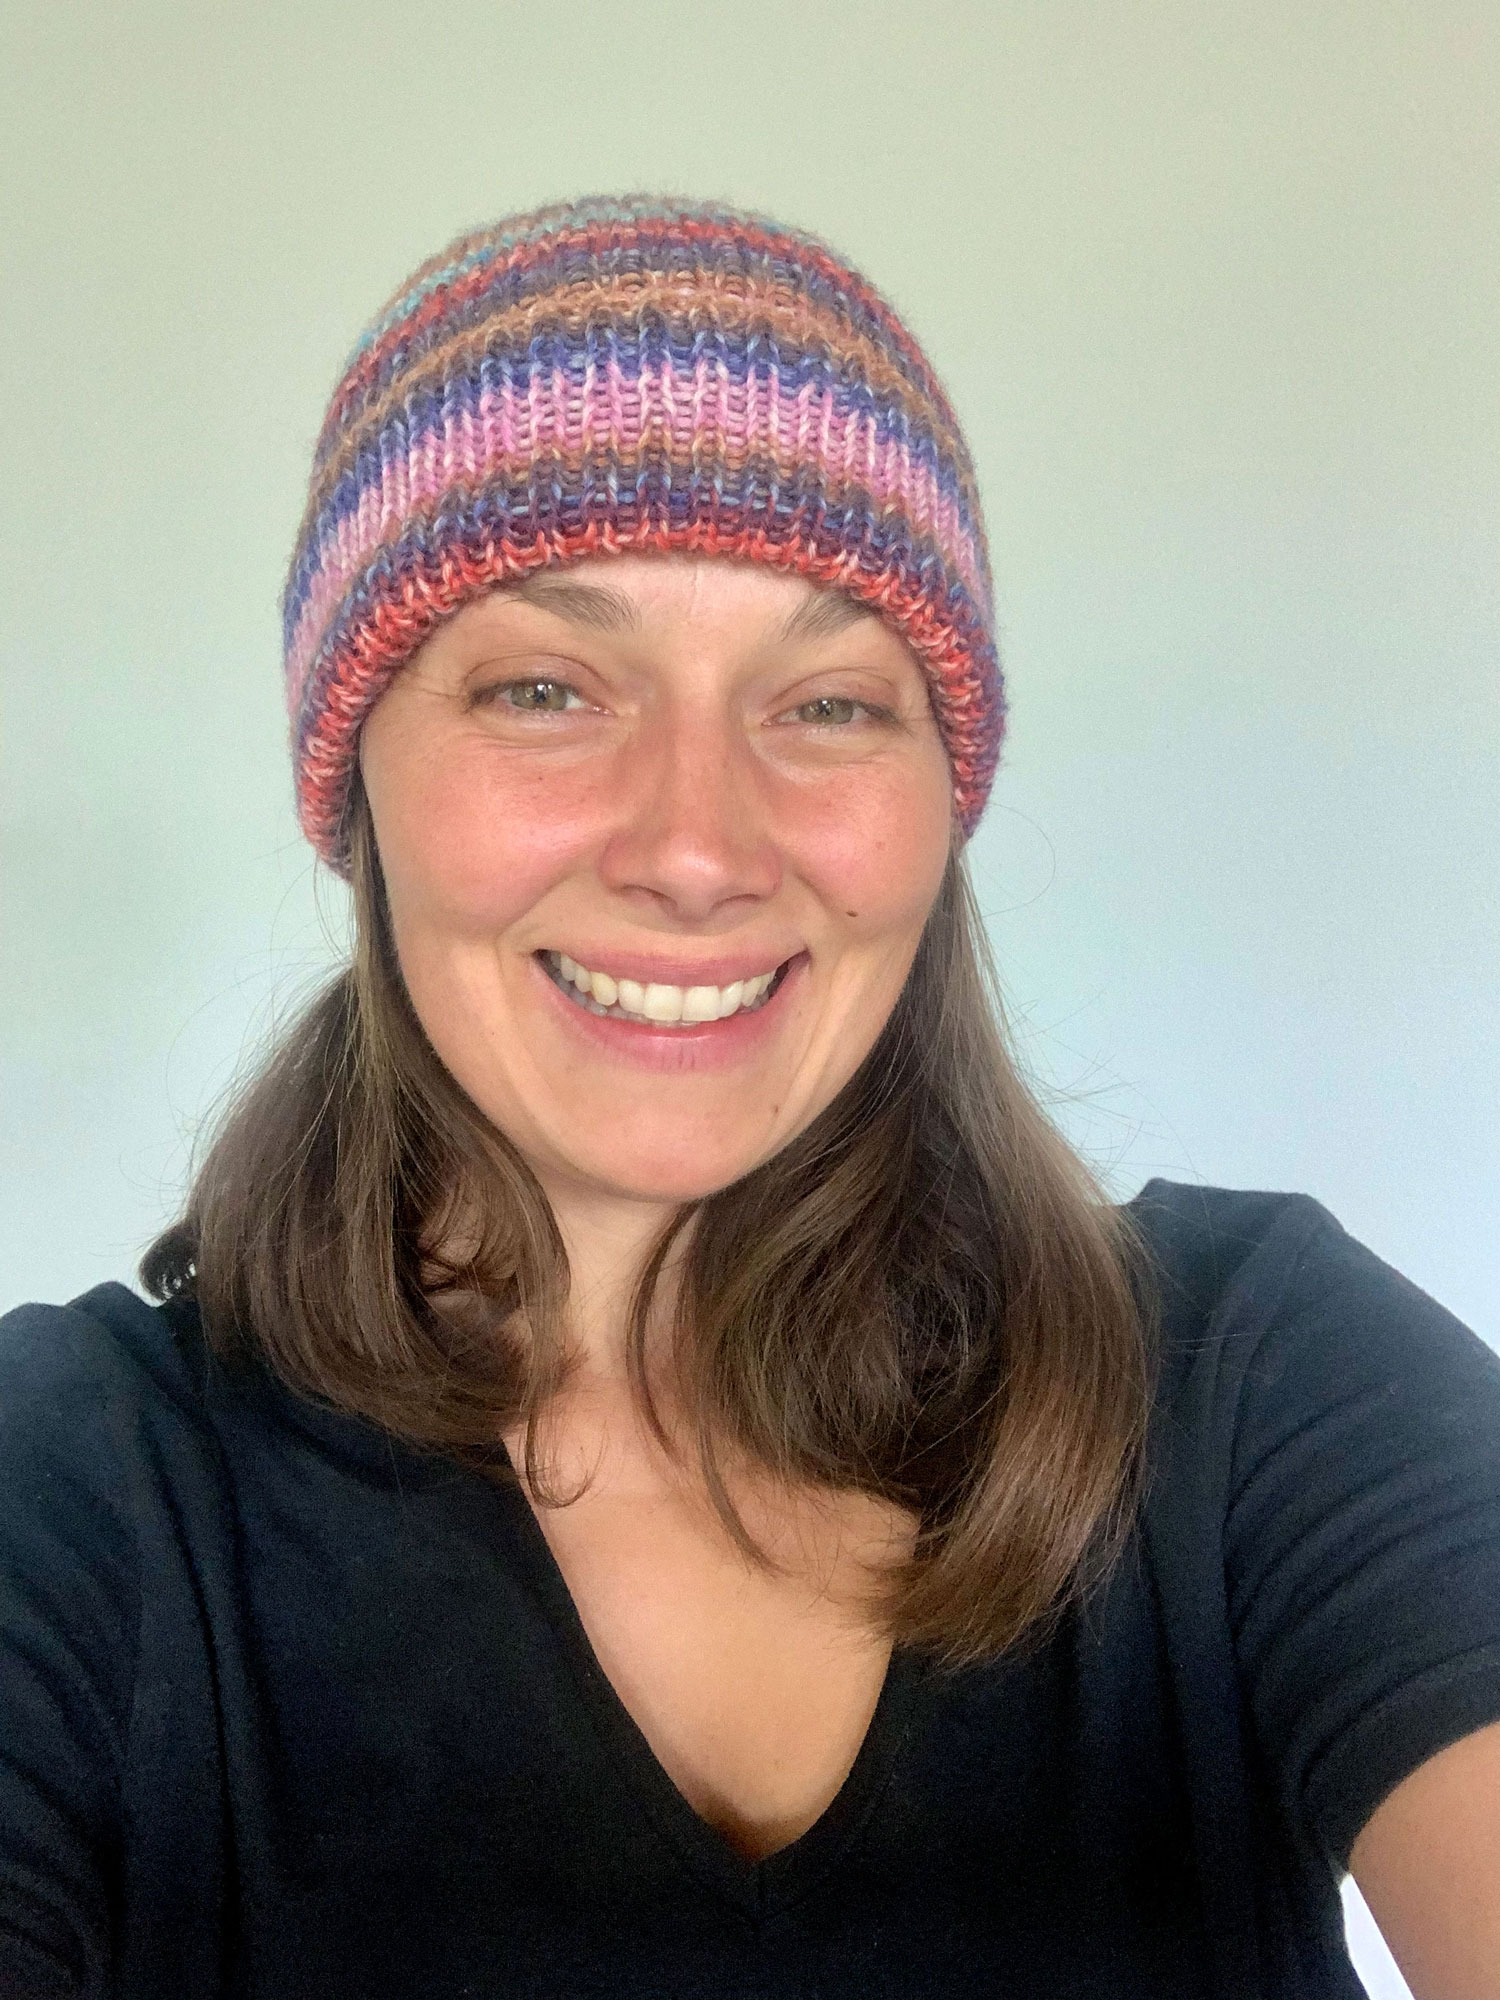
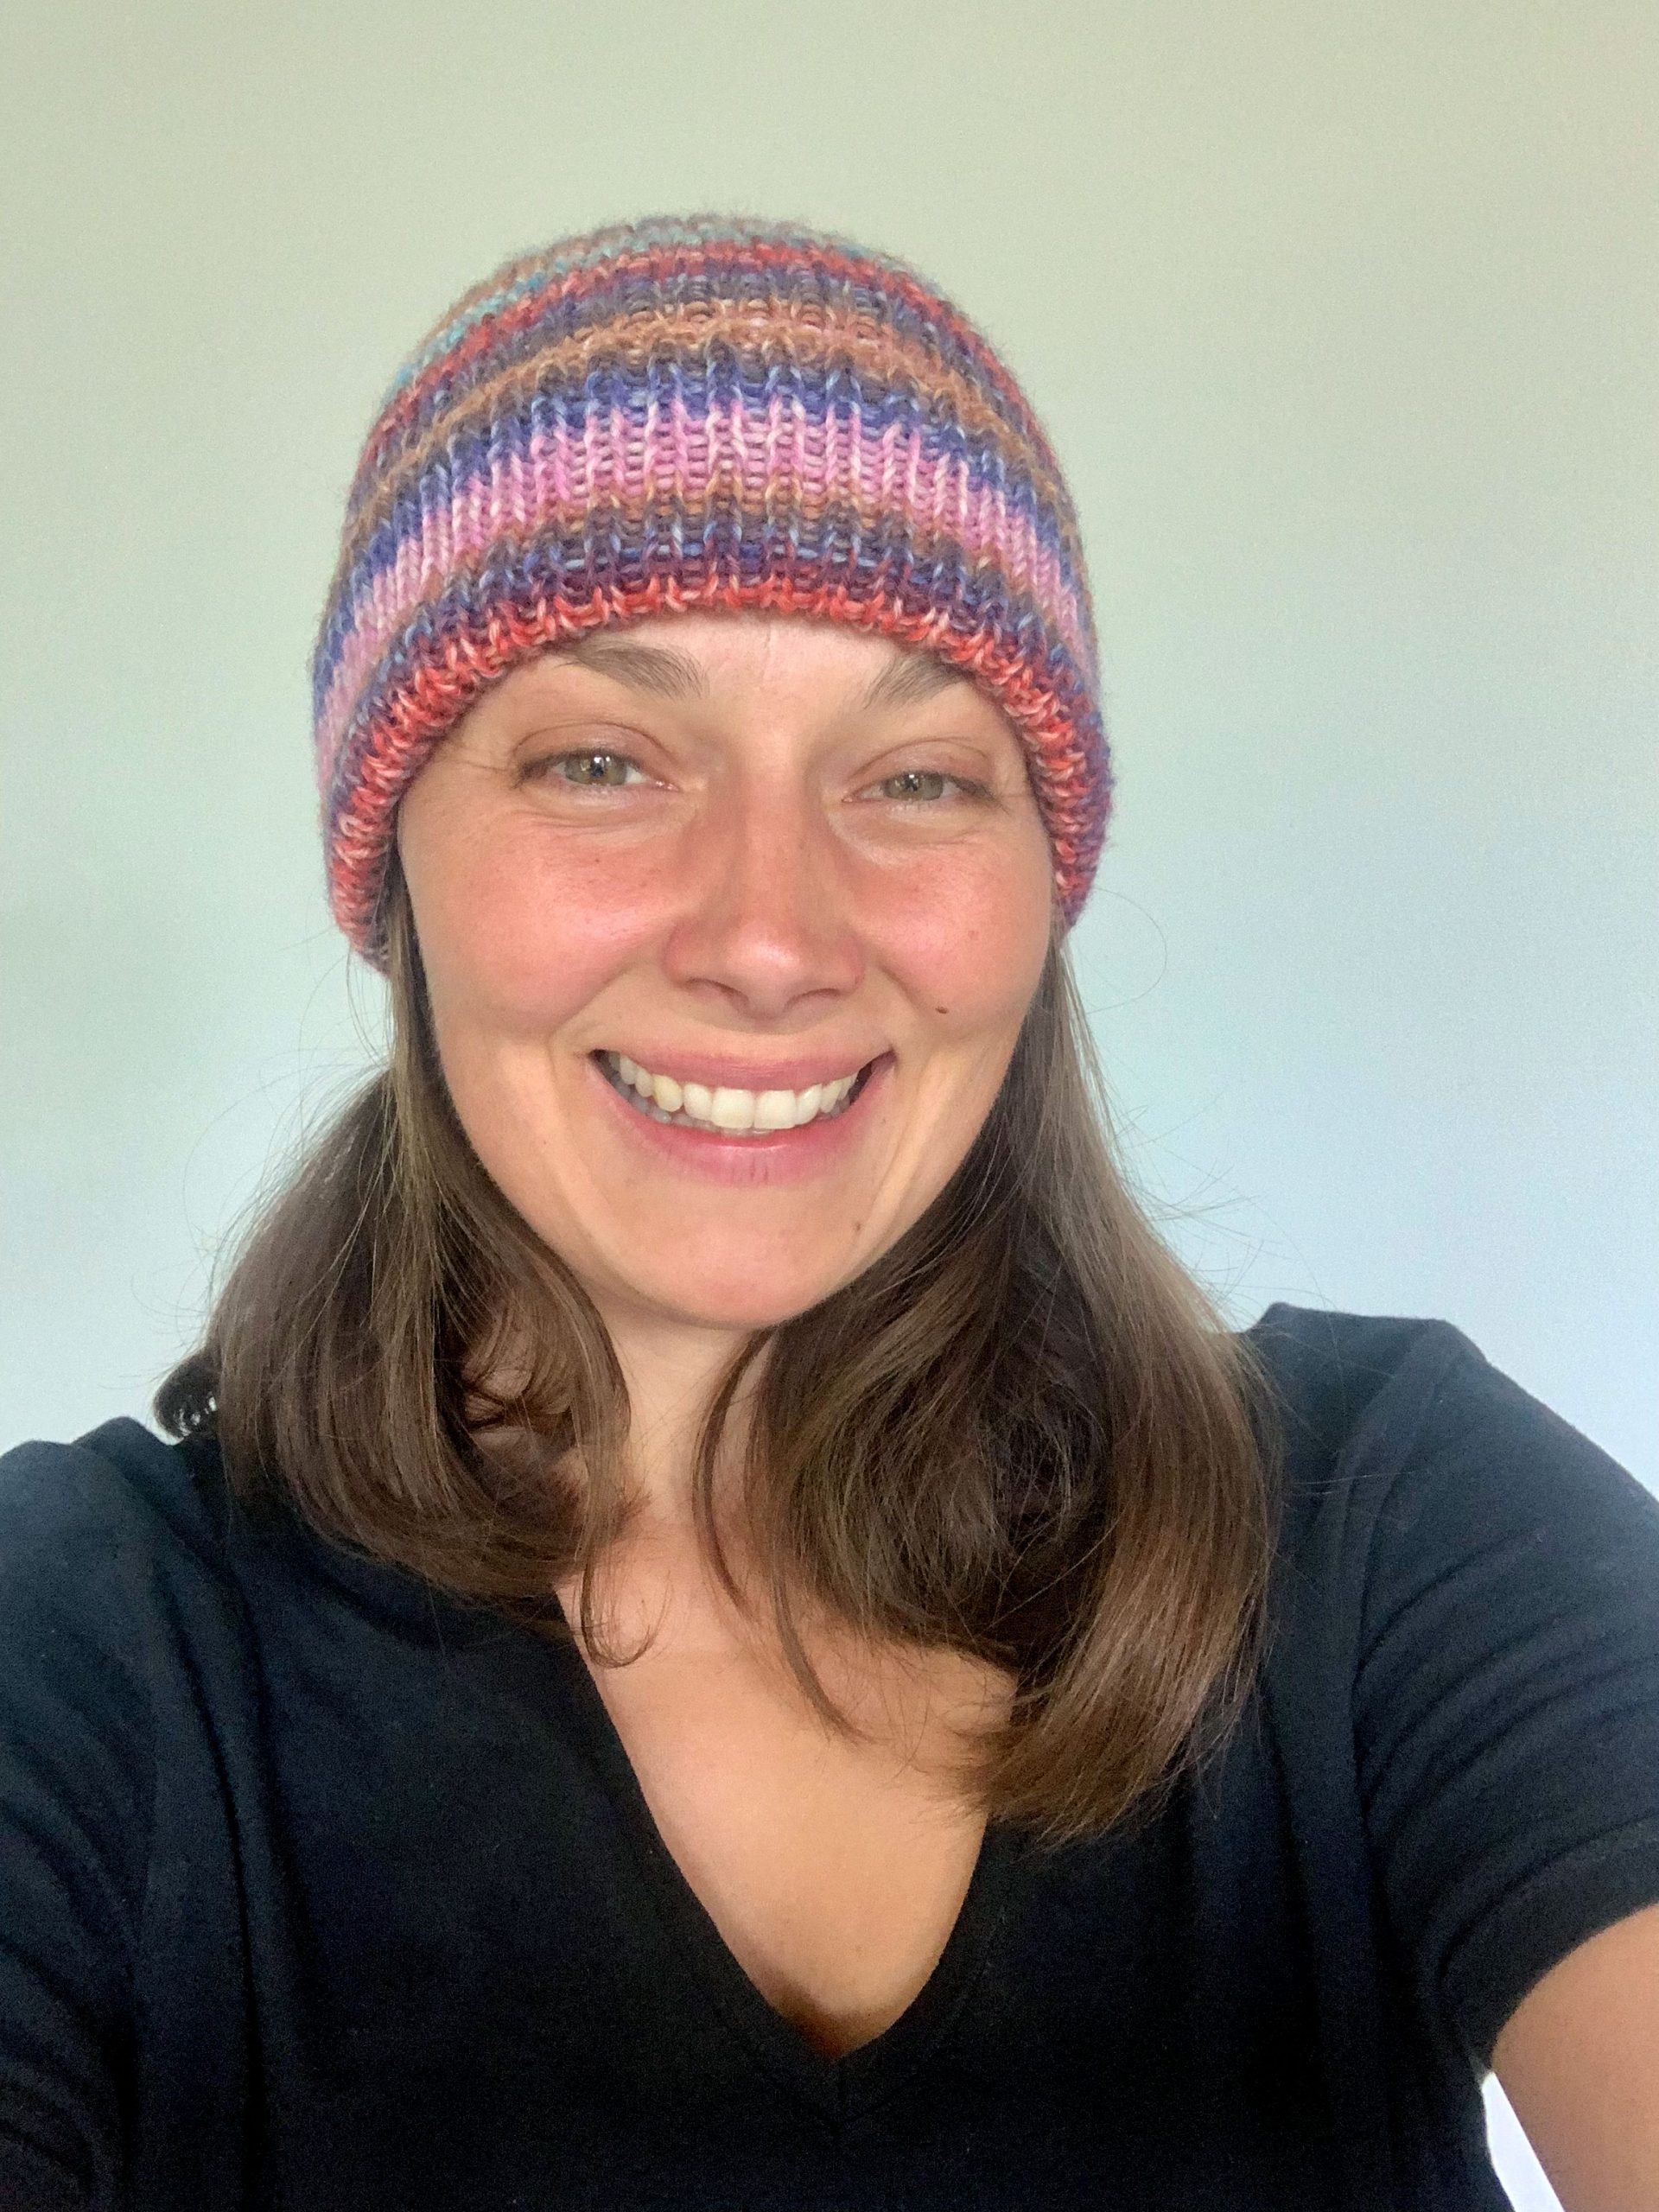
Und ja, wie das  Socken-Stricken macht auch das Mütze-Stricken süchtig. Gleich nachdem ich mir meine 1. Mütze aus dem „Fashion Tweed“ Garn von Lana Grossa gestrickt habe, musste ich eine 2. Mütze aus der Sockenwolle „Meilenweit Cosima“ für meinen Bruder anschlaagen. Beide Mützen haben dank der unterschiedlichen Material-Wahl einen ganz eigenen Charakter bekommen.

Die Sockenwolle „Meilenweit Cosima“ besteht aus 80 % Schurwolle und 20 % Polyamid. Sie hat eine Lauflänge von ca. 315m auf 150g. Lana Grossa empfiehlt eine Nadelstärke von 4,5 – 5 mm für diese Wolle. Ich selbst habe für die Mütze eine Stärke von 4 mm verwendet.   Für ein Quadrat von 10cm x 10cm werden 18 Maschen und 25 Reihen angesetzt. 

Für meine Mütze hat 1 Knäuel locker gereicht.

In my last post I already showed you that I can now knit hats as well as socks.

And yes, like knitting socks, knitting hats is addictive. Immediately after knitting my first hat from Lana Grossa’s „Fashion Tweed“ yarn, I had to cast on a second hat for my brother from „Meilenweit Cosima“ sock yarn. Thanks to the different choice of material, both caps have their very own character.

The sock yarn „Meilenweit Cosima“ consists of 80% new wool and 20% polyamide. It has a running length of approx. 315m at 150g. Lana Grossa recommends a needle size of 4.5 – 5 mm for this yarn. For a square of 10cm x 10cm, 18 stitches and 25 rows are used. 

For my beanie, 1 ball was enough.

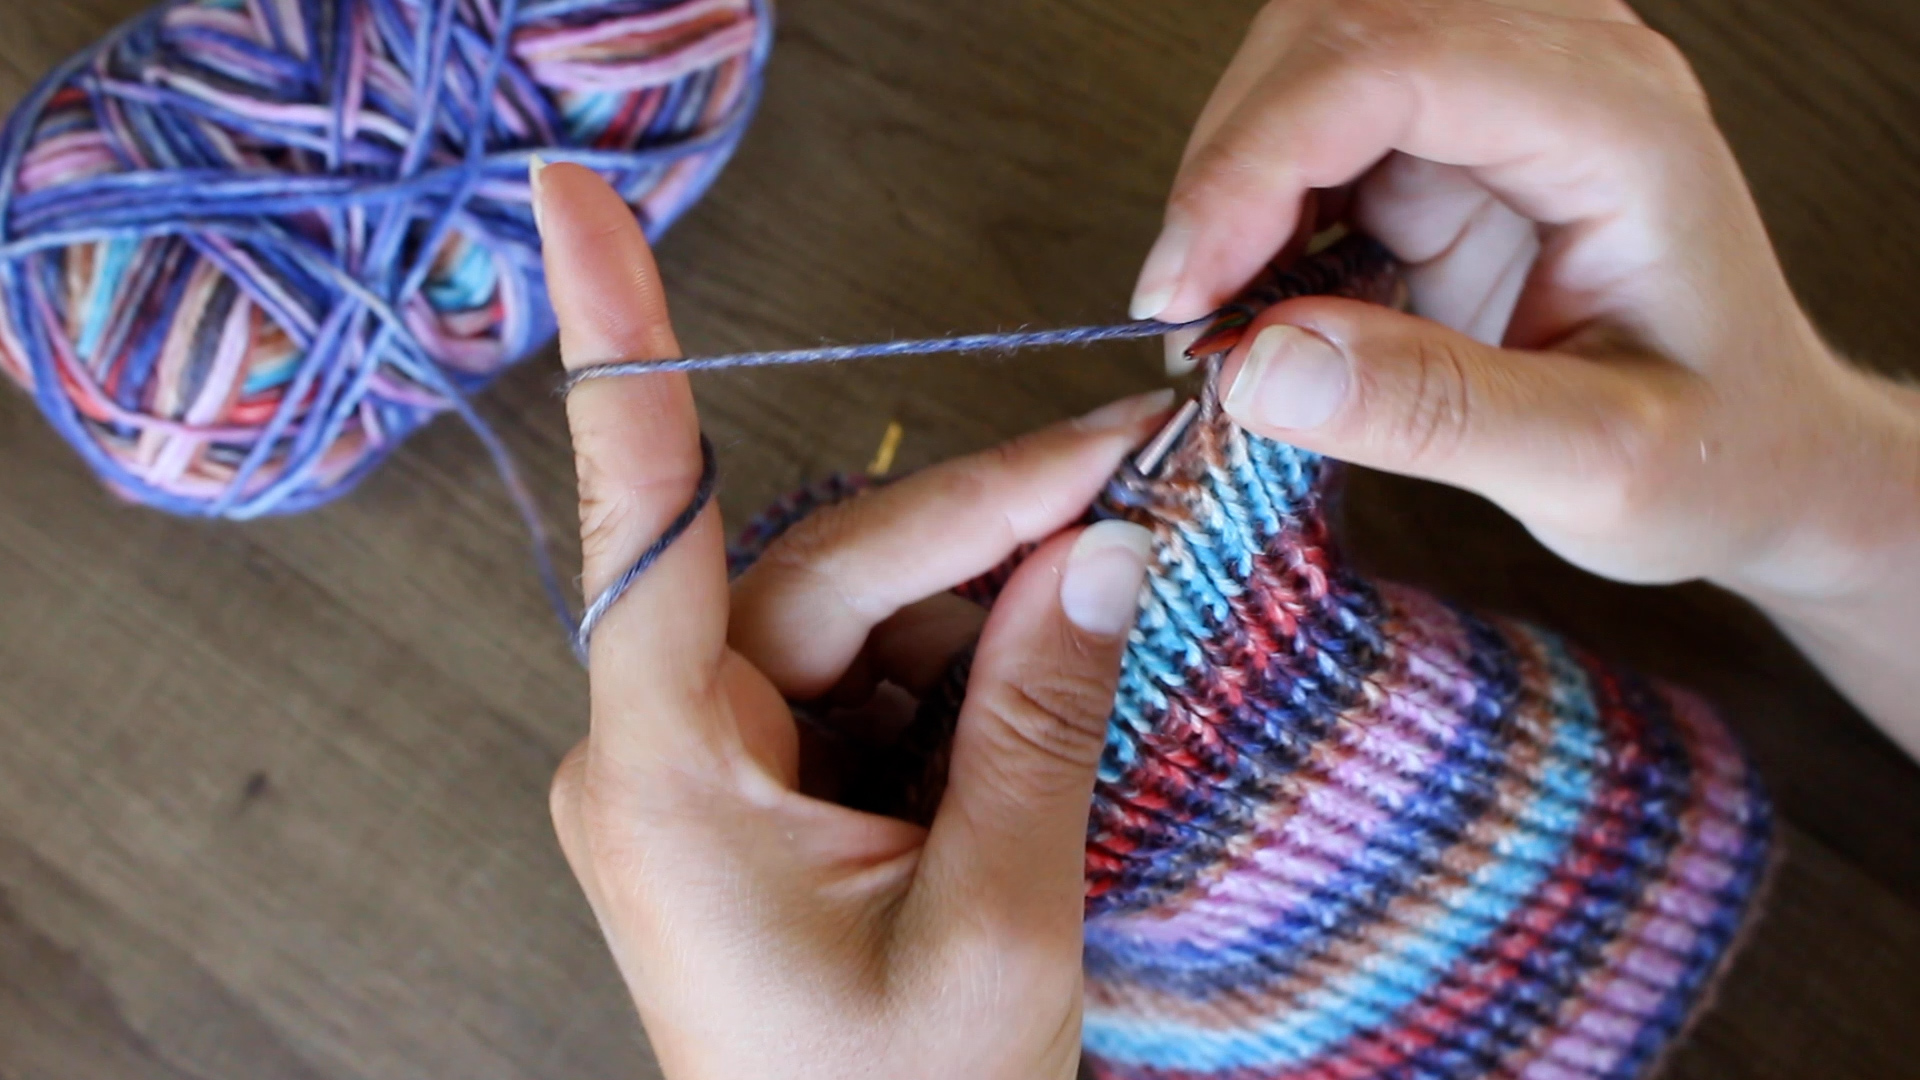
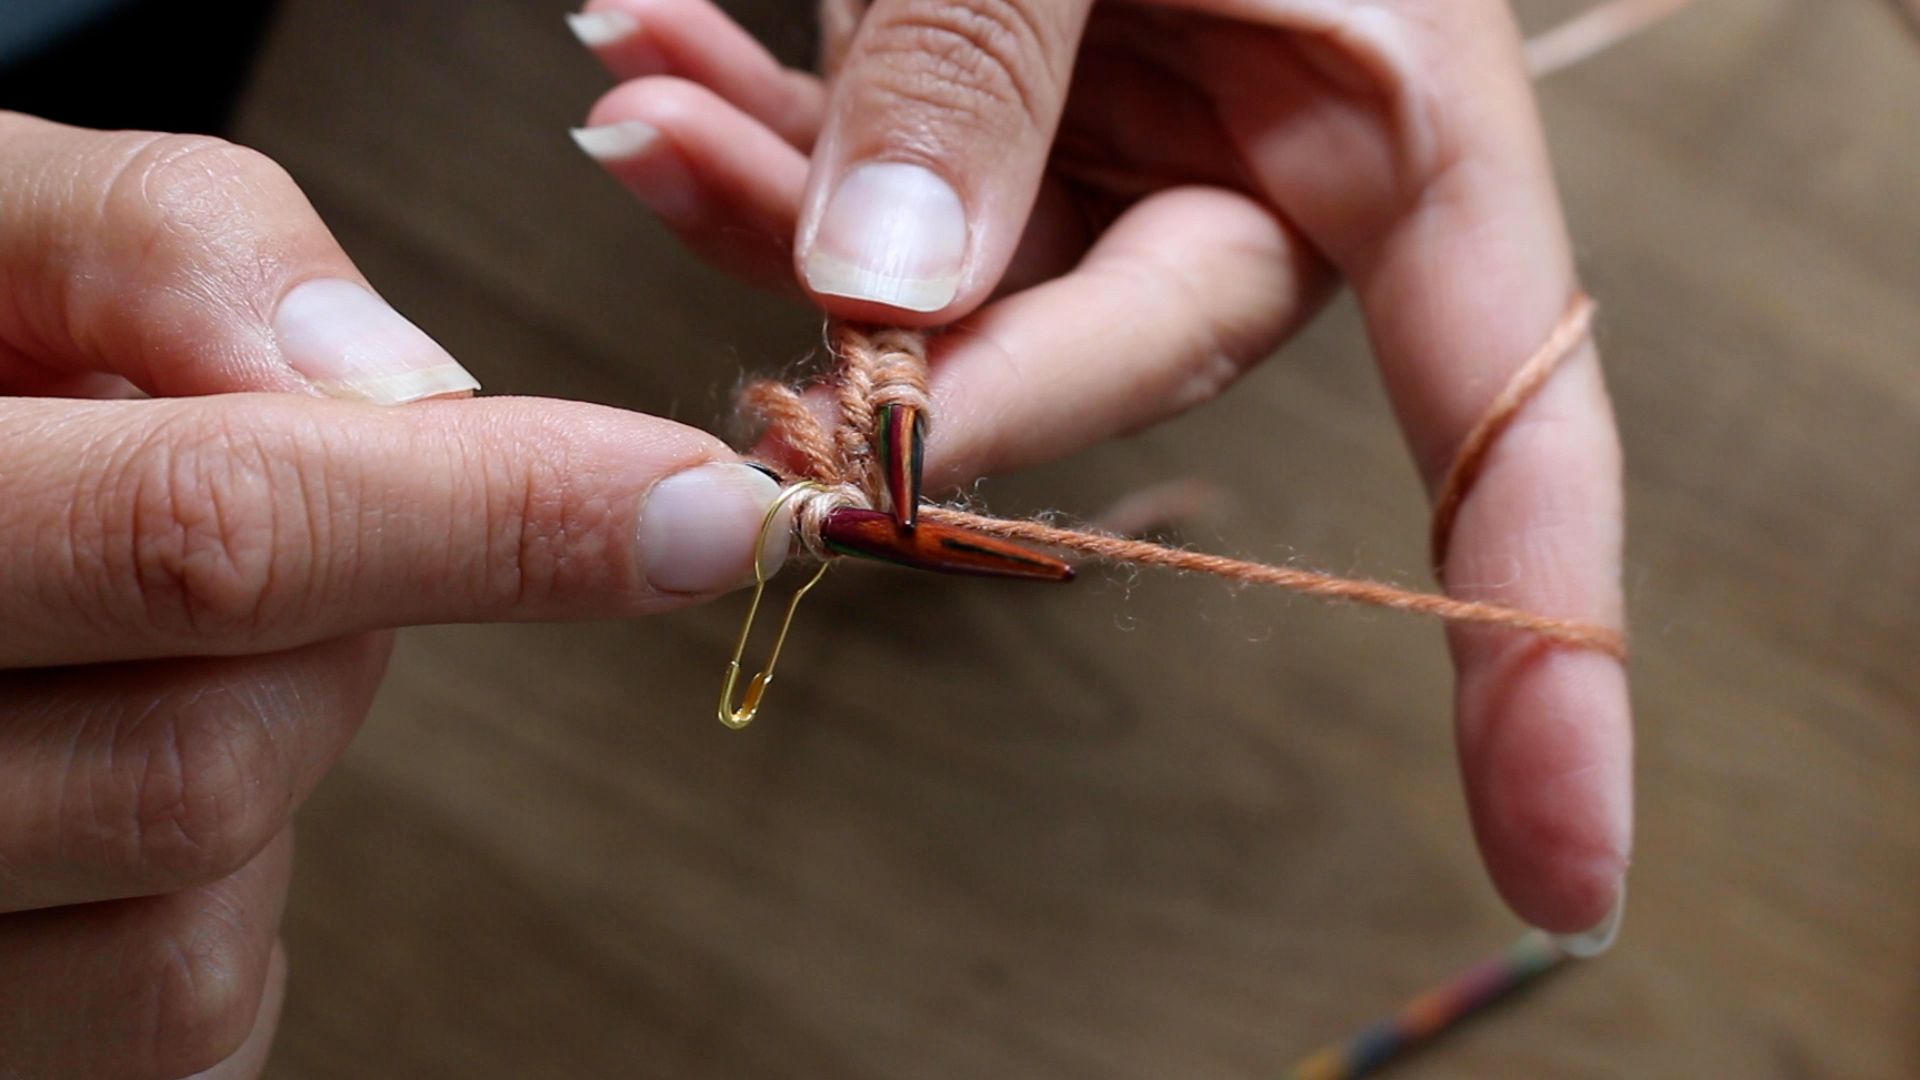
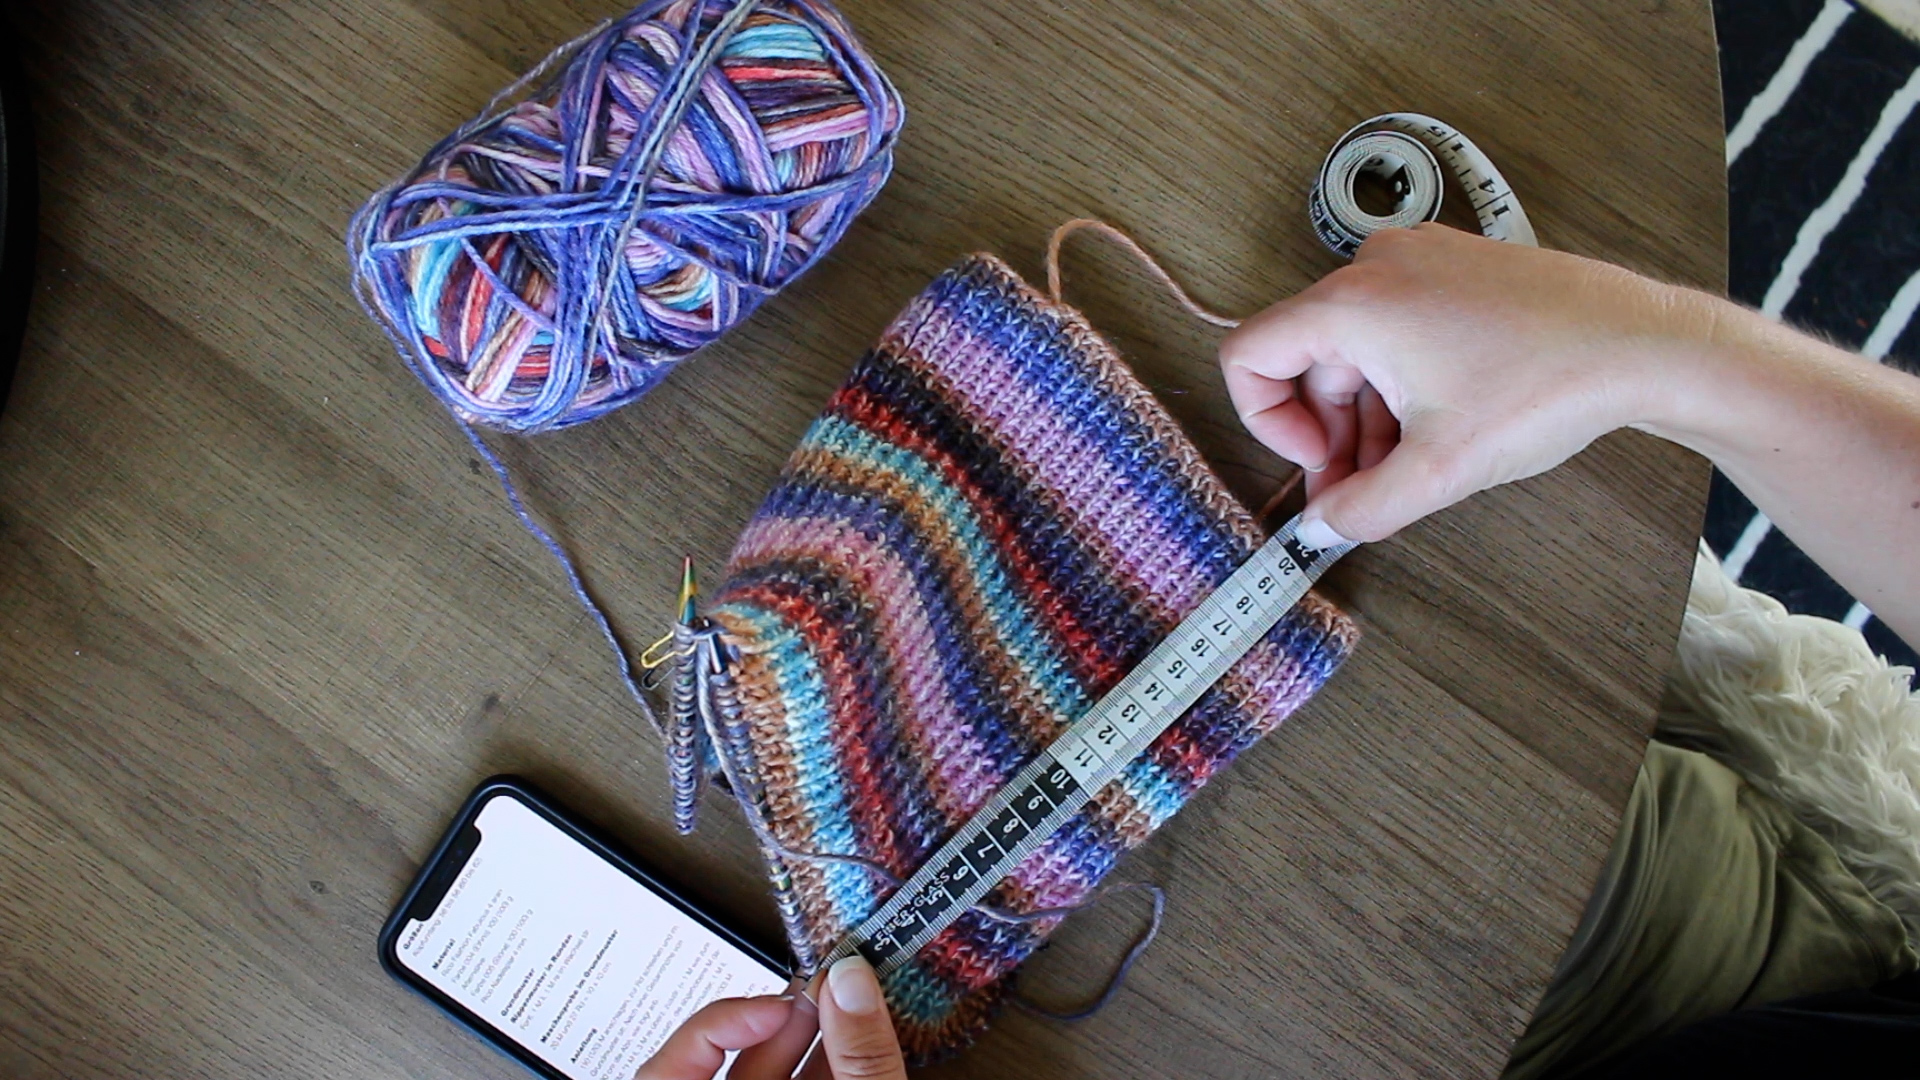
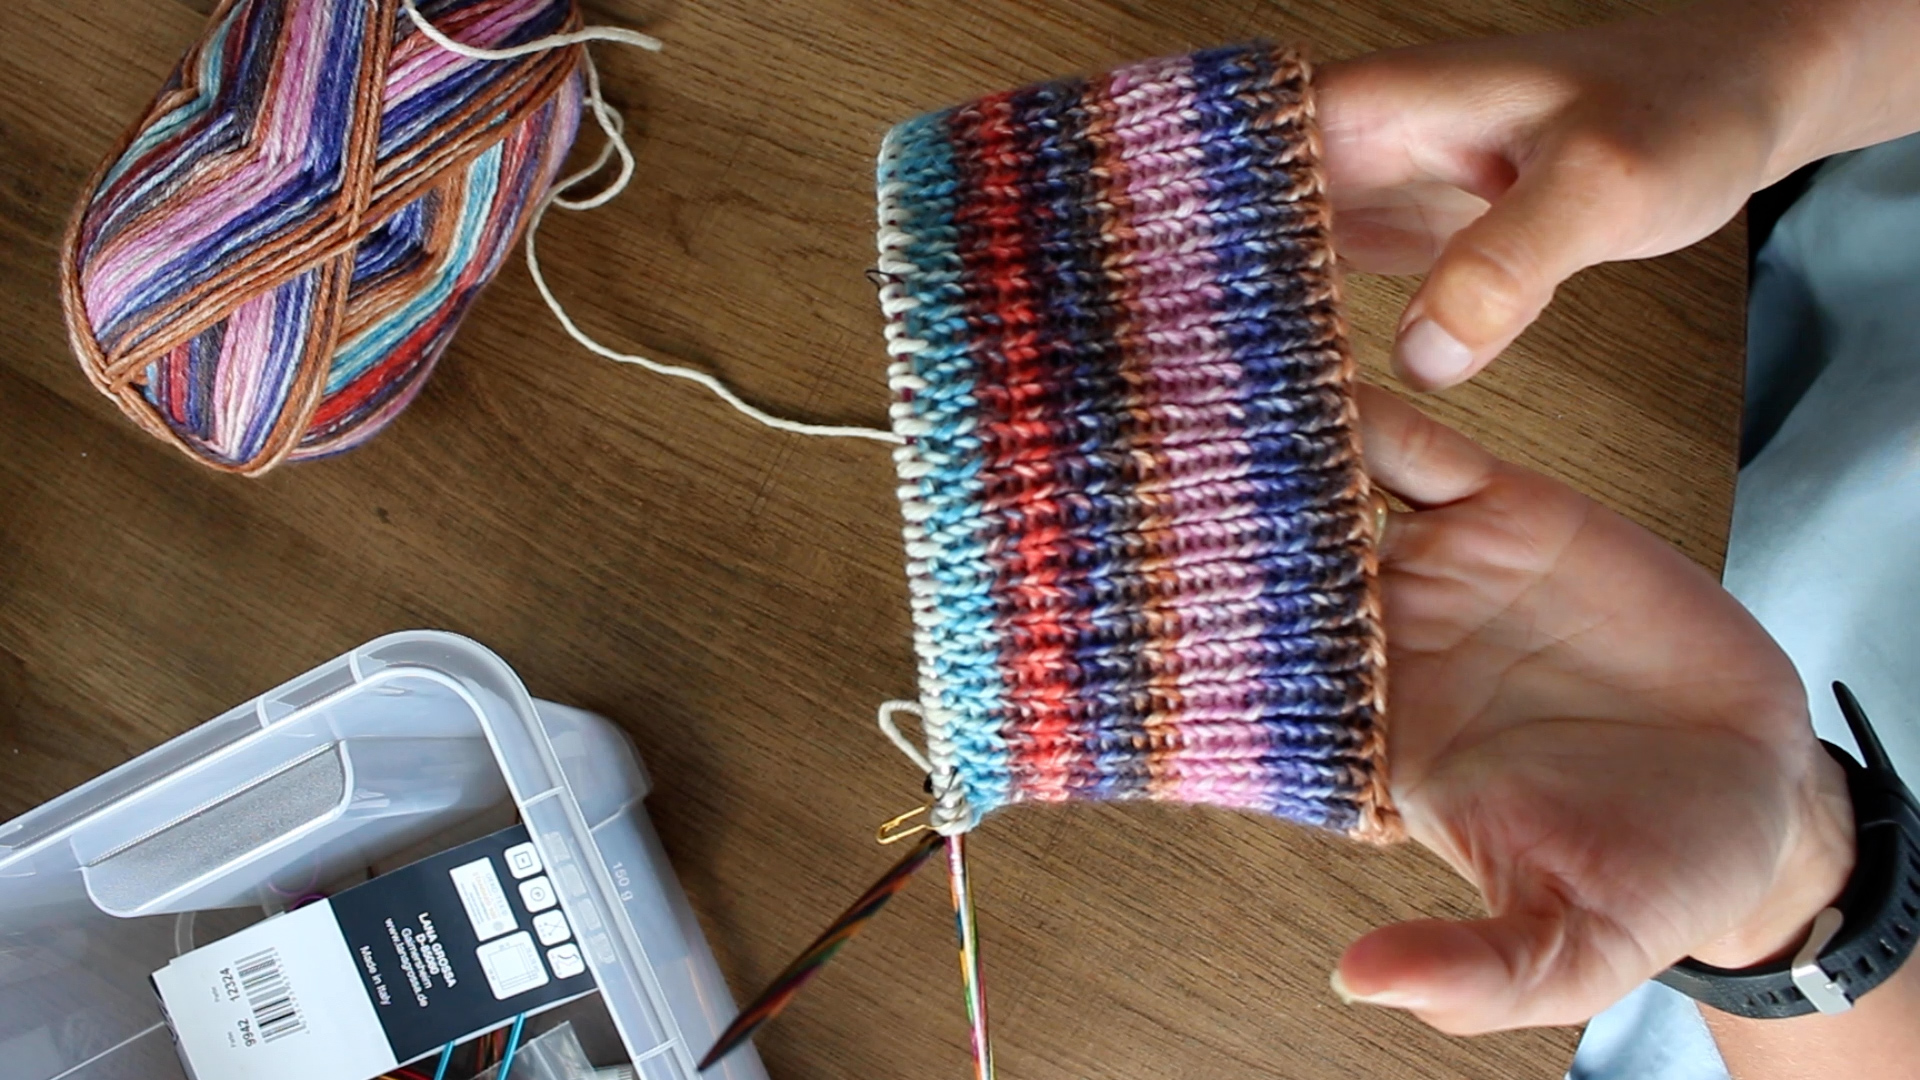
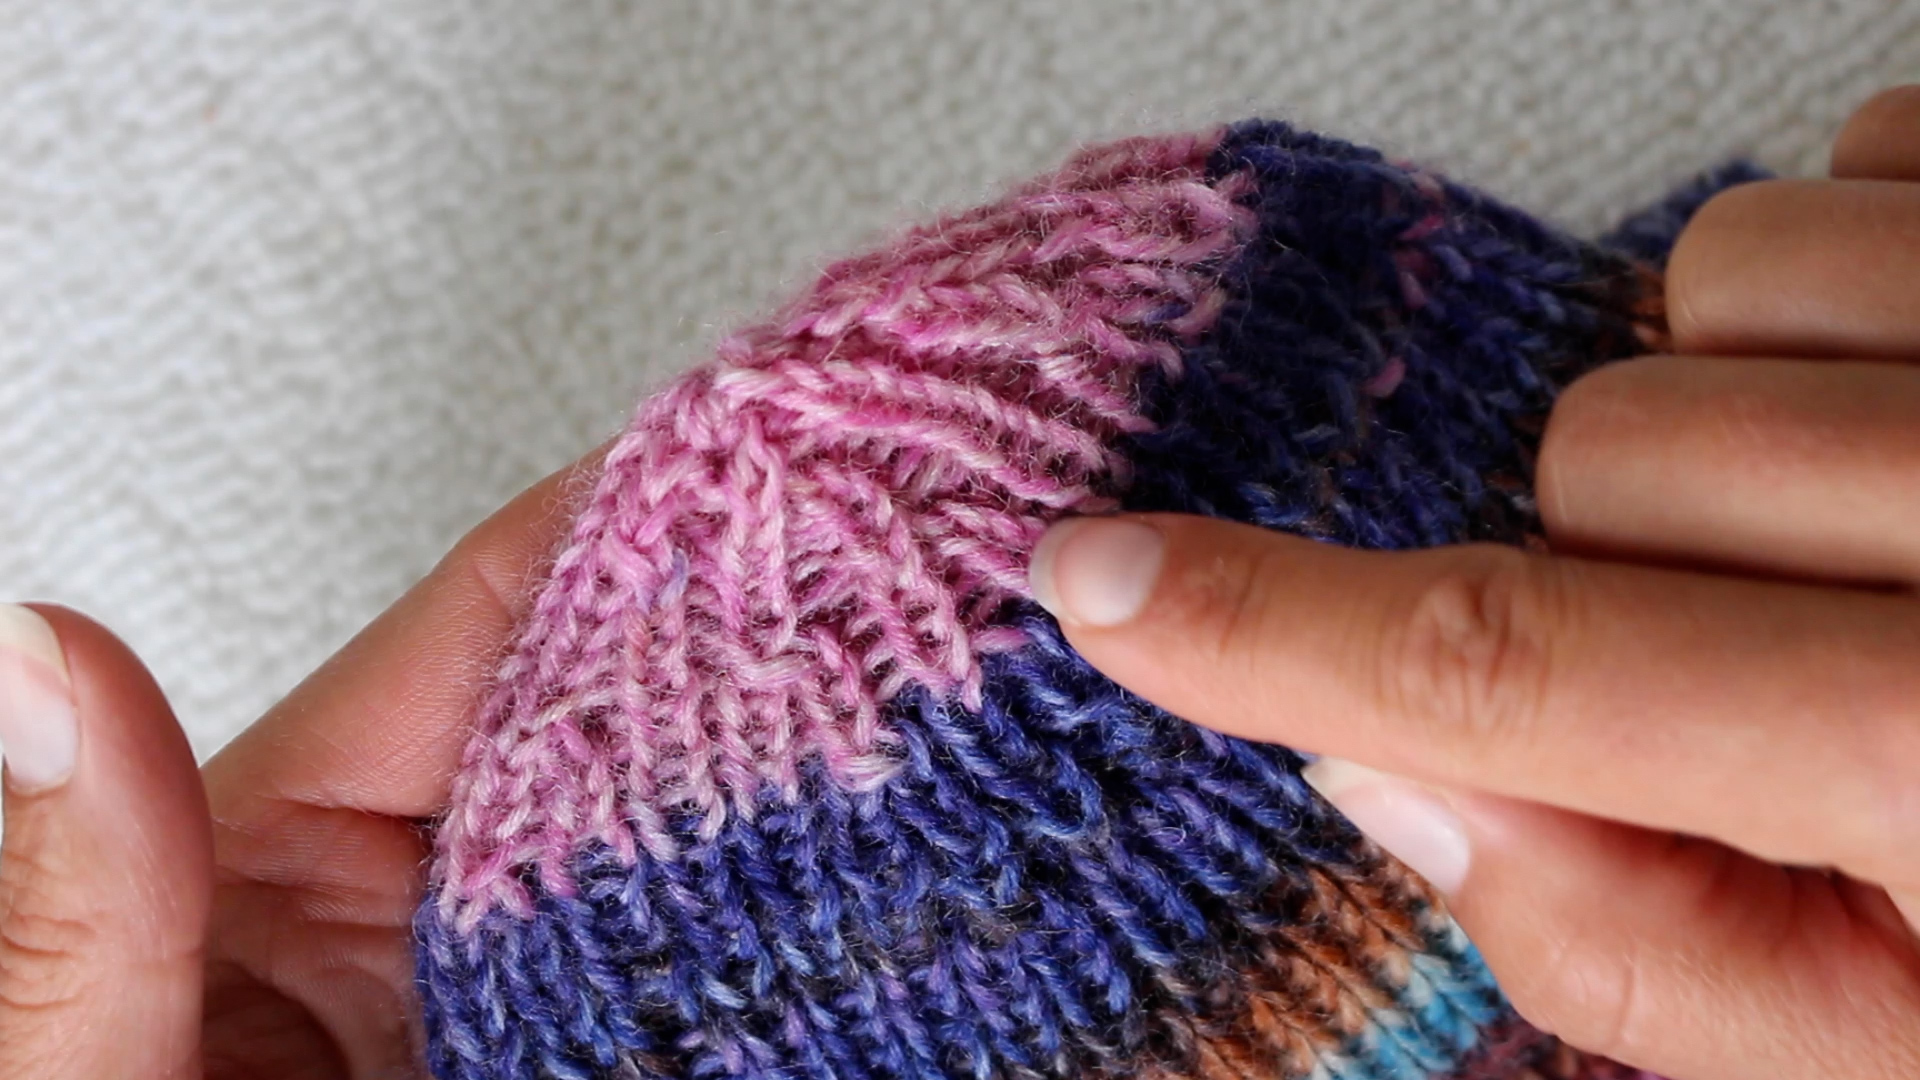
Da mich die Mützen-Sucht erwischt hat, zeige ich euch auf in meinem 5. Strick-Tutorial, wie ich diese einfache Beanie Mütze mit einem 1-1 Rippenmuster für meinen Bruder stricke. Die Mütze besteht nur aus rechten und linken Maschen und ist daher super einfach zu stricken und definitiv Anfänger-geeignet. Für diese Mütze habe ich 110 Maschen (+1 Masche um die Runde zu schließen) auf einer 4 mm Rundstricknadel angeschlagen. Nach 20 cm im einfachen rechts-links-Rippen-Muster beginne ich die Abnahme, die aus überzogenen Abnahmen und einfachen Abnahmen besteht. Ab der 1. Abnahme stricke ich mit einem Nadelspiel weiter. Nach der letzten Abnahme-Runde bleiben nur noch 9 Maschen übrig, die ich wie beim Socken-Stricken mit dem Restfaden zusammen ziehe.

Since the beanie knitting addiction got me, in my 5th knitting tutorial I’ll show you how I knit this simple beanie hat with a 1-1 rib pattern for my brother. The beanie consists only of knit and purl stitches and is therefore super easy to knit and definitely suitable for beginners. For this beanie I cast on 110 stitches (+1 stitch to close the round) on a 4mm circular needle. When I knited 20 cm / 8“ in the knit-purl rib pattern, I start the decrease, which consists of extended decreases and single decreases. From the 1st decrease I continue to knit with double pointed needles. After the last round of decreases, only 9 stitches remain, which I pull together with the rest of the thread like when I do sock knitting.

EINFACHE MÜTZE MIT 1-1 RIPPENMUSTER FÜR EINEN KOPTUMFANG 56-58 CM

PLAIN HAT WITH 1-1 RIBBING FOR A HEAD SIZE OF 56-58 CM

Grundmuster = Rippenmuster in Runden
Fortl. 1 M li , 1 M re im Wechsel

Anleitung
110 Maschen anschlagen, zur Runde schließen und im Grundmuster stricken
Nach einer Gesamthöhe von 20 cm die Abnahme wie folgt arbeiten:

1. Runde: *1 M li, 3 M re überz. zusstr. (= 1M wie zum Rechts stricken abheben, 2 M rechts zusammenstricken und die abgehobene Masche darüber heben), 14 M im Rippenmuster, 1 M li, 3 M re zusstr. -> ab * noch 4x wdh. = 90 M

2. –  6. Runde: Ohne Abn. stricken

7. Runde: *1 M li, 3 M re überz. zusstr., 10 M im Rippenmuster, 1 M li, 3 M re zusstr. -> ab * noch 4x wdh. = 70 M

8. – 12. Runde: Ohne Abn. stricken

13. Runde: *1 M li, 3 M re überz. zusstr., 6 M im Rippenmuster, 1 M li, 3 M re zusstr. -> ab * noch 4x wdh. = 50 M

14. – 16. Runde: Ohne Abn. stricken

17. Runde: *1 M li, 3 M re überz. zusstr., 2 M im Rippenmuster, 1 M li, 3 M re zusstr. -> ab * noch 4x wdh. = 30 M

18. – 20. Runde: Ohne Abn. stricken

21. Runde: *1 M li, 3 M re überz. zusstr., 2 M im Rippenmuster, 1 M li, 3 M re zusstr. -> ab * noch 4x wdh. = 18 M

22. Runde: Ohne Abn. stricken

23. Runde: Jeweils 2 M re zusstr. = 9 M.

Den Faden großzügig abschneiden und durch die resttichen Maschen fest zusammen ziehen. 

Basic pattern = rib pattern in the round
cont. P 1, K 1 alternately

Instructions
Cast on 110 stitches, close into a round and knit in the basic pattern
When the total height is 20 cm, decrease as follows:

1st round: *1 st li, 3 sts re. (= slip 1 st as if to knit, knit 2 together and pass the slipped st over), 14 sts in rib, P 1, K 3 tog. -> repeat from * 4 more times. = 90 sts

2nd – 6th round: Without dec. knit

7th round: *P 1, K 3 together, 10 sts in rib, P 1, K 3 tog. -> repeat from * 4 more times. = 70 sts

8th – 12th round: without dec. knit

13th round: *P 1, K 3 tog, 6 sts in rib, P1, K 3 tog. -> repeat from * 4 more times. = 50 sts

14th – 16th round: without dec. knit

17th round: *P 1, K 3 tog, 2 sts in rib, P1, K 3 tog. -> repeat from * 4 more times. = 30 sts

18th – 20th round: without dec. knit

21st round: *P 1, K 3 together, 2 sts in rib, P 1, K 3 together. -> repeat from * 4 more times. = 18 sts

22nd round: without dec. knit

23rd round: 2 sts together. = 9 sts

Cut the thread generously and pull it tight through the remaining stitches.

Für meine Mütze im Video verwende ich folgende Materialien (alle selbst bezahlt):
Rundstrick-Nadel: Symfonie von Knit Pro, Nadelstärke 4, Länge 60 cm
Nadelspiel: Symfonie von Knit Pro, Nadelstärke 4, Länge 15 cm
Sockenwolle: Meilenweit Cosima von Lana Grossa, Bunt (9942) 

For my hat in the video I use the following materials (all paid for by myself):
Circular knitting needle: Symfonie by Knit Pro, needle size 4, length 60 cm
Double pointed needles: Symfonie by Knit Pro, size 4 needles, length 15 cm
Sock Yarn: Meilenweit Cosima by Lana Grossa, Colorful (9942)

DER ENTSTEHUNGSPROZESS | THE CREATION PROCESS

DAS PERFEKTE OUTDOOR KNITTING PROJEKT. DAS 2. PAAR DER BEQUEMEN RYE LIGHT SOCKEN IST NUN AUCH FERTIG – INKL. TUTORIAL

DAS PERFEKTE OUTDOOR KNITTING PROJEKT. DAS 2. PAAR DER BEQUEMEN RYE LIGHT SOCKEN IST NUN AUCH FERTIG – INKL. TUTORIAL

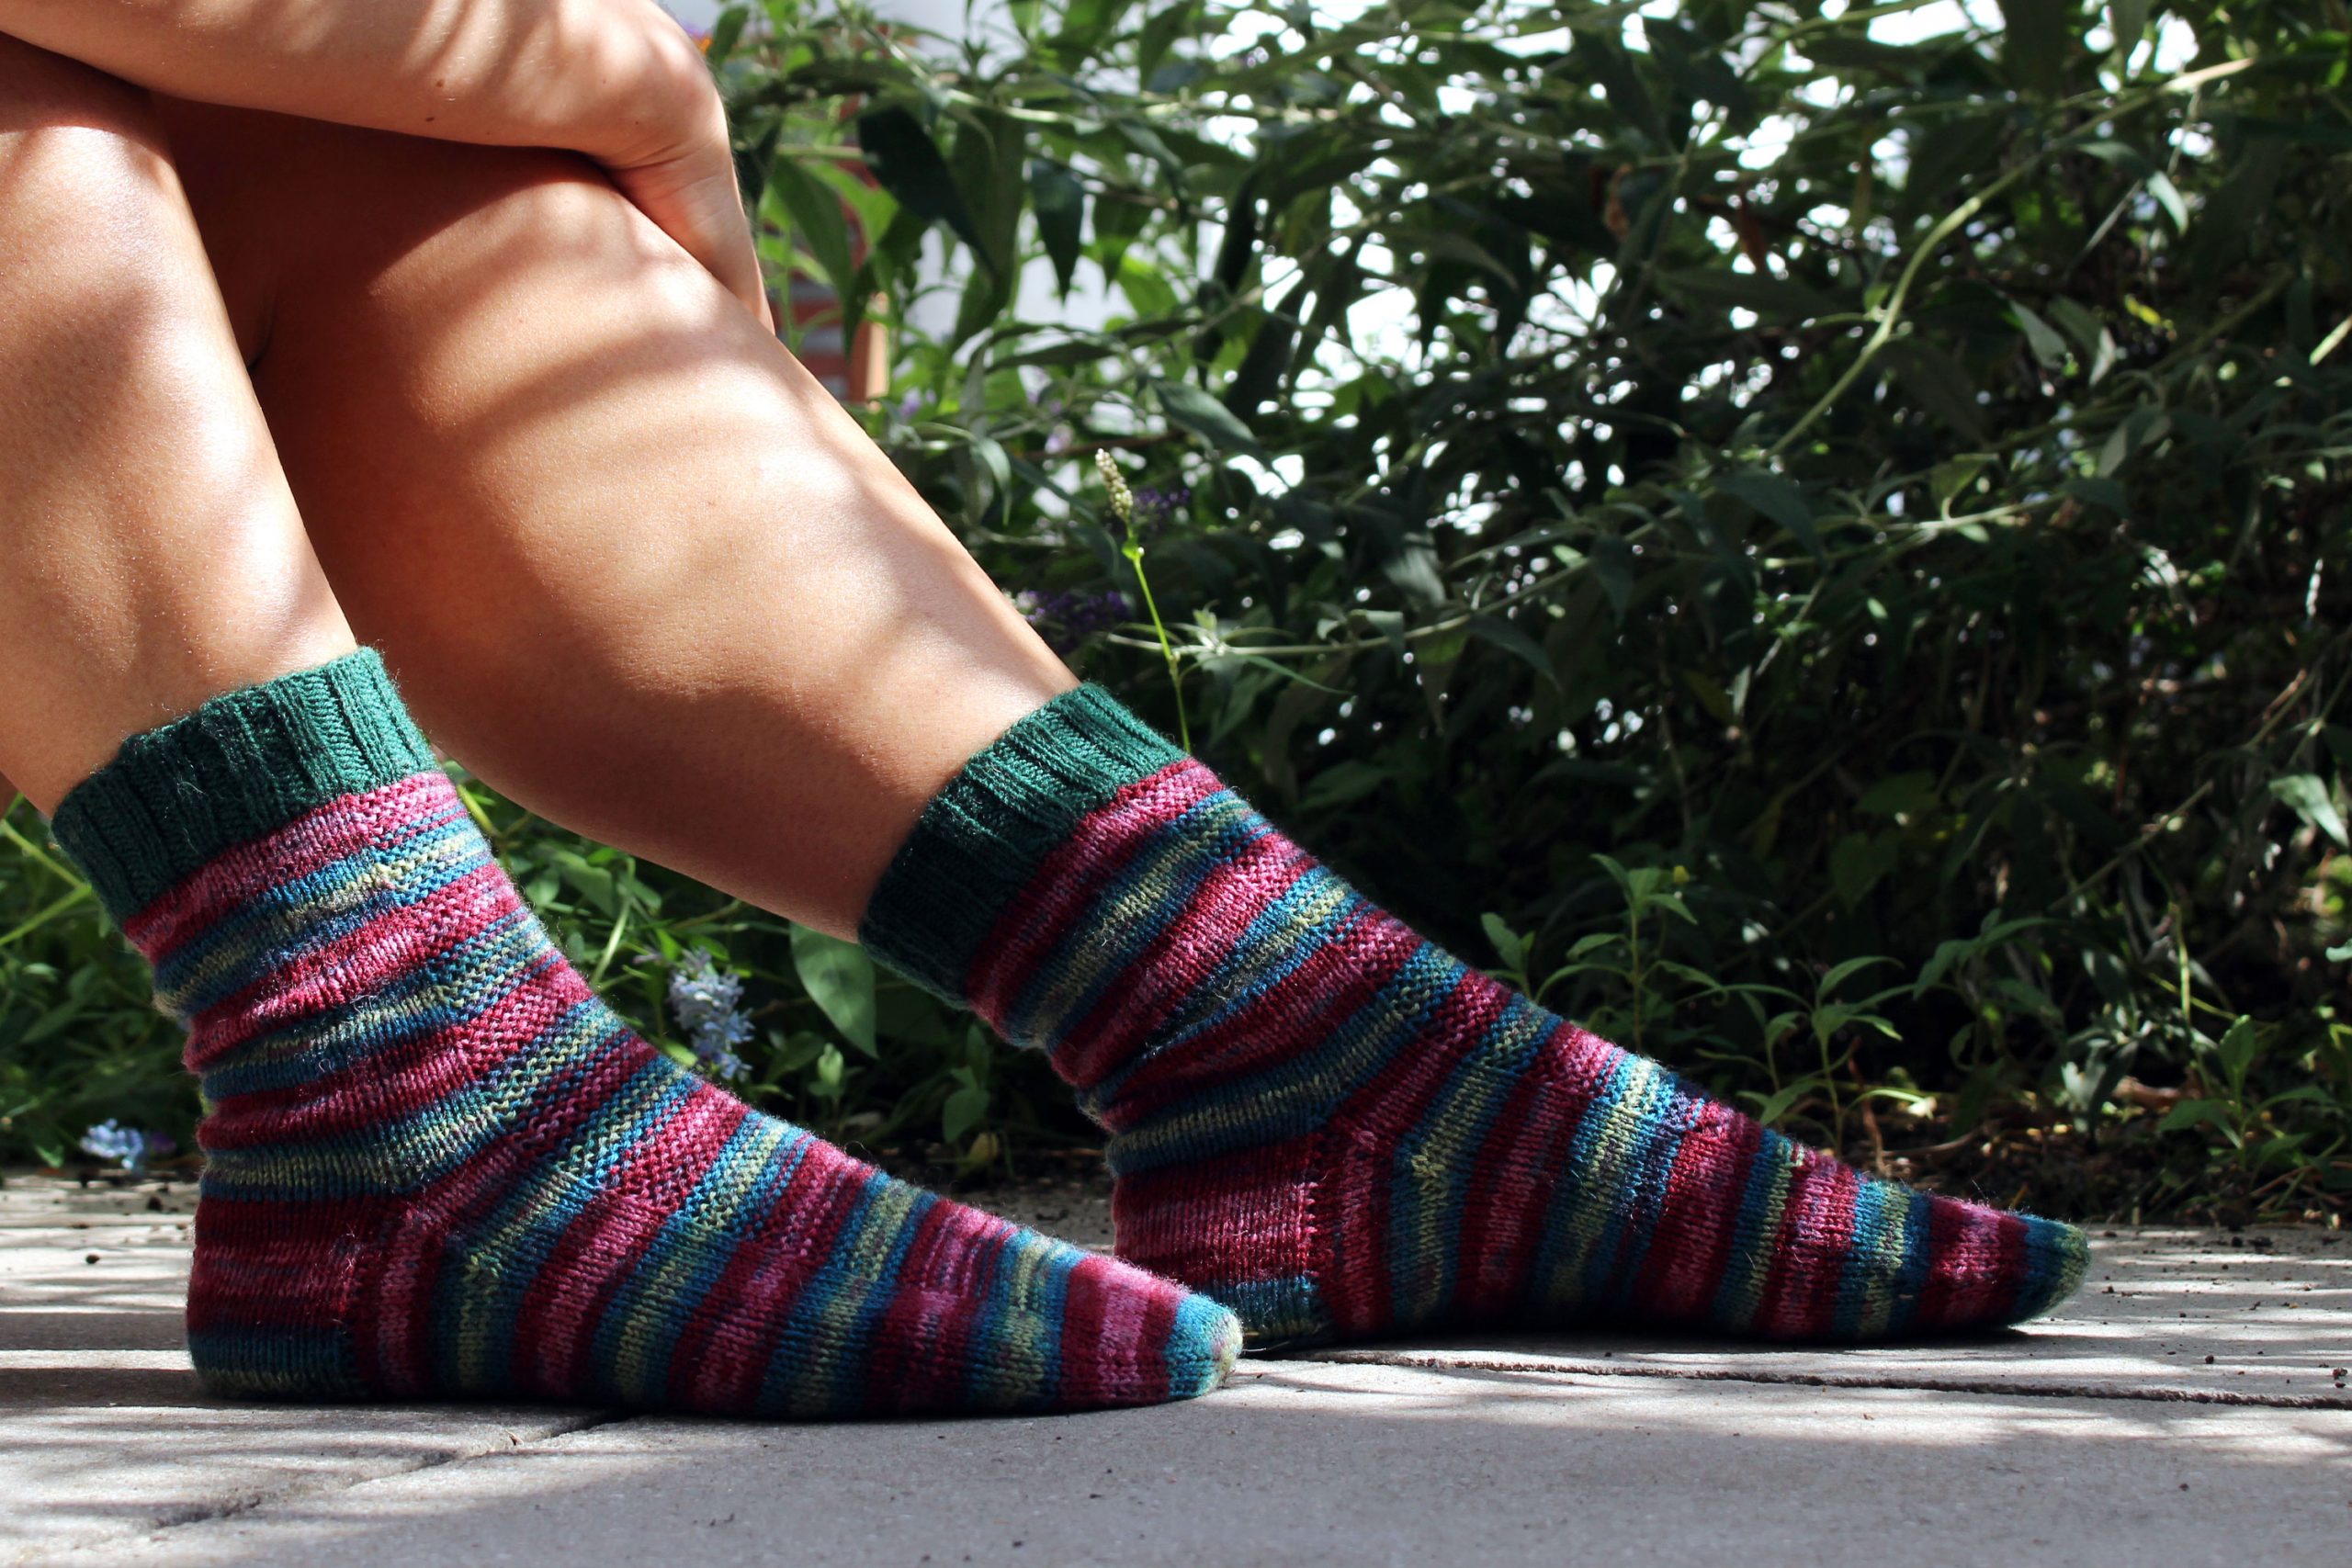
Woran erkennt man, dass ein Strick-Muster richtig cool ist? Ja genau, man muss es gleich zwei Mal hinereinander anschlagen. Und das Mitten im Hochsommer bei über 30°C. Aber nach dem Schwimmen oder nach einer eiskalten Dusche, ist es einfach immer schön, ein bequemes Paar Socken anzuziehen. Und meine gestreiften Rye Light Socken sind dafür einfach perfekt!

How do you know that a knitting pattern is really cool? Yes, you have to hit it twice in a row. And that in the middle of midsummer at over 30°C. But after a swim or after an ice-cold shower, it’s always nice to slip on a comfortable pair of socks. And my striped Rye Light socks are just perfect for that!

In einem meiner letzten Post habe ich euch bereits meine „Rye Light“ Socken aus der weißen Kaschmir-Wolle gezeigt. Ich konnte mich damals einfach nicht zurückhalten. Denn bereits als ich die erste „Rye Light“ Socke in Grün gestrickt hatte, wusste ich, dass ich eine weitere Variante mit diesem Muster haben musste. Und ich wollte nicht warten, bis ich euch das Tutorial in der grünen Variante aufgenommen hatte…

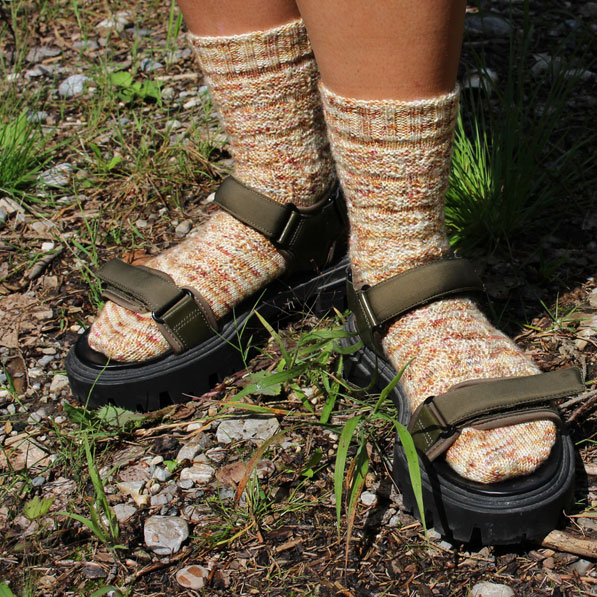
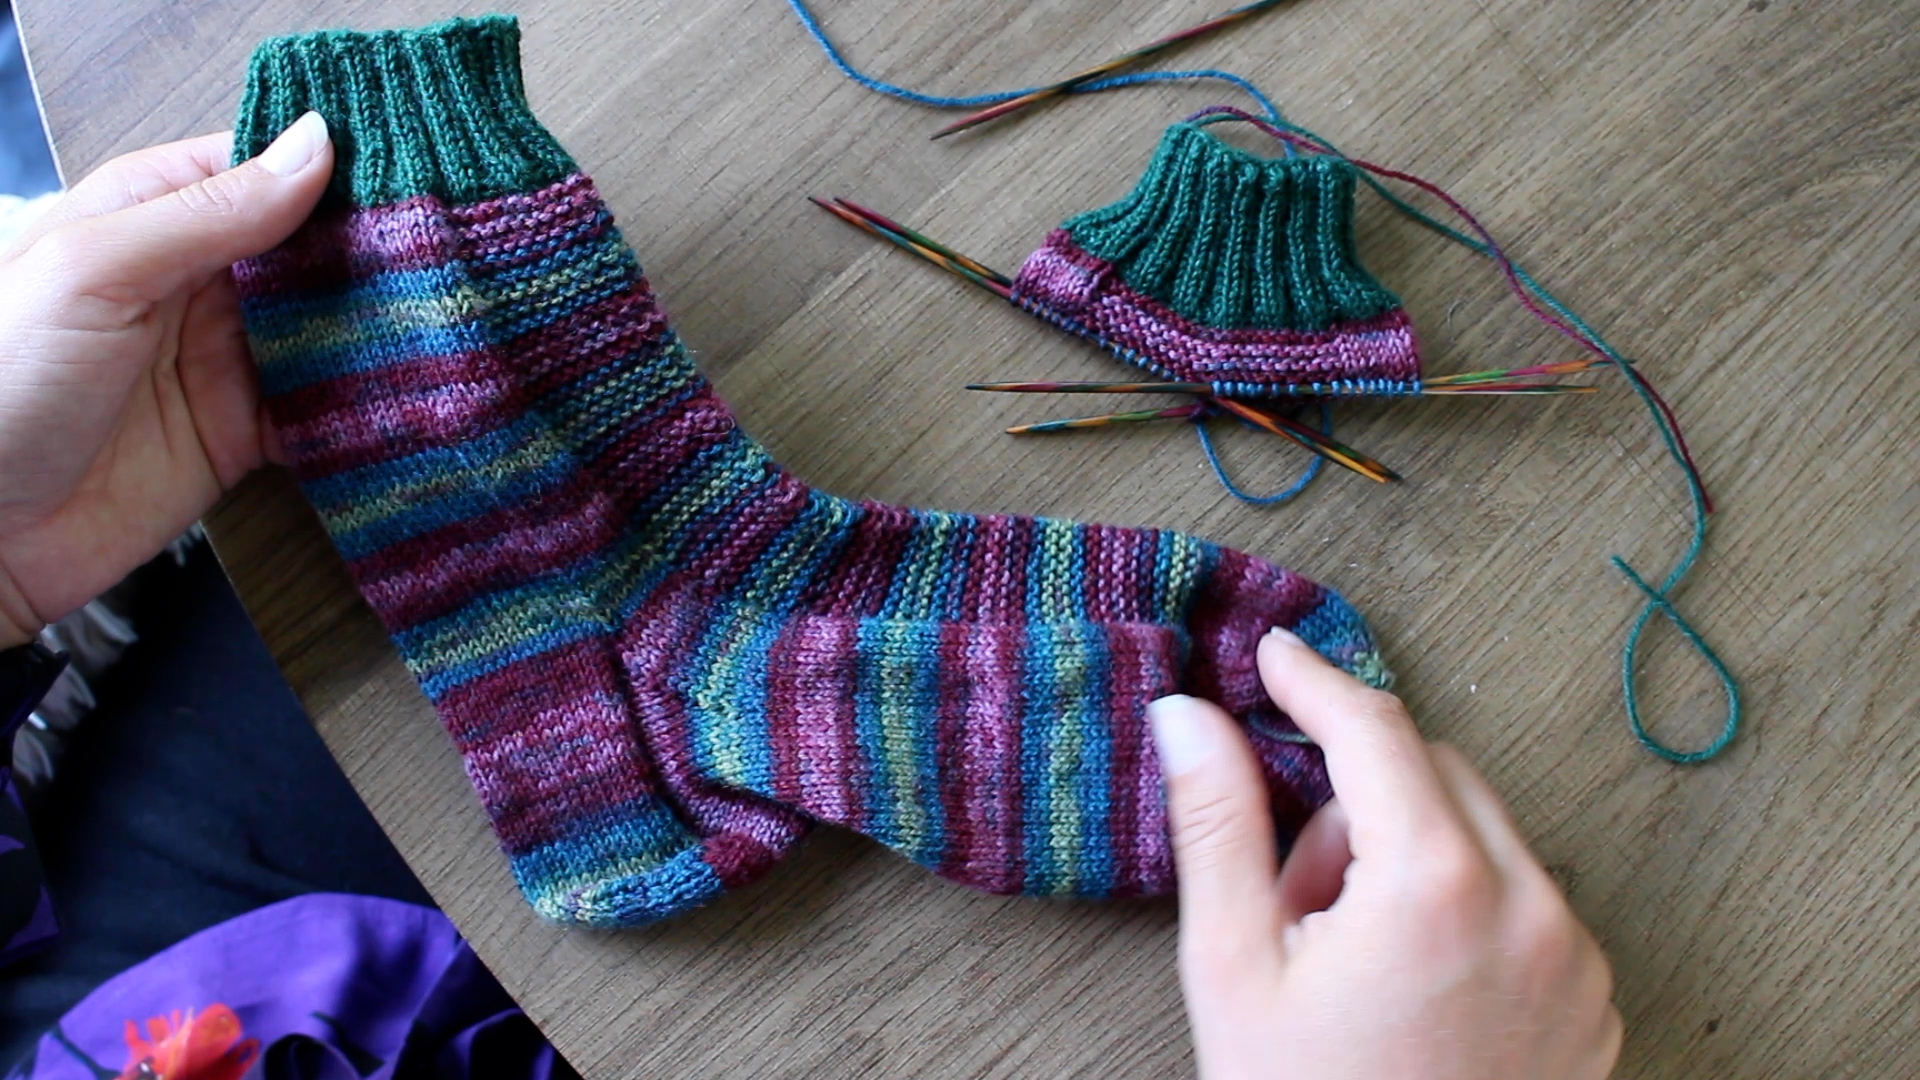
Aber nun ist auch die grüne Socken-Variante aus meinem Tutorial fertig. Und ich LIEBE sie! Diese Socken sind mittlerweile meine absoluten Lieblingssocken. Der Tragekomfort ist unglaublich toll und die Farben sind einfach perfekt für mich.

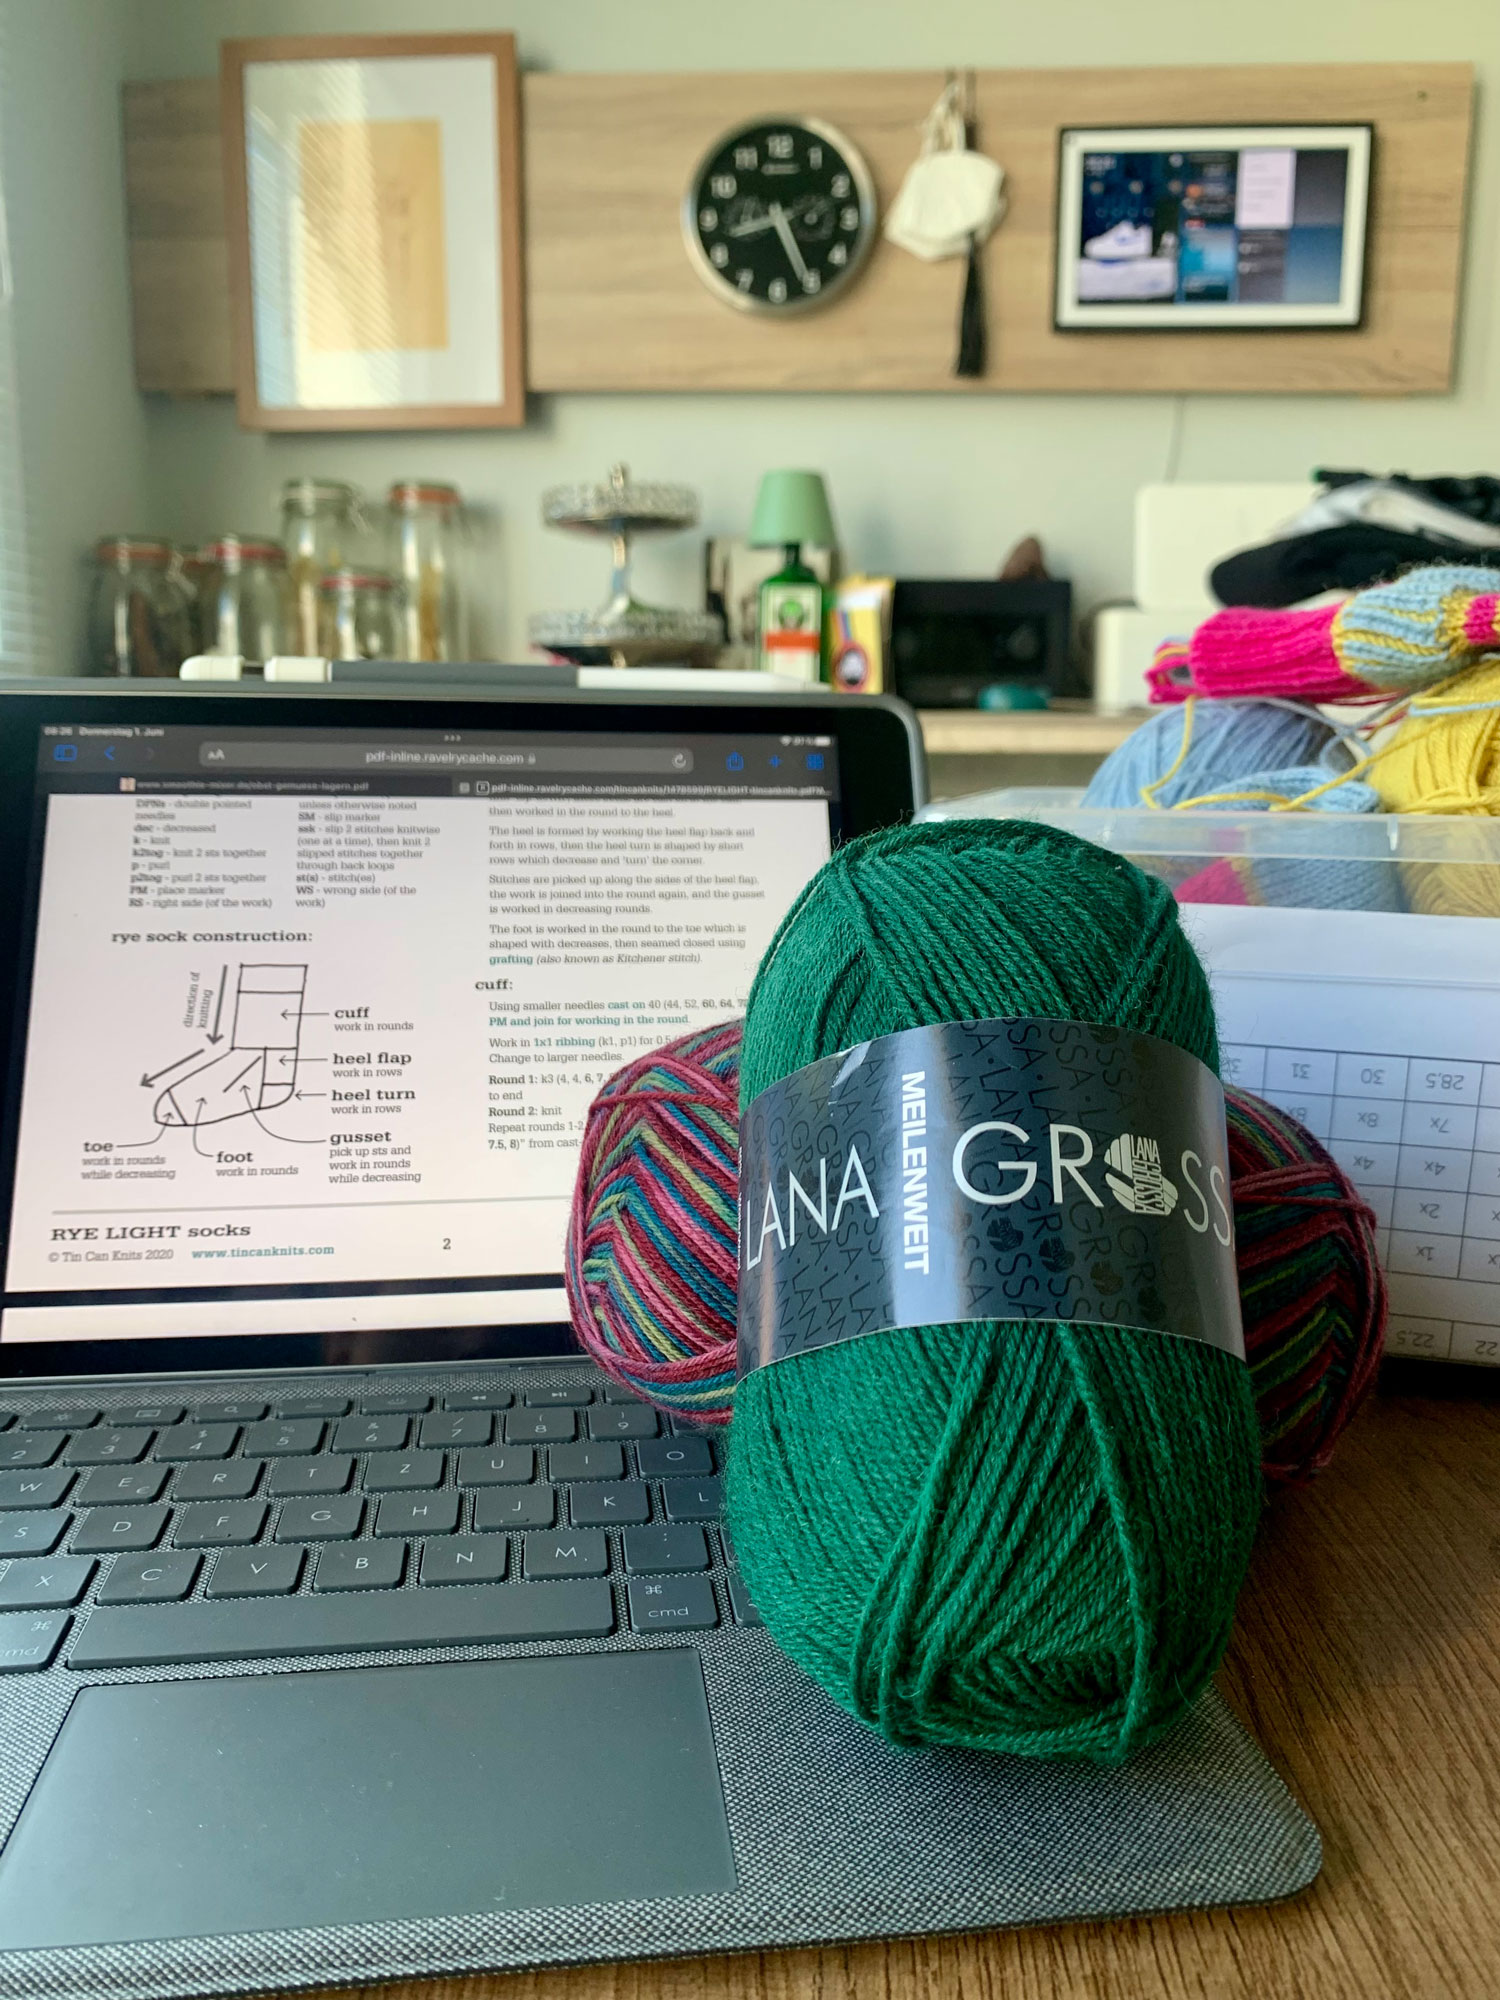
Wie bereits im letzten Post erwähnt, habe ich das kostenlose Original-Muster von Tin Can Knits online auf Ravelry gesehen und mich sofort darin verliebt. Ich habe das Muster an meine Grundsocke angepasst, allerdings erkenne ich nun an der fertigen Socke keinen Unterschied zum Original. Meine Anpassung hat also wunderbar funktioniert. 

In one of my last posts I already showed you my „Rye Light“ socks made of white cashmere wool. I just couldn’t hold myself back then. Because as soon as I knitted the first „Rye Light“ sock in green, I knew that I had to have another variant with this pattern. And I didn’t want to wait until I recorded the tutorial in the green variant for you…

But now the green sock variant from my tutorial is finished. And I LOVE them! These socks are now my absolute favorite socks. The wearing comfort is incredibly great and the colors are just perfect for me.

As mentioned in the last post, I saw the free original Tin Can Knits pattern online on Ravelry and fell in love with it immediately. I have adapted the pattern to my basic sock, but I can now see no difference in the finished sock from the original. So my adjustment worked wonderfully.

Wenn ihr also auch ein neues Paar Lieblingssocken benötigt oder sie gerne einer geliebten Person schenken möchtet, dann schaut doch mein letztes Socken-Tutorial auf YouTube an.

So if you also need a new pair of favorite socks or would like to give them to a loved one, then check out my last sock tutorial on YouTube.

DIE SOCKE / DAS MUSTER:
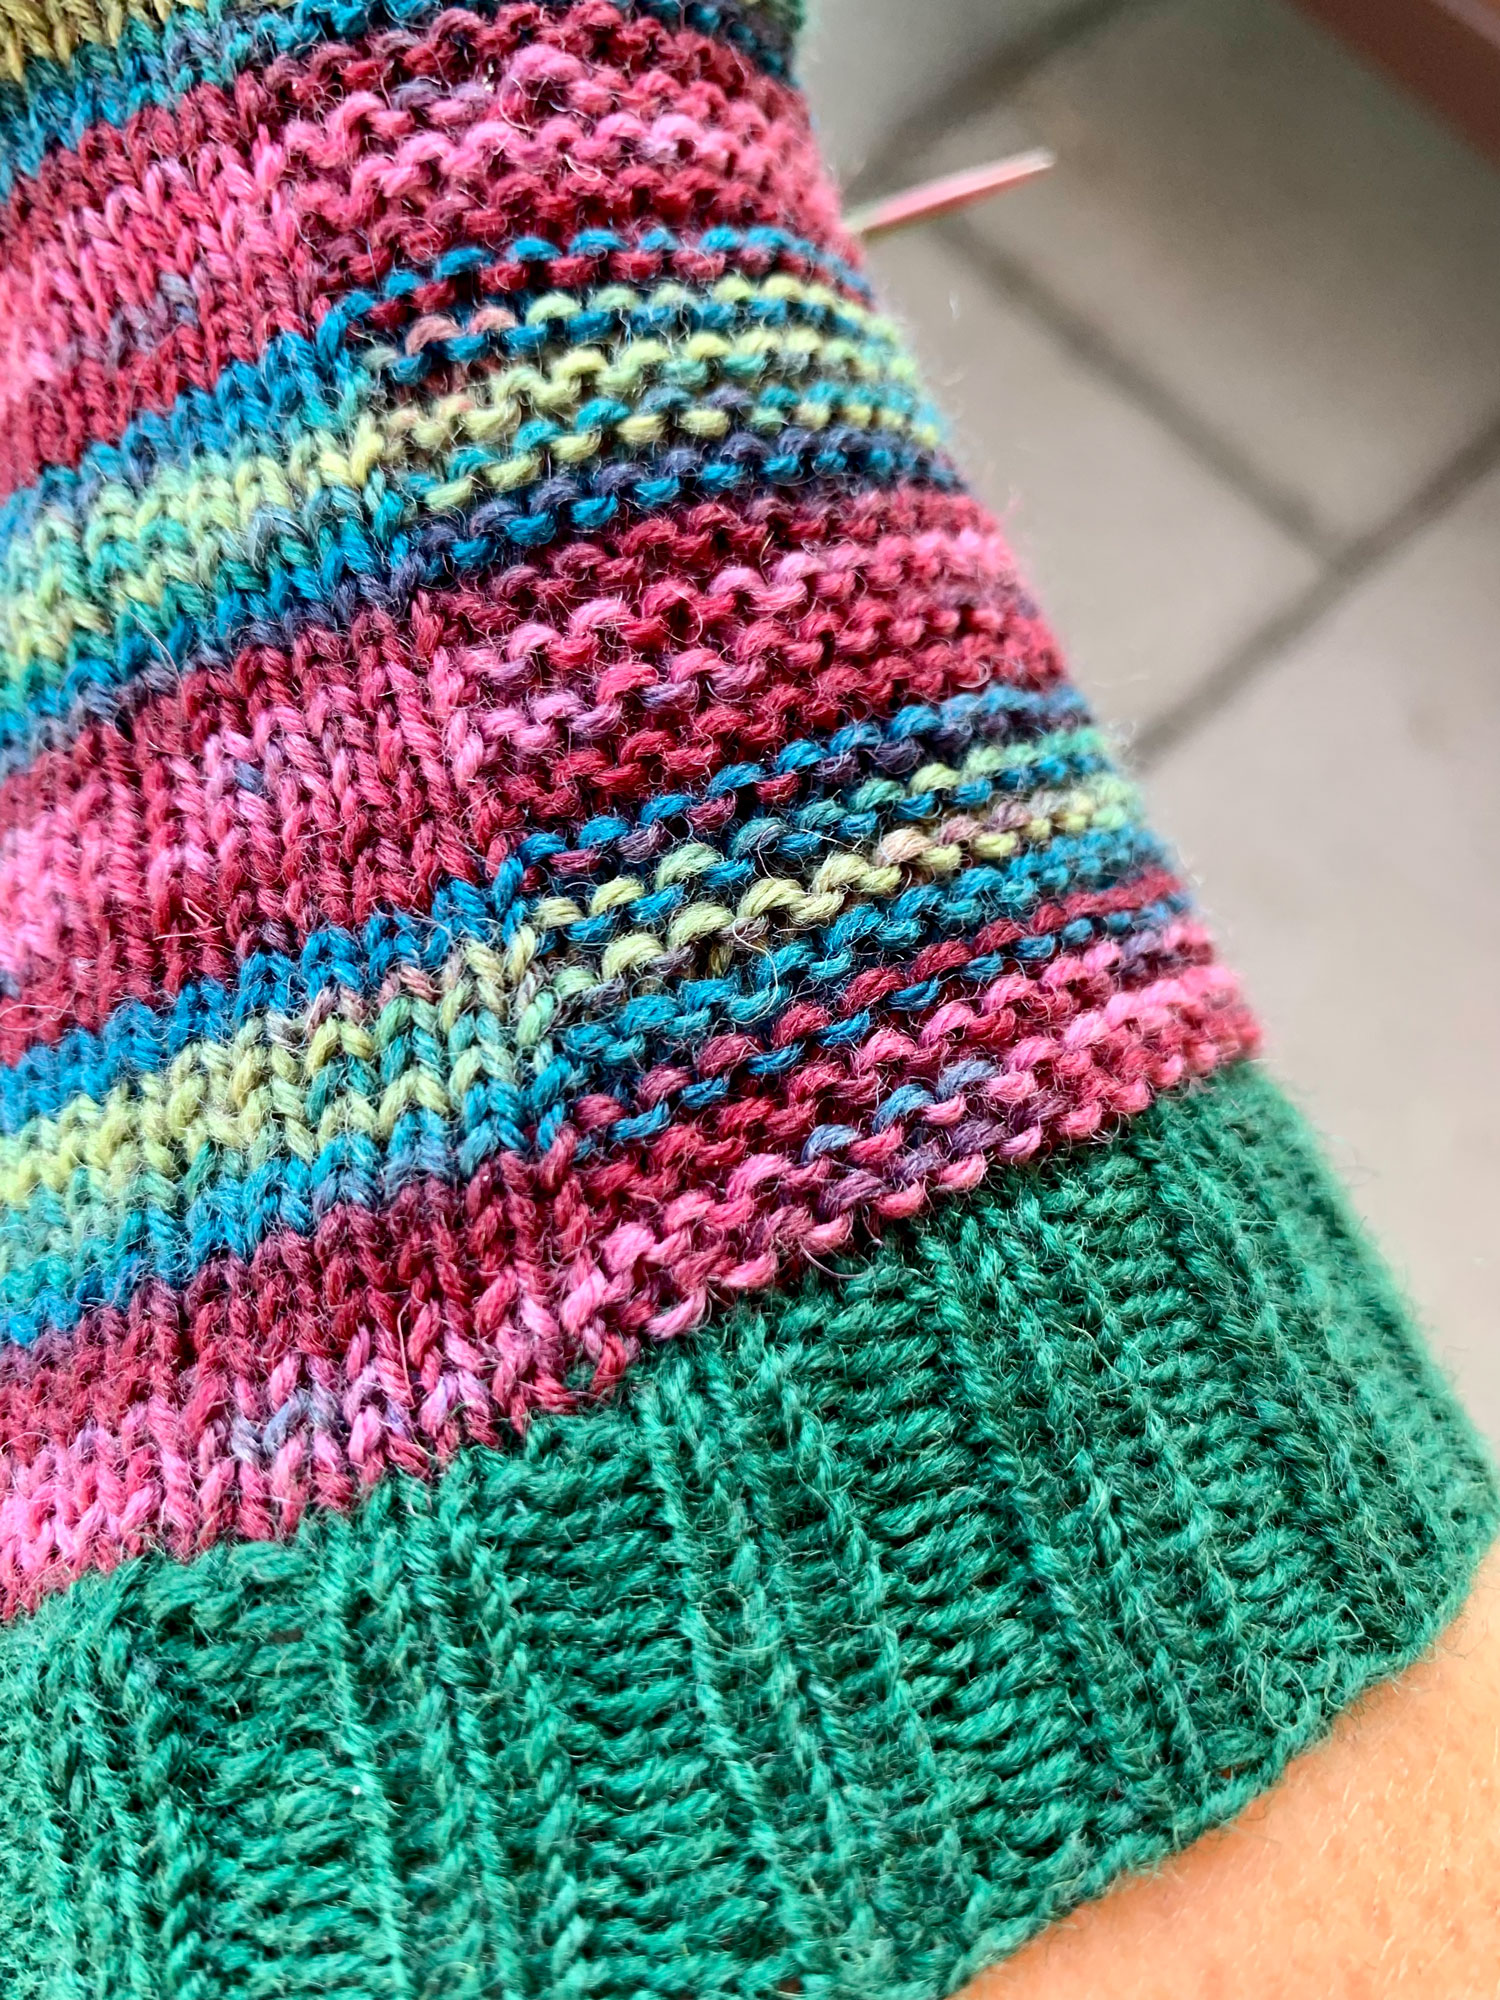
Für Größe 40/41 64 Maschen auf einem Nadelspiel anschlagen = 16 Maschen pro Nadel

Bündchen auf gewünschte Länge stricken

1. Runde: Nadeln 1- 4 rechts stricken

2. Runde: Nadel 1 + 4 rechts stricken, Nadel 2: 6 Maschen rechts stricken, 10 Maschen links stricken, Nadel 3: 10 Maschen links stricken, 6 Maschen rechts stricken

3. Runde: Nadeln 1- 4 rechts stricken

Das oben genannte Muster durchgehend stricken, mit Ausnahme der Ferse und der Spitze.

THE SOCK / THE PATTERN:
For size 40/41 cast on 64 stitches on double pointed needles = 16 stitches per needle

Knit cuffs to desired length

1st round: Knit needles 1-4 on the right

2nd round: Knit needle 1 + 4, needle 2: knit 6 stitches, purl 10 stitches, needle 3: purl 10 stitches, knit 6 stitches

3rd round: Knit needles 1-4 on the right

Knit pattern above the entire length except heel and toe.

Für meine Socken im Video verwende ich folgende Materialien (alle selbst bezahlt):
Nadelspiel: Symfonie von Knit Pro, Nadelstärke 2,5, Länge 15 cm
Grünes Garn: Meilenweit von Lana Grossa, Flaschengrün (1367)
Verlaufs-Garn: Art.-No.:9801269 von REGIA, Schneeanzug (07707)

For my socks in the video I use the following materials (all paid for by myself):
Double pointed needles: Symfonie by Knit Pro, needle size 2.5, length 15 cm
Green Yarn: Meilenweit from Lana Grossa, Bottle Green (1367)
Gradient yarn: Art.-No.:9801269 from REGIA, snow suit (07707)

DER ENTSTEHUNGSPROZESS | THE CREATION PROCESS

JUHU! JETZT KANN ICH AUCH NOCH MÜTZEN STRICKEN

JUHU! JETZT KANN ICH AUCH NOCH MÜTZEN STRICKEN

Juhu! Jetzt kann ich auch noch Mützen stricken. Ist das nicht toll!?! 

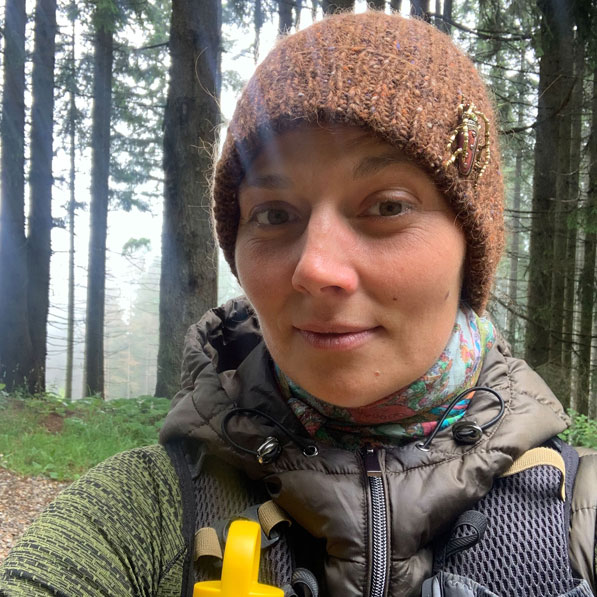
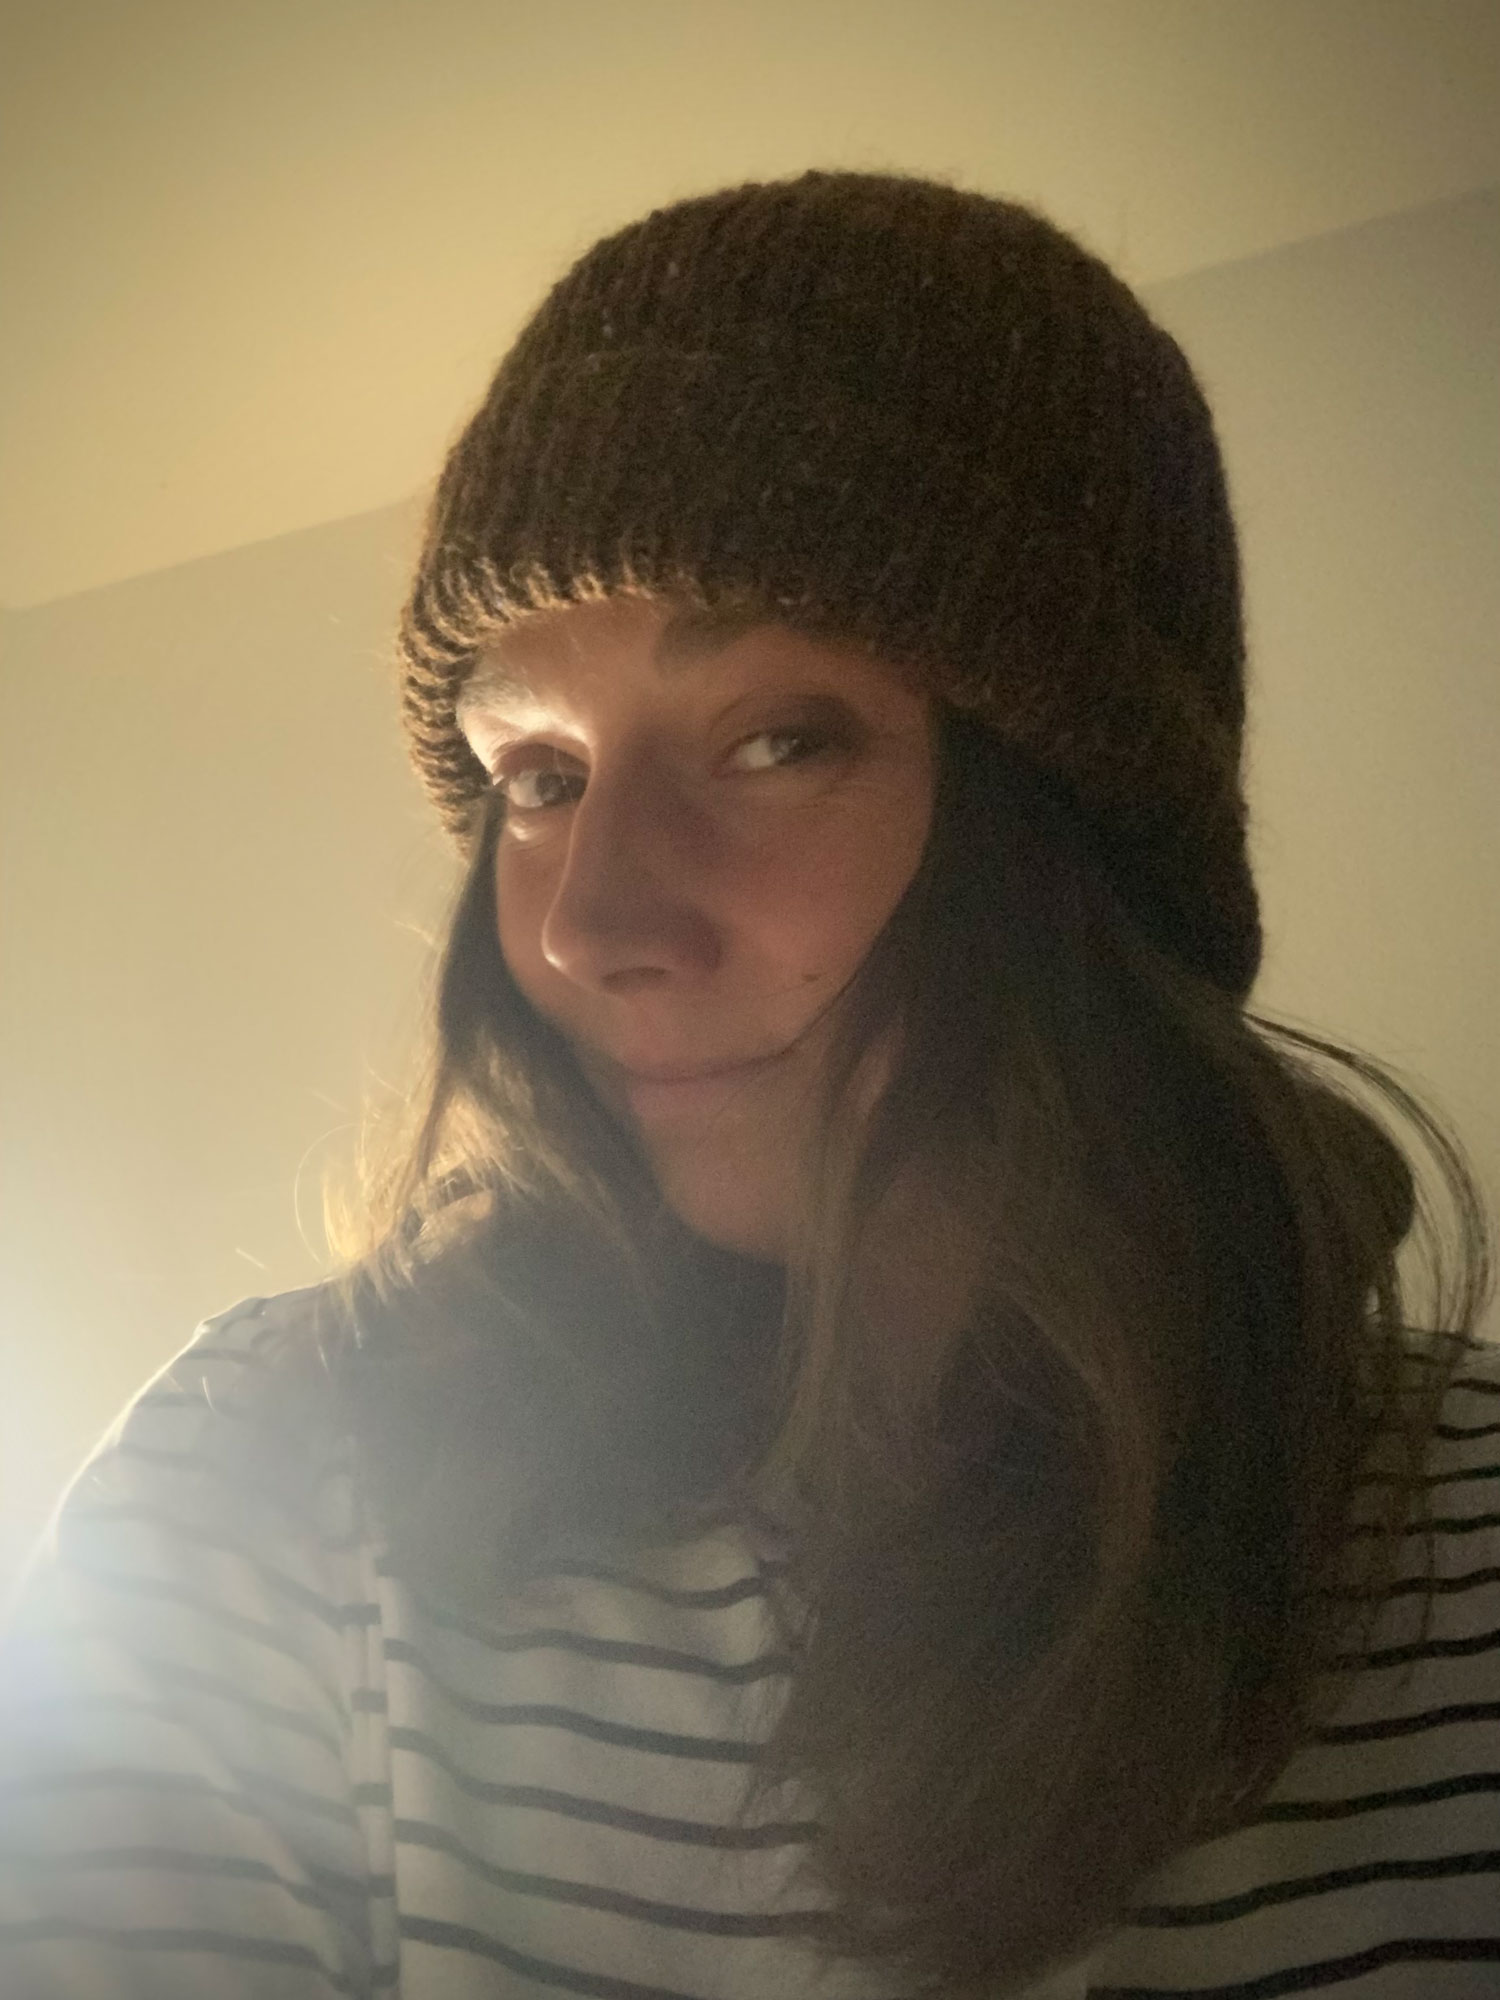
Mein Mann und ich, wir lieben einfach Mützen und tragen sie tatsächlich ständig. Gerade wenn es wieder etwas kälter wird und ich mehrmals täglich mit dem Hund draußen bin, trage ich Mützen non-stop. Ich mag einfach das Gefühl, wenn sich eine Mütze an den Kopf und vor allem an meine Ohren schmiegt und mich schön wärmt. 

Für mich muss eine Mütze daher in erster Linie funktional sein. Sie muss schön eng sitzen und darf nicht labbrig an meinem Kopf herunterhängen. Daher freut es mich jetzt so sehr, dass ich in Zukunft nur noch meine eigenen Mützen tragen werde. Denn dann kann ich das Material und den Umfang der Mütze selbst bestimmen.  

Yay! Now I can knit hats too. Is not that great!?!

My husband and I just love hats and actually wear them all the time. Especially when it’s getting a little colder and I’m outside with the dog several times a day, I wear hats non-stop. I just like the feeling when a hat nestles against my head and especially my ears and warms me up nicely.

For me, a cap has to be functional first and foremost. It has to be nice and snug and not saggy around my head. That’s why I’m so happy now that I’ll only wear my own hats in the future. Because then I can determine the material and size of the hat myself.

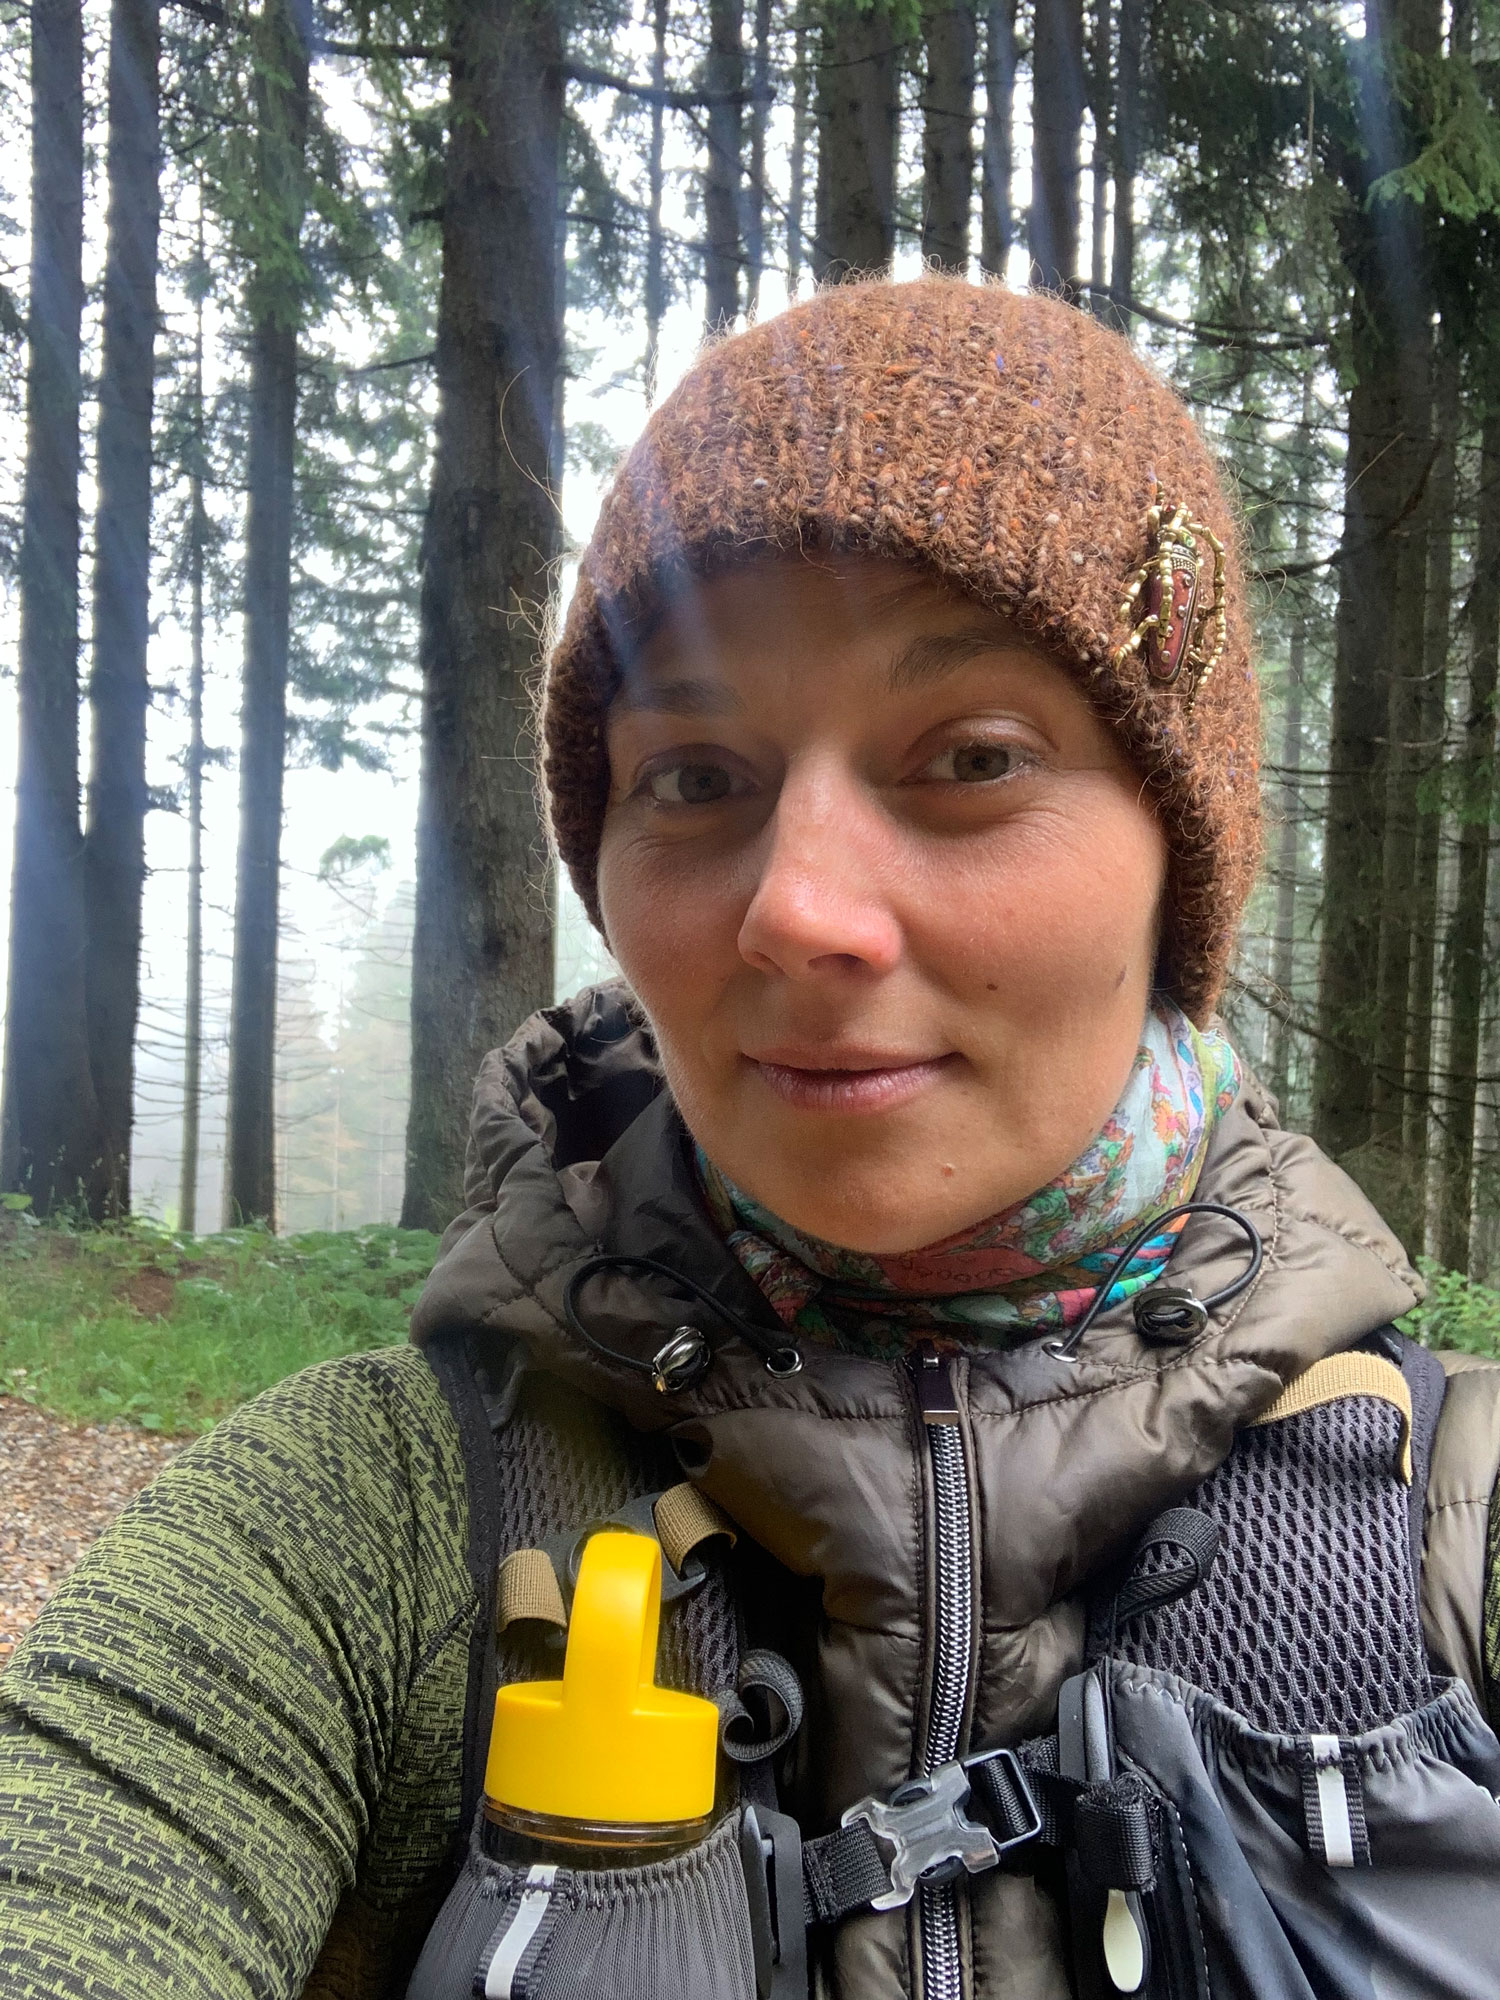
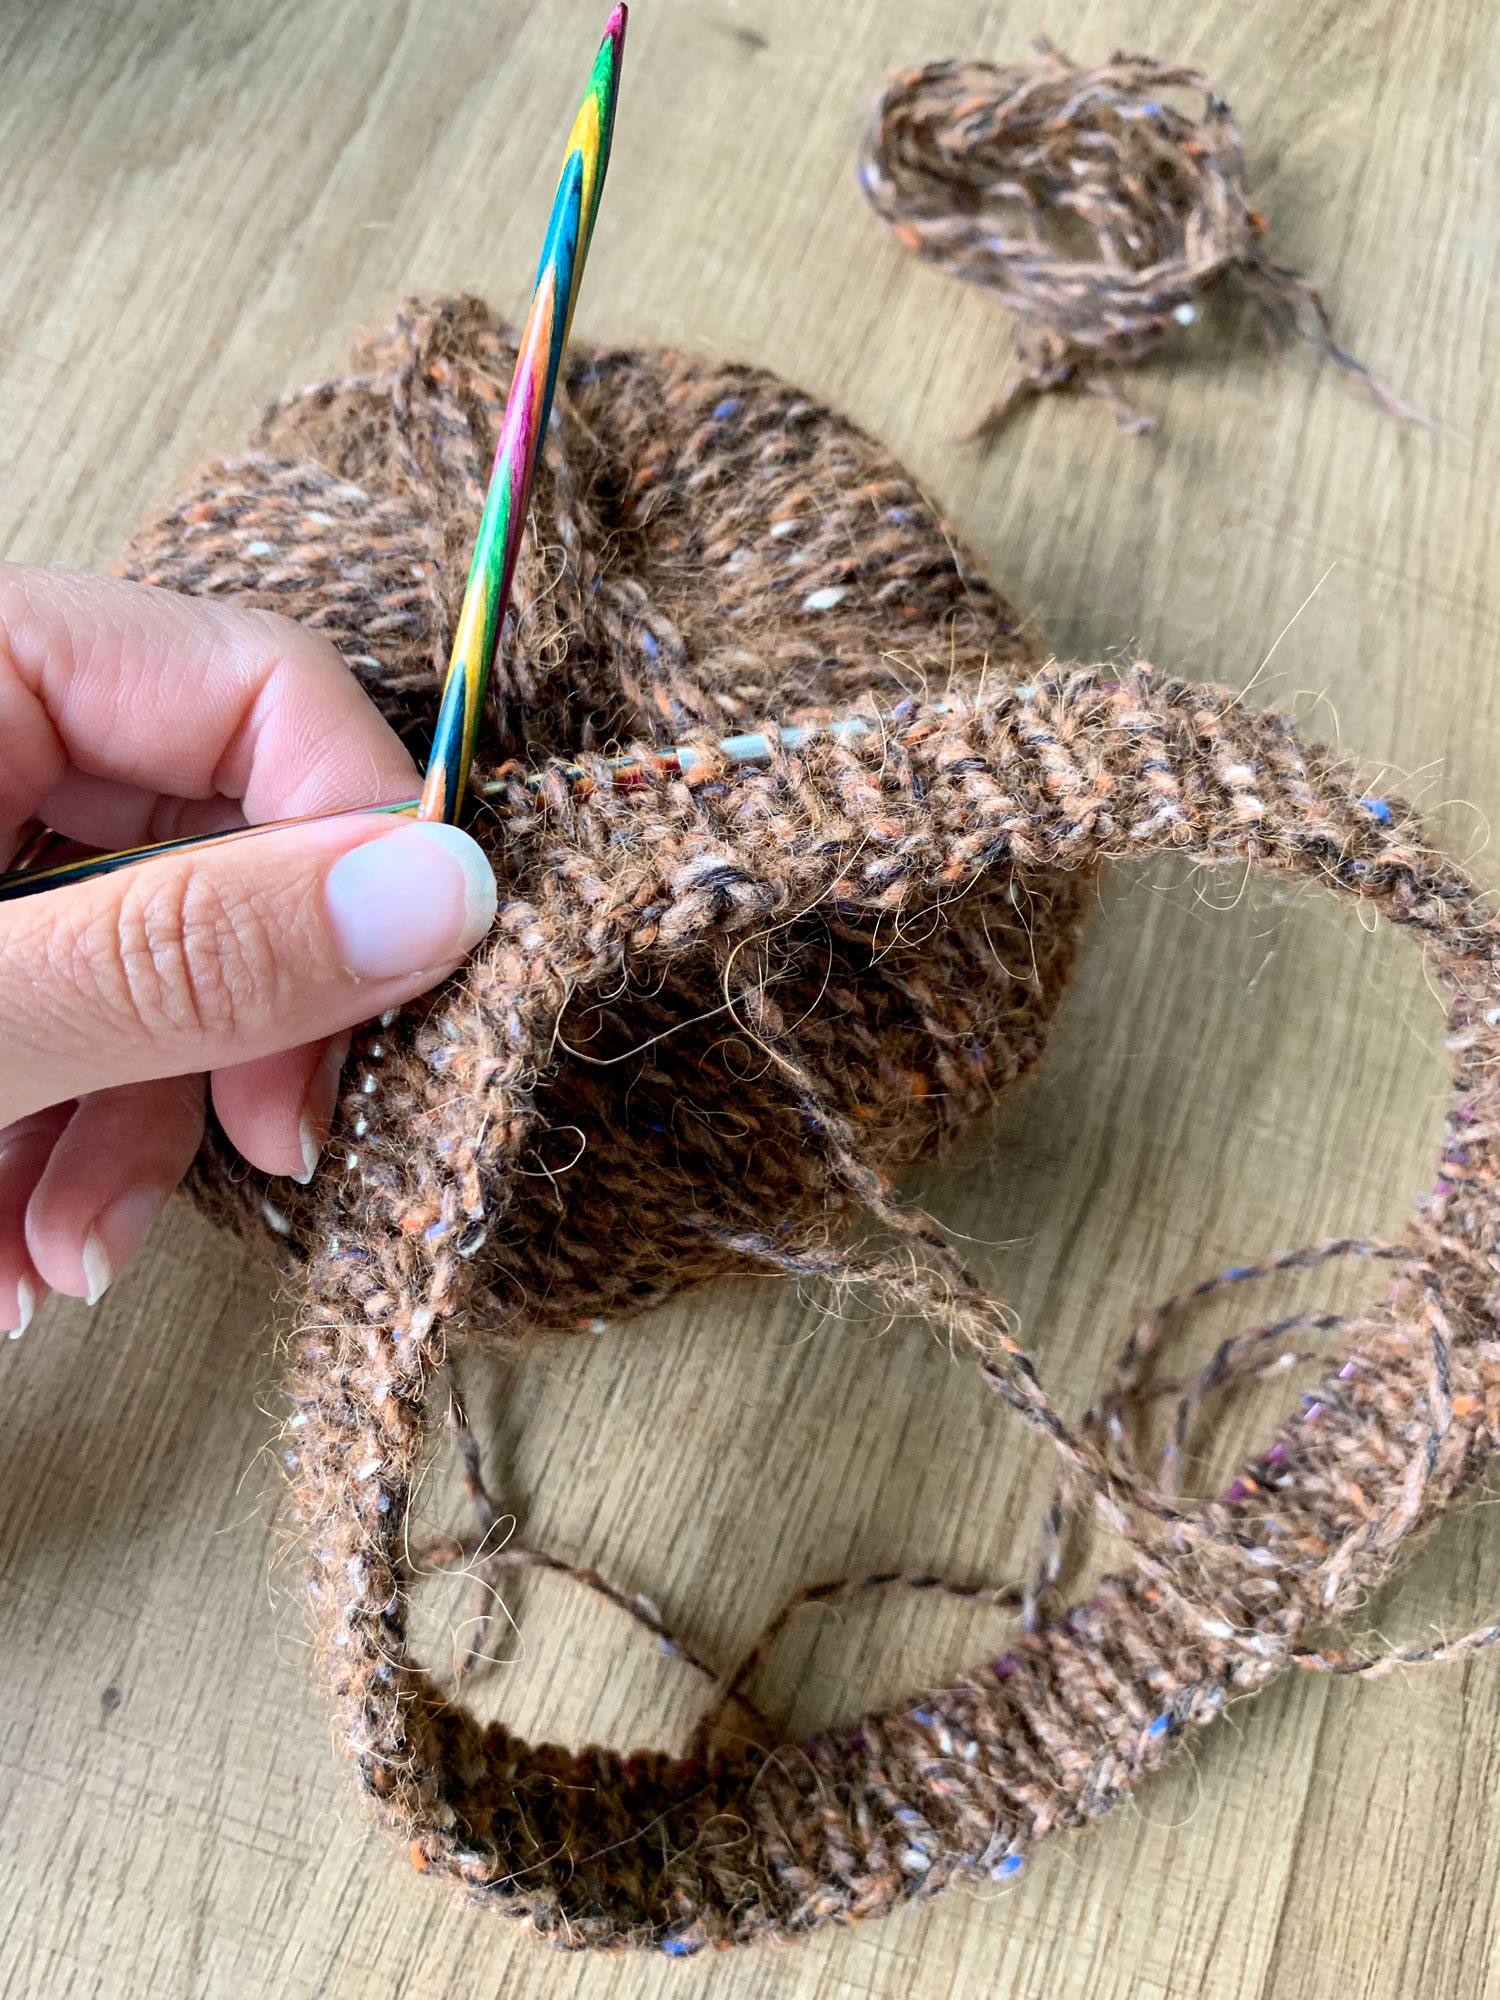
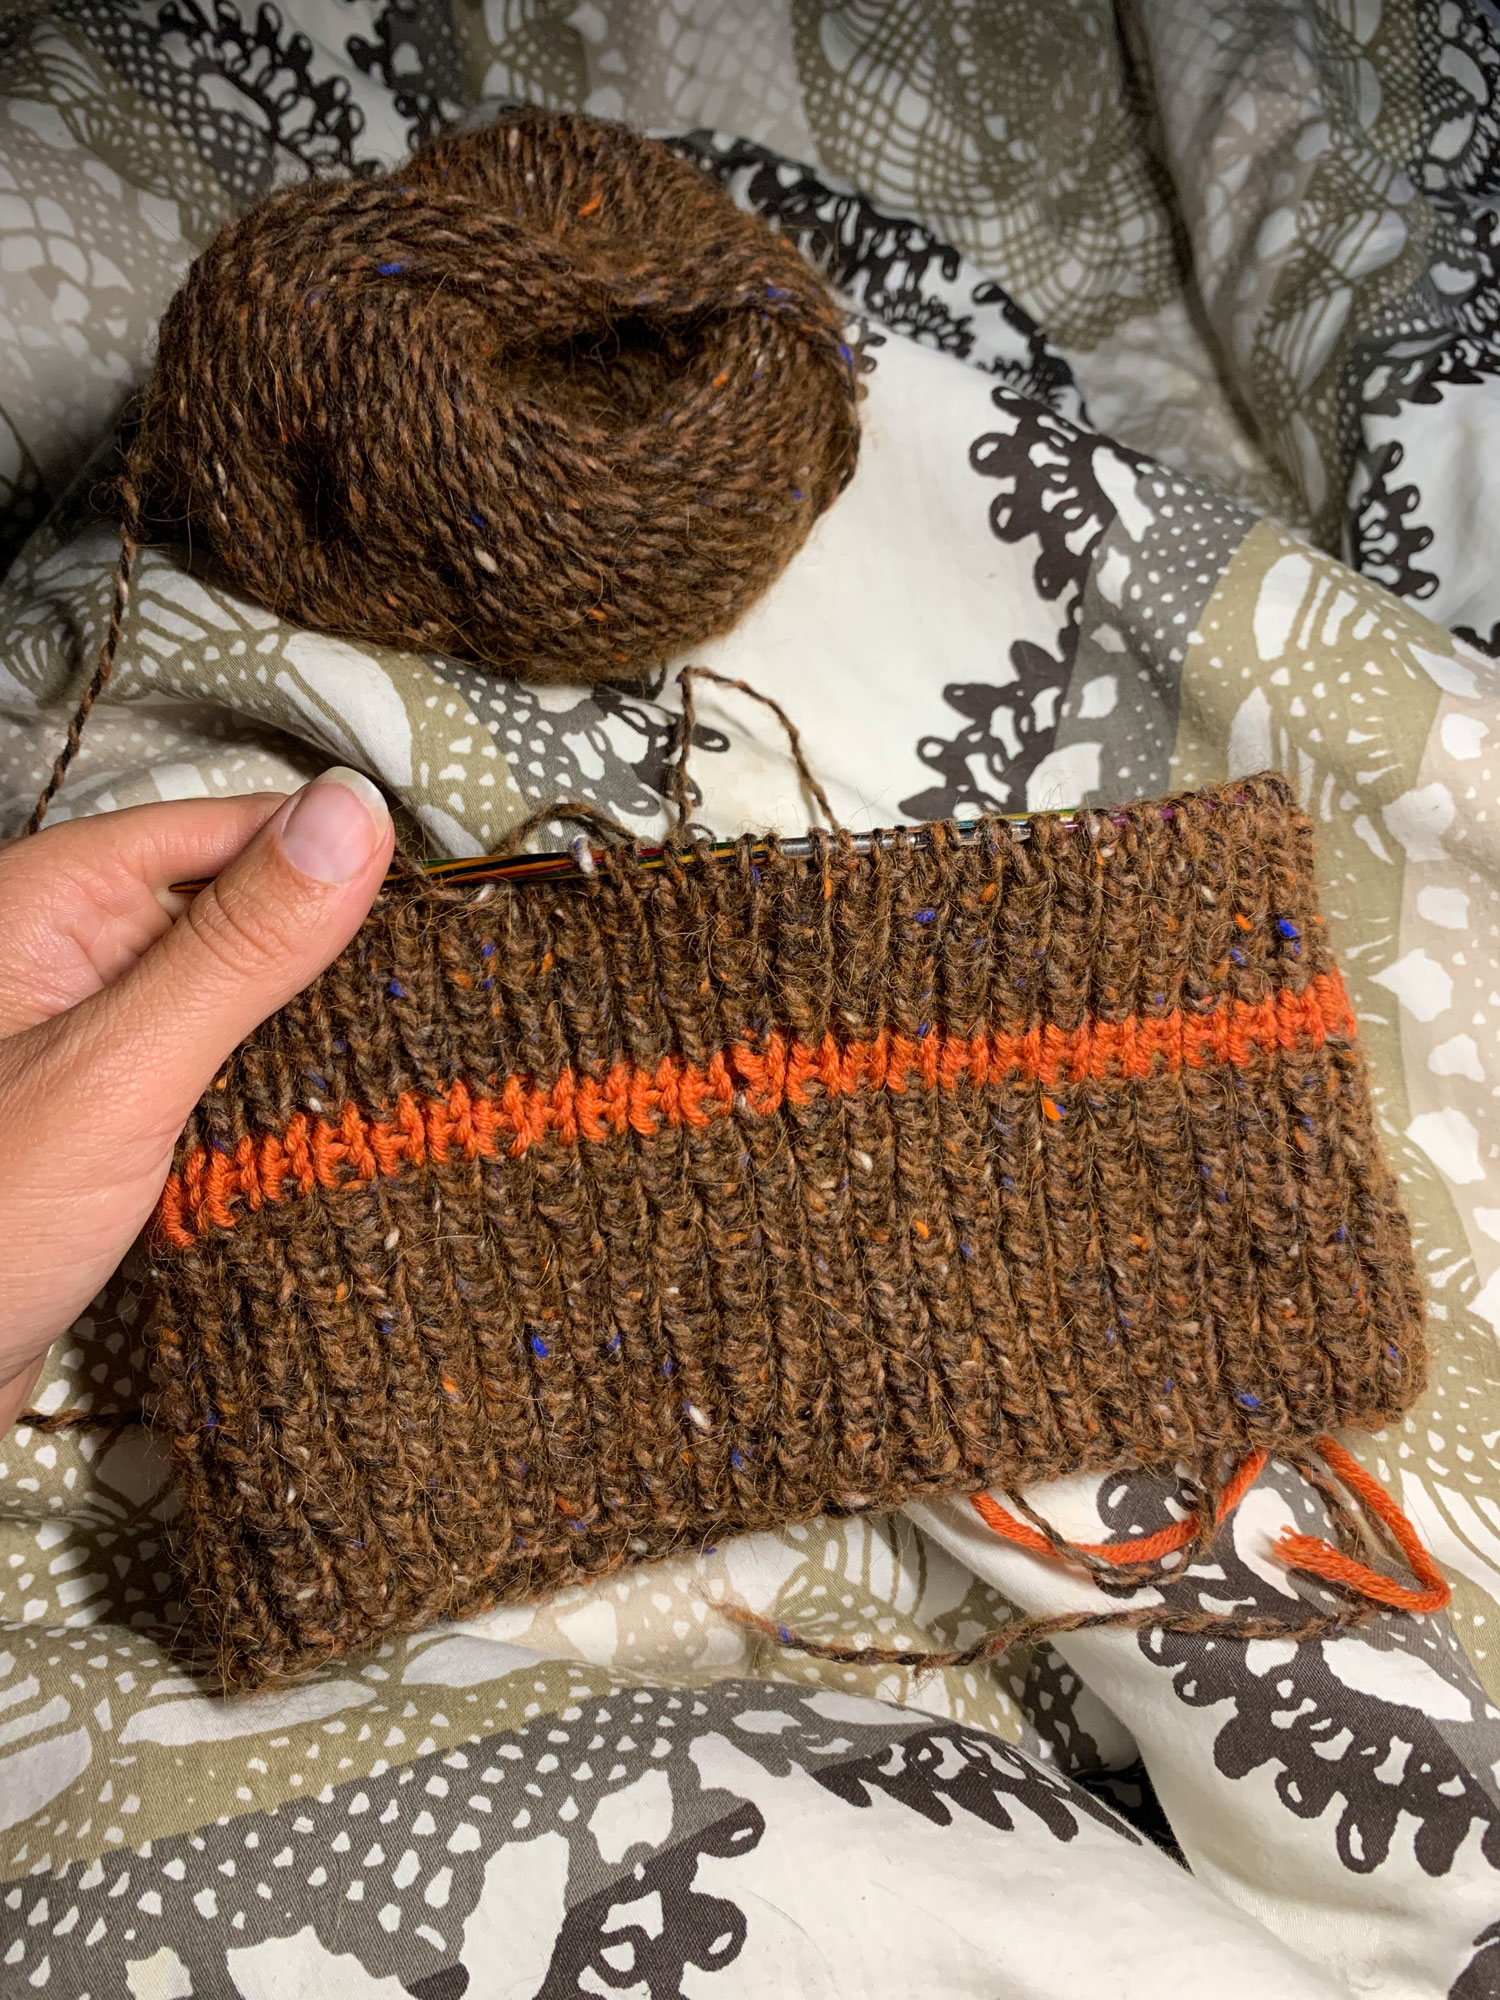
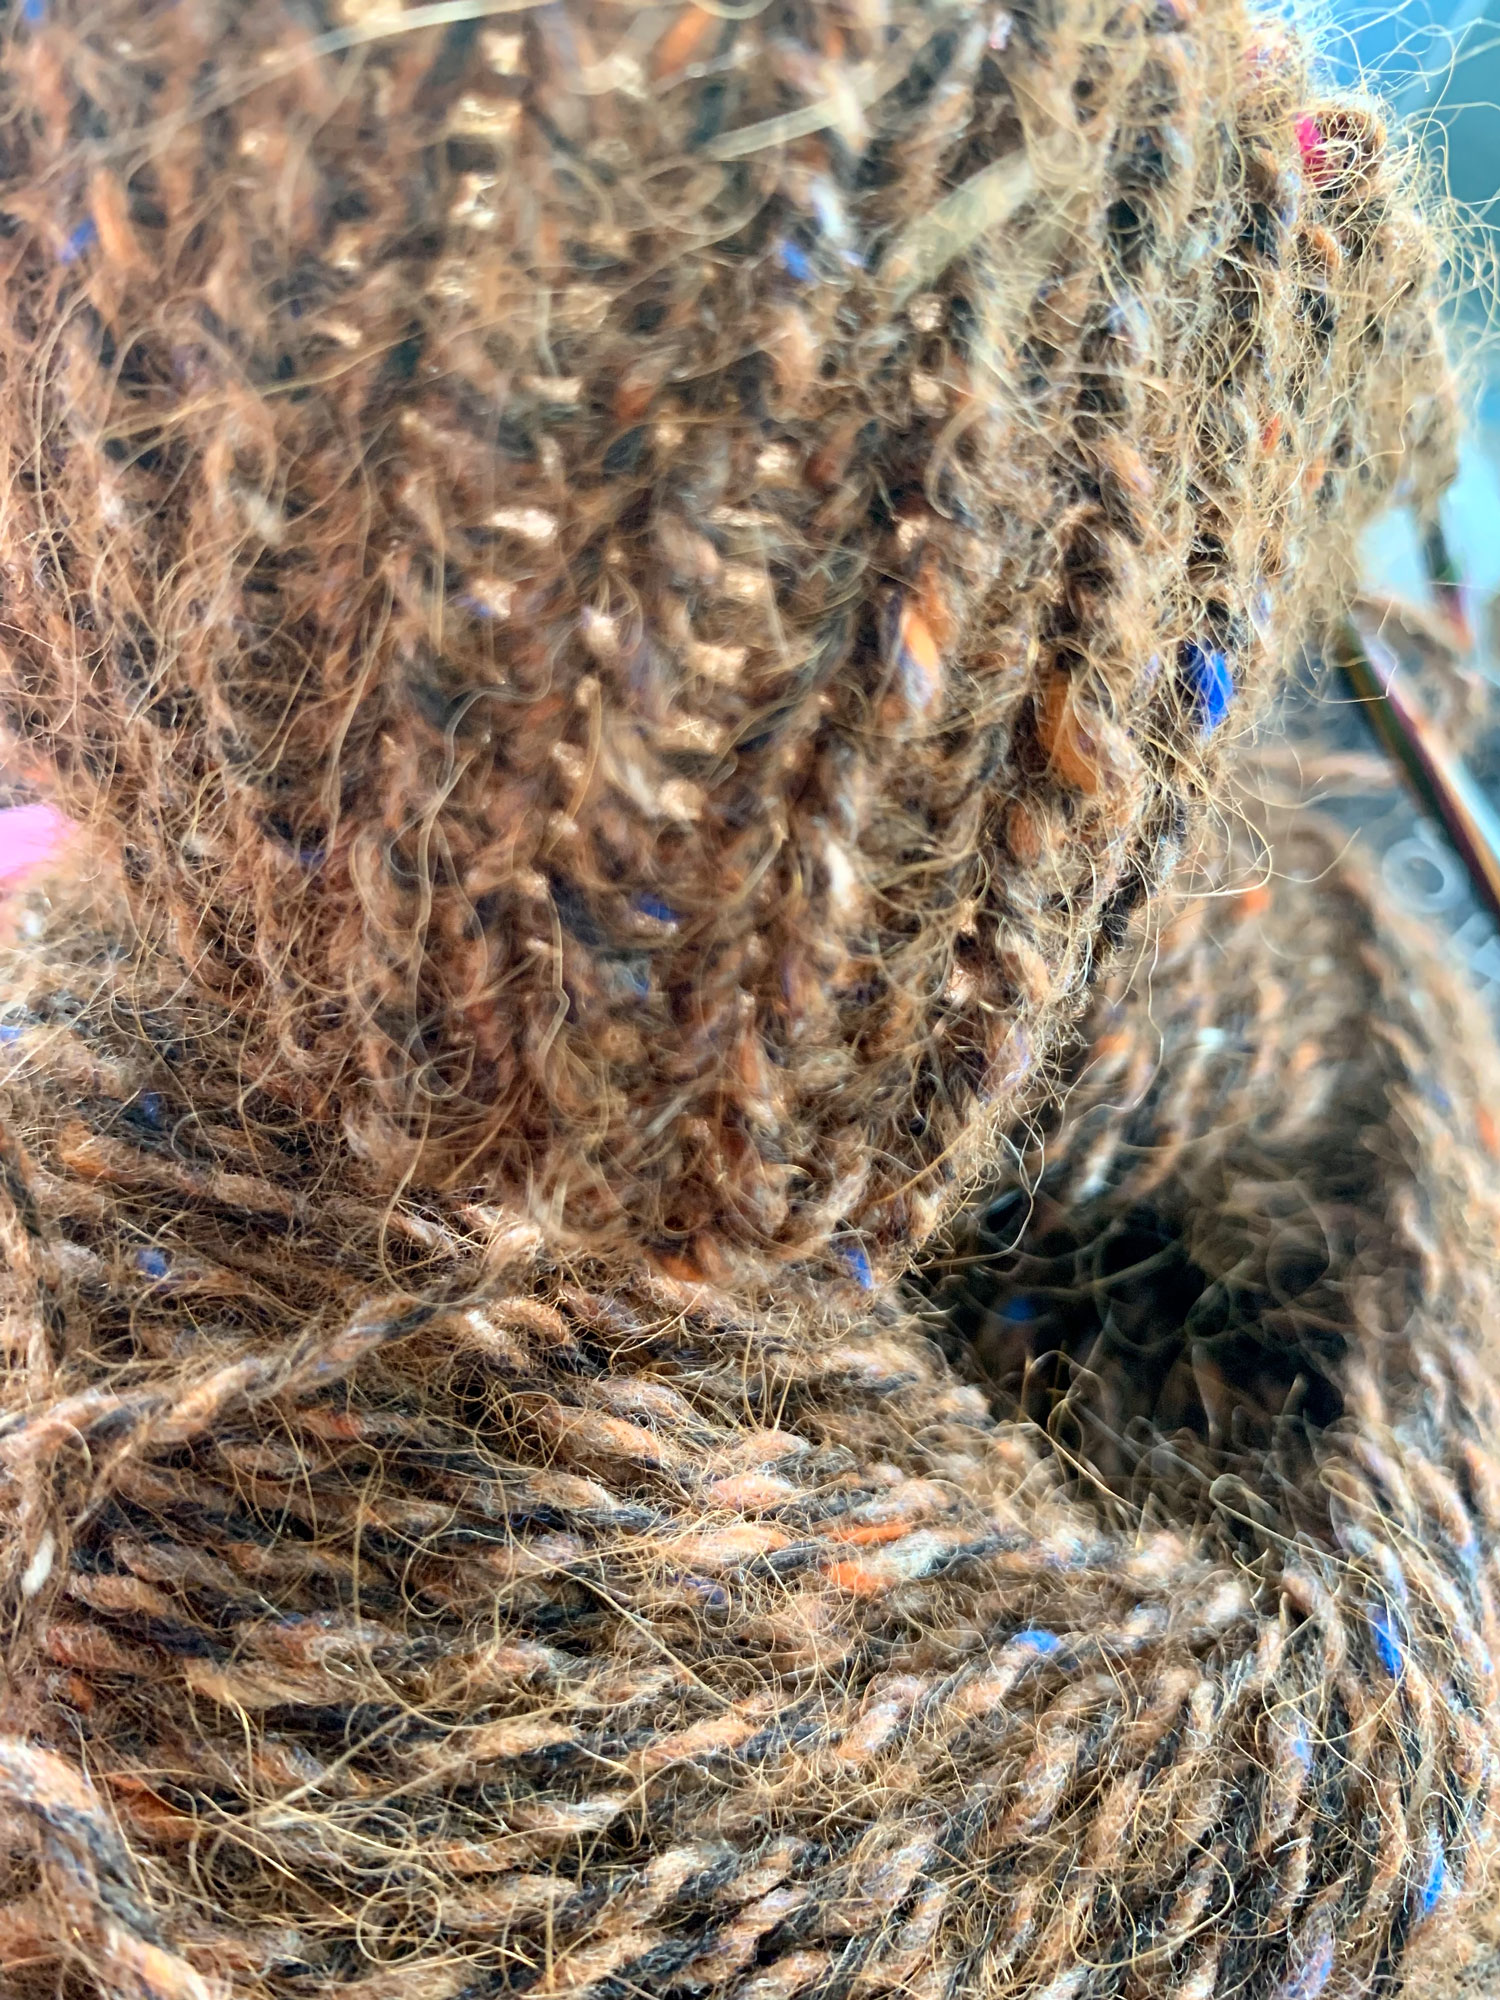
Für die Mütze habe ich die Wolle „Fashion Tweed“ von Lana Grossa  in der Farbe „Dunkelbraun meliert“ verwendet. Das Tweed-Garn besteht aus 71 % Schurwolle Merino, 17 % Alpaka und 12 % Polyamid. Die Wolle hat ein Lauflänge von ca. 135 m / 50 g. Lana Grossa empfiehlt eine Nadelstärke von 4 – 5. Für ein Quadrat von 10cm x 10cm werden bei dieser Wolle 16 Maschen und 20 Reihen angesetzt

Für meine Mütze habe ich 1 Knäuel benötigt.

For this beanie, I used „Fashion Tweed“ wool from Lana Grossa in the color „dark mottled brown“. The tweed yarn consists of 71% Merino wool, 17% alpaca and 12% polyamide. The wool has a running length of approx. 135 m / 50 g. Lana Grossa recommends a needle size of 4 – 5. For a square of 10cm x 10cm, 16 stitches and 20 rows are used with this yarn.

For my hat I needed 1 ball of yarn.

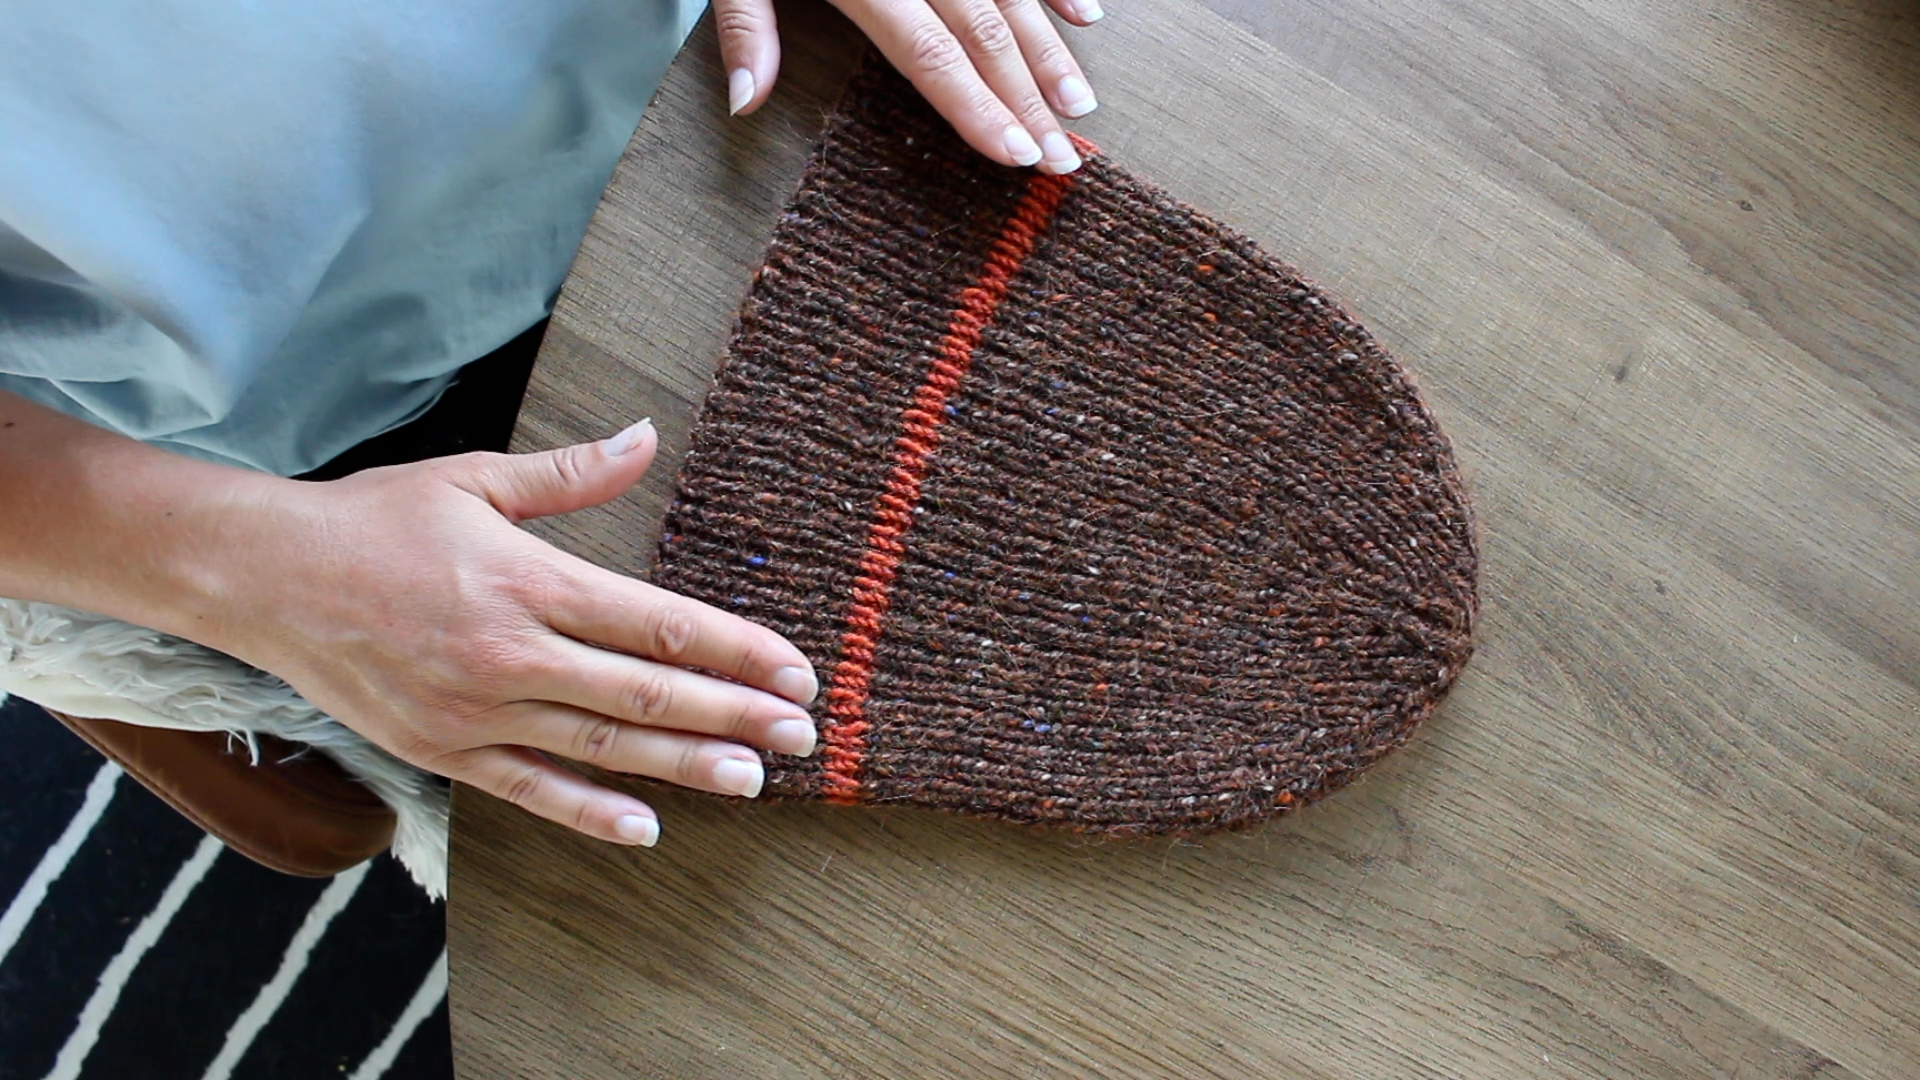
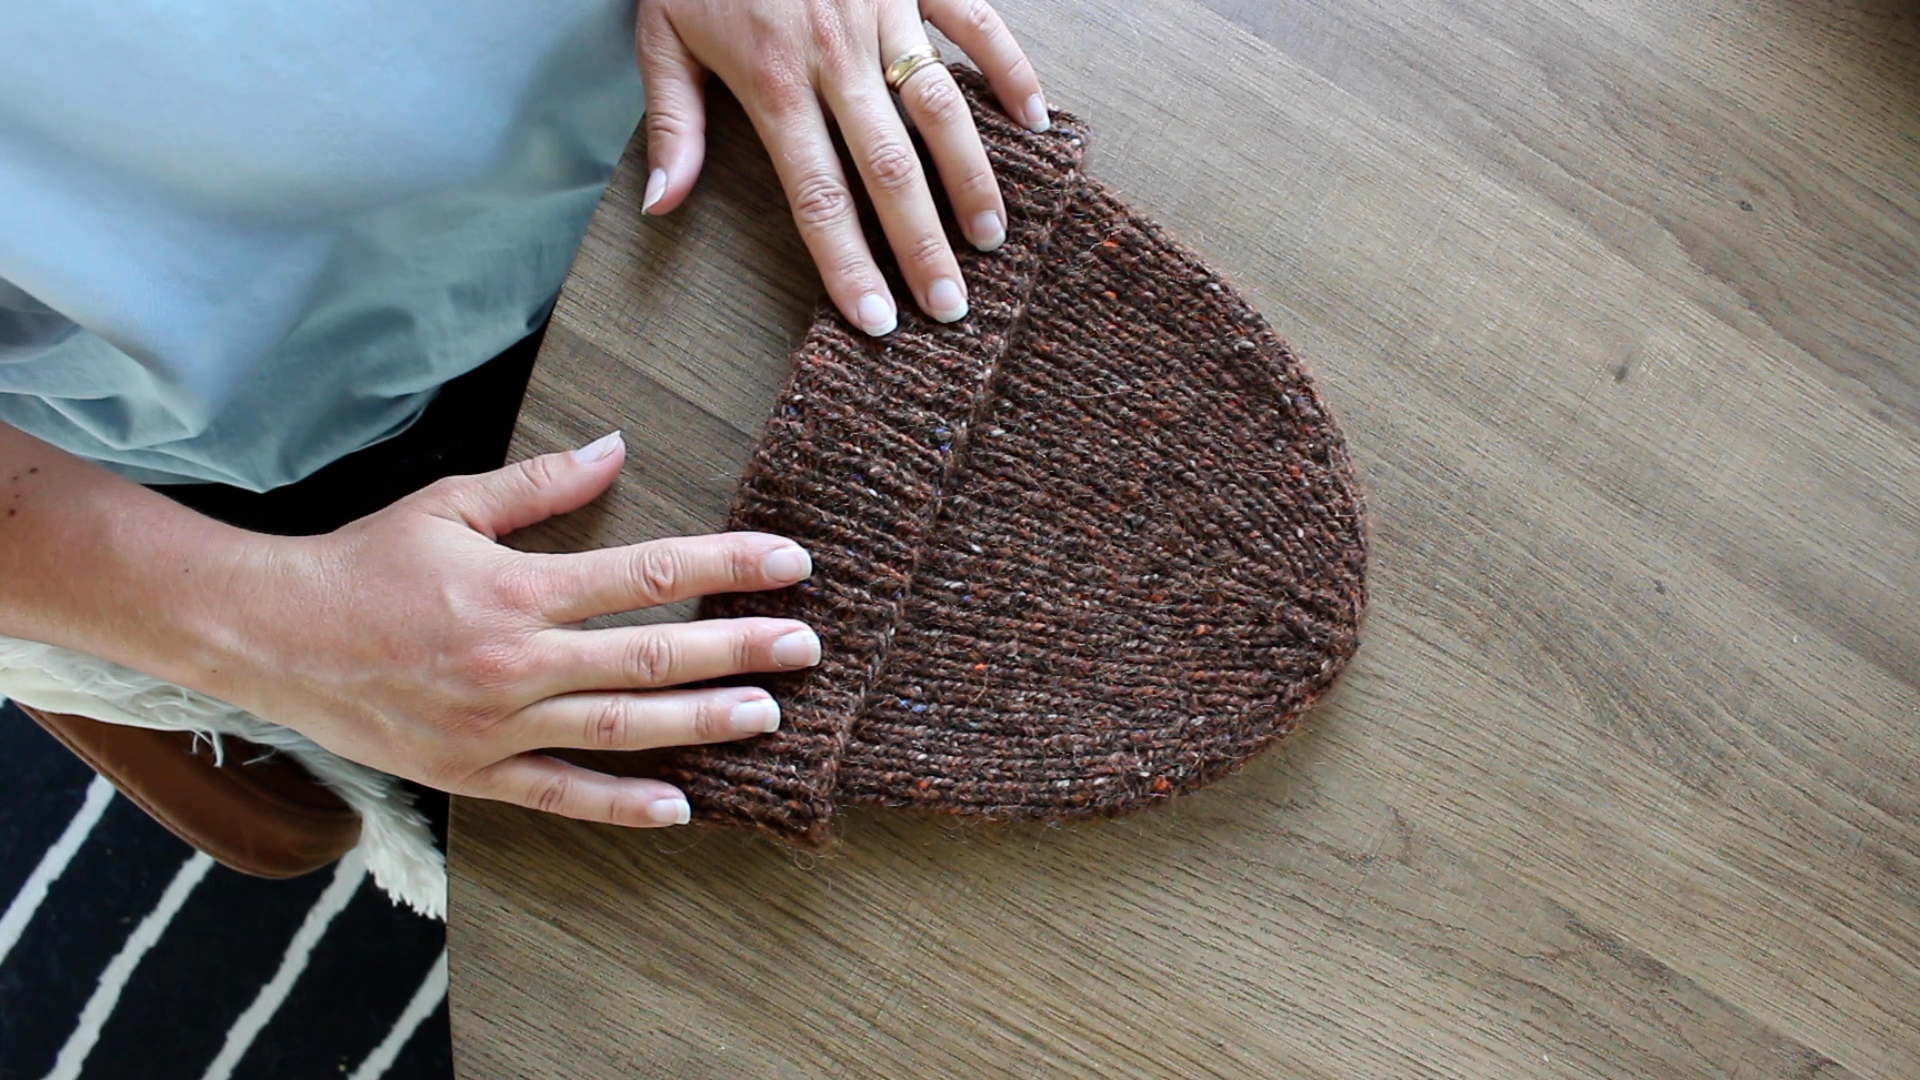
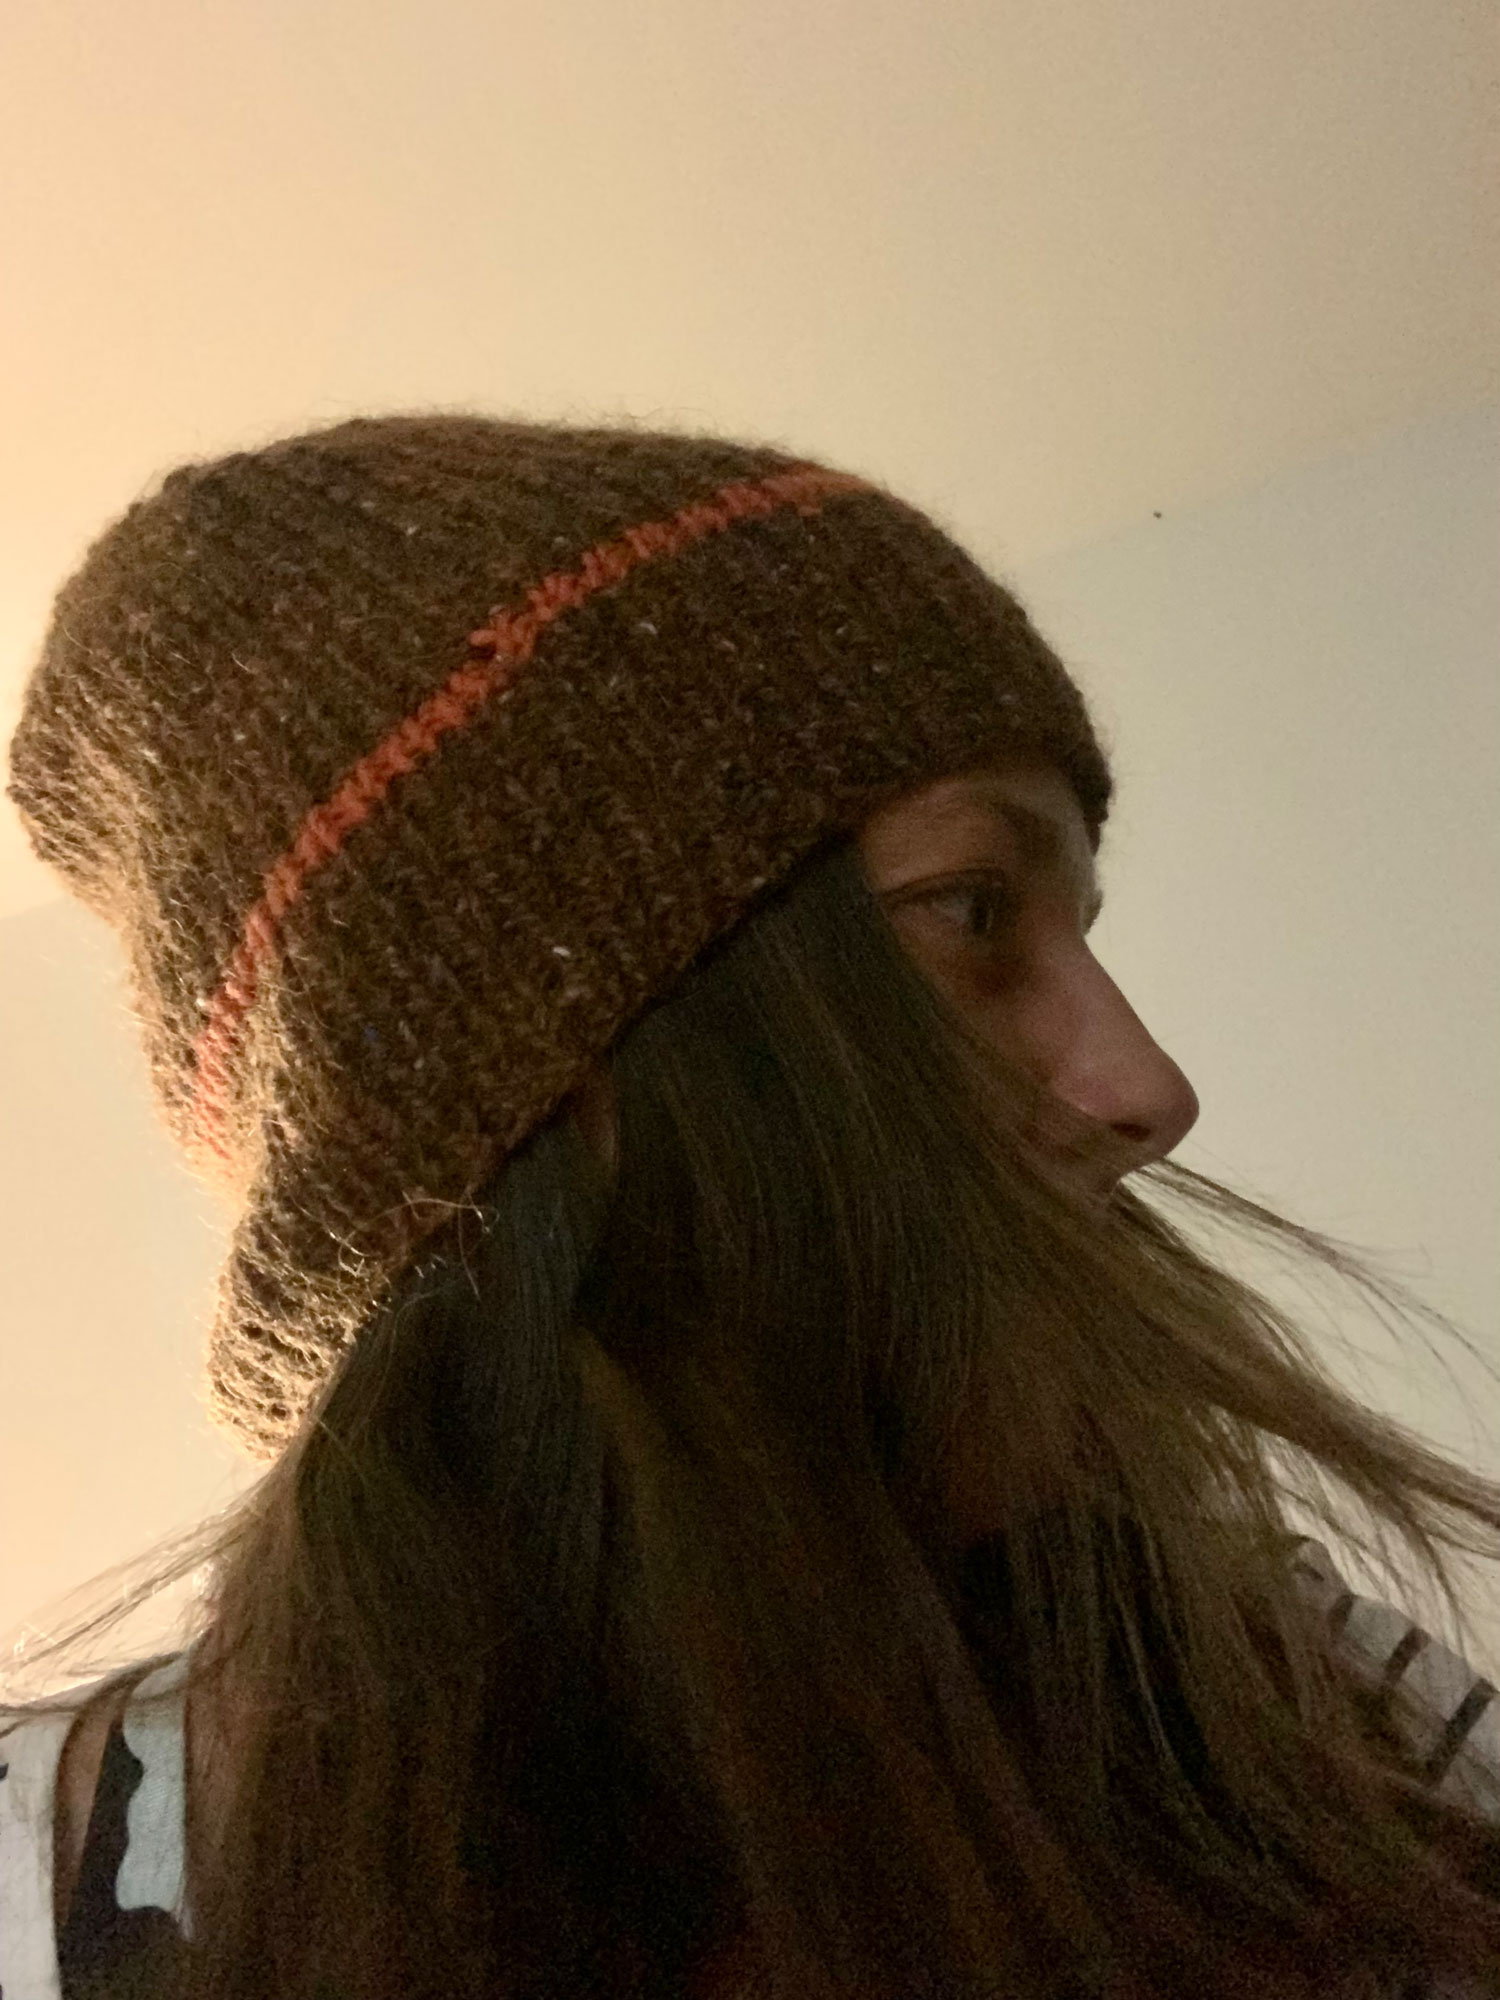
Meine 1. Mütze habe ich ganz einfach gehalten. Sie besteht nur aus einem schlichten 1-1 Rippenmuster und ist insgesamt ca. 28 cm lang. Sie ist also perfekt, wenn man sie als Mütze mit Umschlag  oder auch als kurzen Beanie ohne Umschlag tragen möchte.

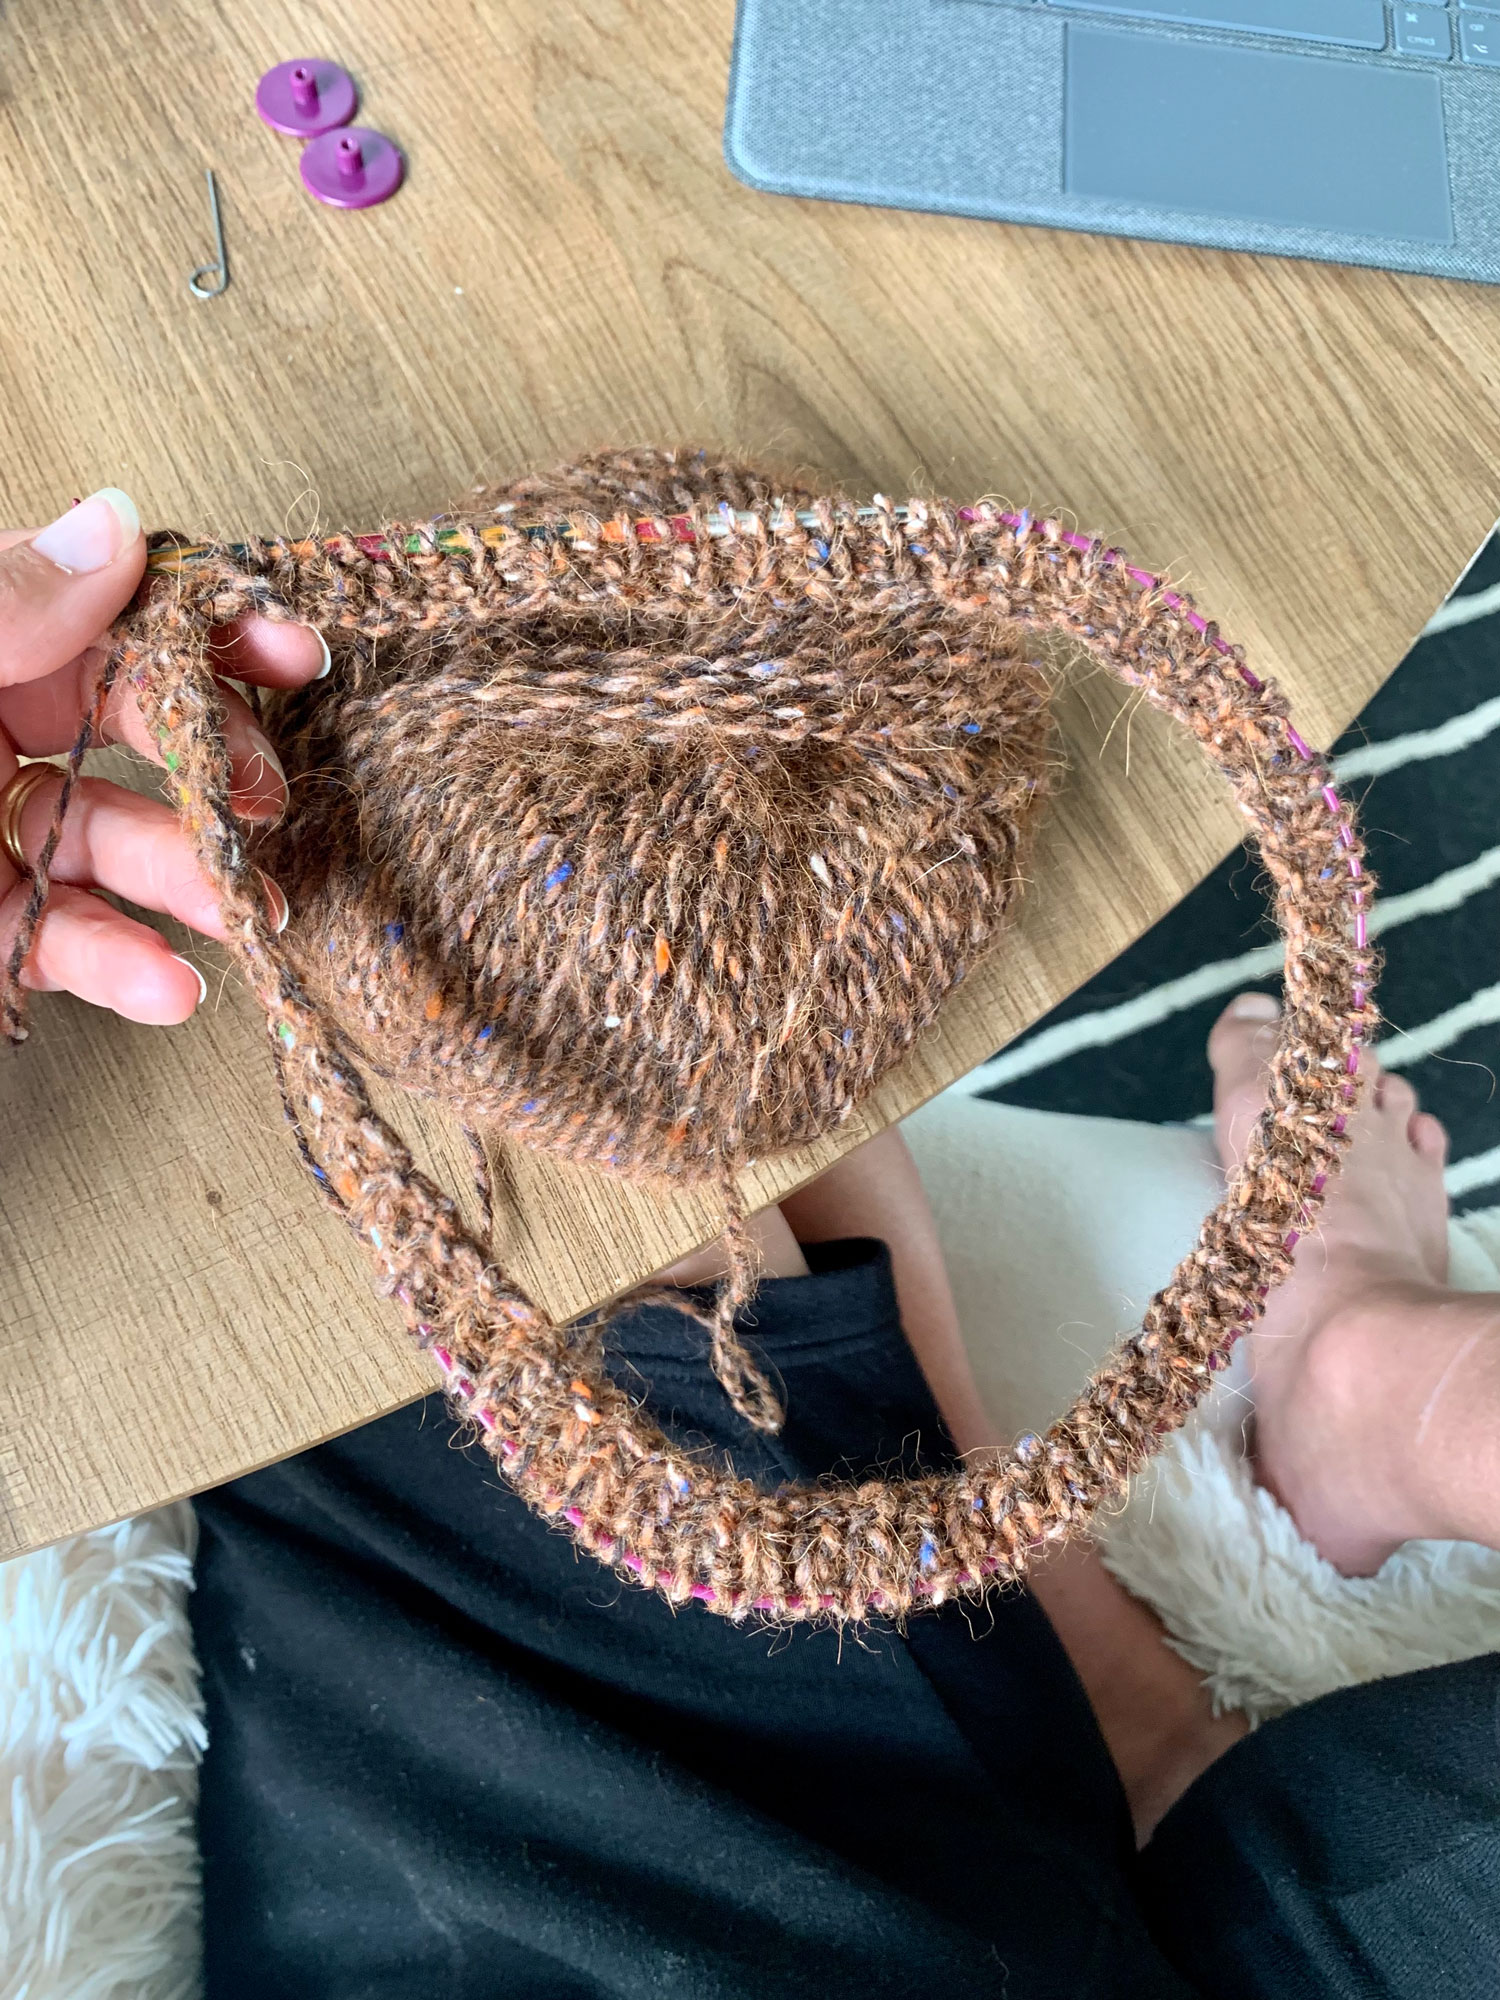
Für diese Mütze habe ich 110 Maschen auf einer 4 mm Rundstricknadel angeschlagen. Nach 20 cm im einfachen rechts-links-Rippen-Muster habe ich mit der Abnahme begonnen, die aus überzogenen Abnahmen und einfachen Abnahmen besteht. 

Als kleinen Hingucker habe ich auf Höhe des Umschlags eine Kontrastfarbe eingearbeitet, die man nur sieht, wenn man die Mütze auch als Beanie ohne Umschlag trägt. Das finde ich ganz witzig und macht diese Mütze ganz besonders.

Der einzige Nachteil daran ist, dass man aufpassen muss, dass man den Umschlag auf die richtigen Höhe faltet, damit man nicht die Rückseite des Kontrastgarnes sieht. Denn dort sind ja der Anfangs- und der Endfaden in die Maschen eingewebt.

Unter Umständen werde ich daher diese Kontrastfarbe bei der nächsten Mütze entweder noch einmal 1-2 cm höher ansetzen oder gar keine Kontrastfarbe verwenden. Zumindest nicht im Umschlag-Bereich. Was ich mir aber vorstellen kann, ist, dass man eine Kontrastfarbe in die Spitze einarbeitet. Denn dort liegt sie ja schön am Kopf an und man wird die eingewebten Fäden definitiv nicht sehen. Mal sehen. Es gibt auf alle Fälle undendlich viele Möglichkeiten. Und das ist ja das tolle am Stricken.

I kept my first hat very simply. It consists only of a simple 1-1 rib pattern and is approx. 28 cm long. So it’s perfect if you want to wear it as a hat with a turn-up  or as a short beanie without a turn-up.

For this hat I cast on 110 stitches on a 4 mm circular needle. After 20 cm in simple knit-purl rib pattern, I started the decrease, which consists of overlapped decreases and single decreases.

As a little eye-catcher, I’ve incorporated a contrasting color at the level of the brim, which you can only see if you wear the hat as a beanie without a brim. I find that very funny and makes this hat very special.

The only downside to this is that you have to be careful to fold the envelope to the correct height so you don’t see the back of the contrasting yarn. Because that’s where the beginning and end threads are woven into the stitches.

Under certain circumstances I will therefore either set this contrasting color 1-2 cm higher for the next hat or not use any contrasting color at all. At least not in the envelope area. But what I can imagine is working a contrasting color into the tip. Because there it lies nicely on the head and you will definitely not see the woven threads. Let’s see. In any case, there are endless possibilities. And that’s the great thing about knitting.

Für meine 2 in 1 Mütze habe ich folgende Materialien verwendet (alle selbst bezahlt):
Rundstrick-Nadel: Symfonie von Knit Pro, Nadelstärke 4, Länge 60 cm
Nadelspiel: Symfonie von Knit Pro, Nadelstärke 4, Länge 15 cm
Hauptgarn: Fashion Tweed von Lana Grossa, Braun (0012)
Kontrastgarn: Bingo von Lana Grossa, Orange (1010) 

For my 2 in 1 hat I used the following materials (all paid for by myself):
Circular knitting needle: Symfonie by Knit Pro, needle size 4, length 60 cm
Double pointed needles: Symfonie by Knit Pro, size 4 needles, length 15 cm
Main yarn: Fashion Tweed by Lana Grossa, brown (0012)
Contrast yarn: Bingo by Lana Grossa, Orange (1010)

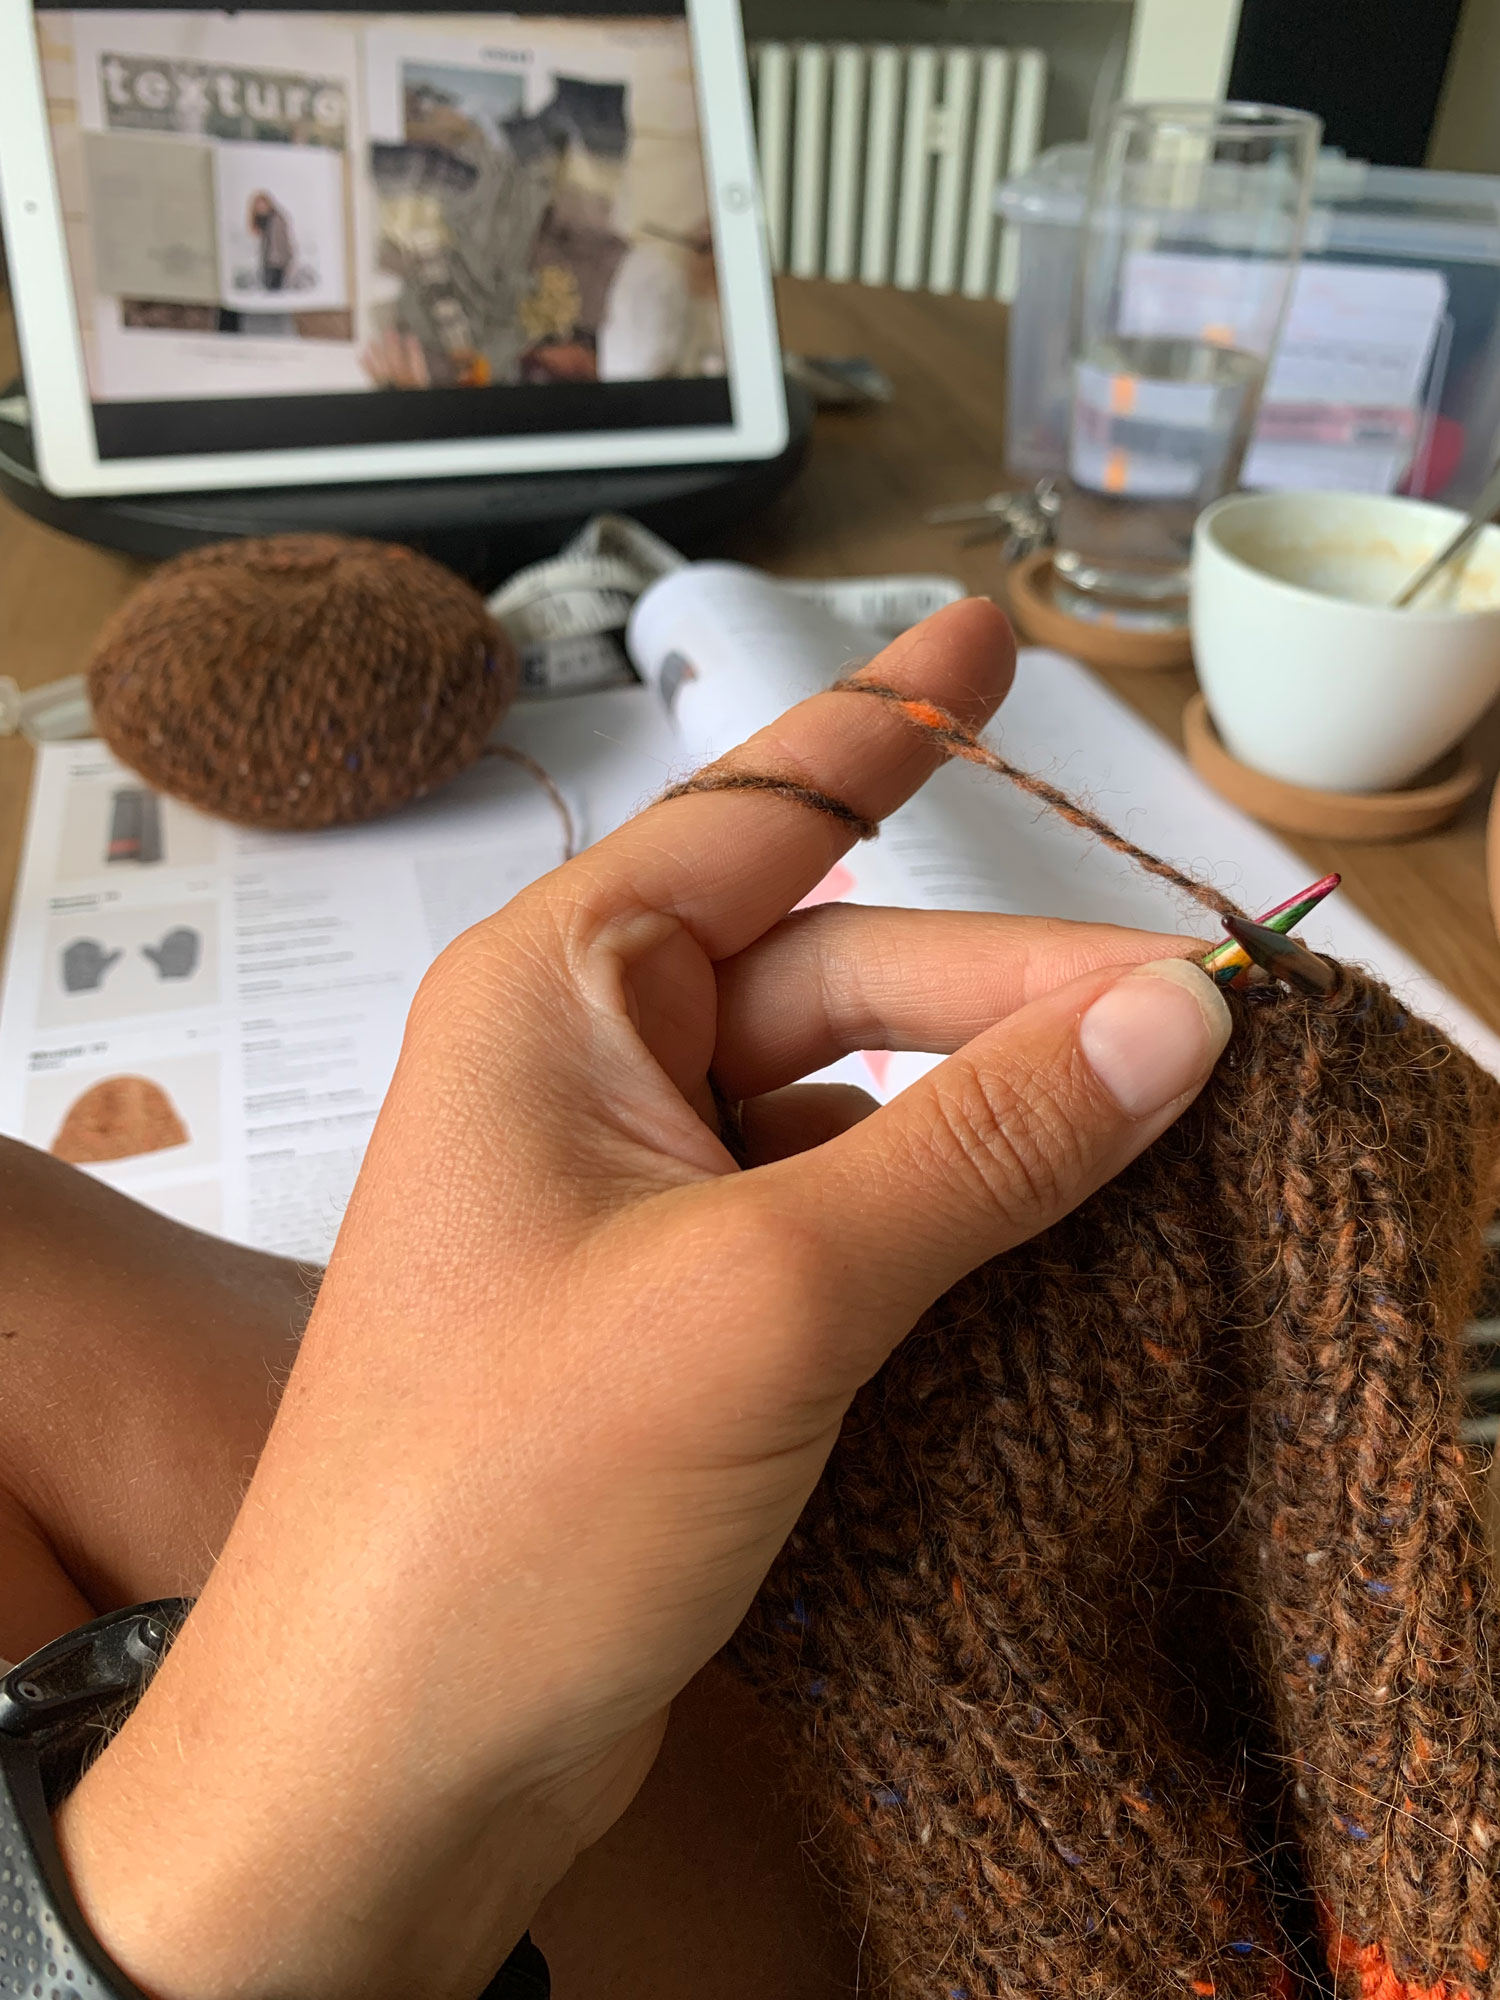
DER ENTSTEHUNGSPROZESS | THE CREATION PROCESS