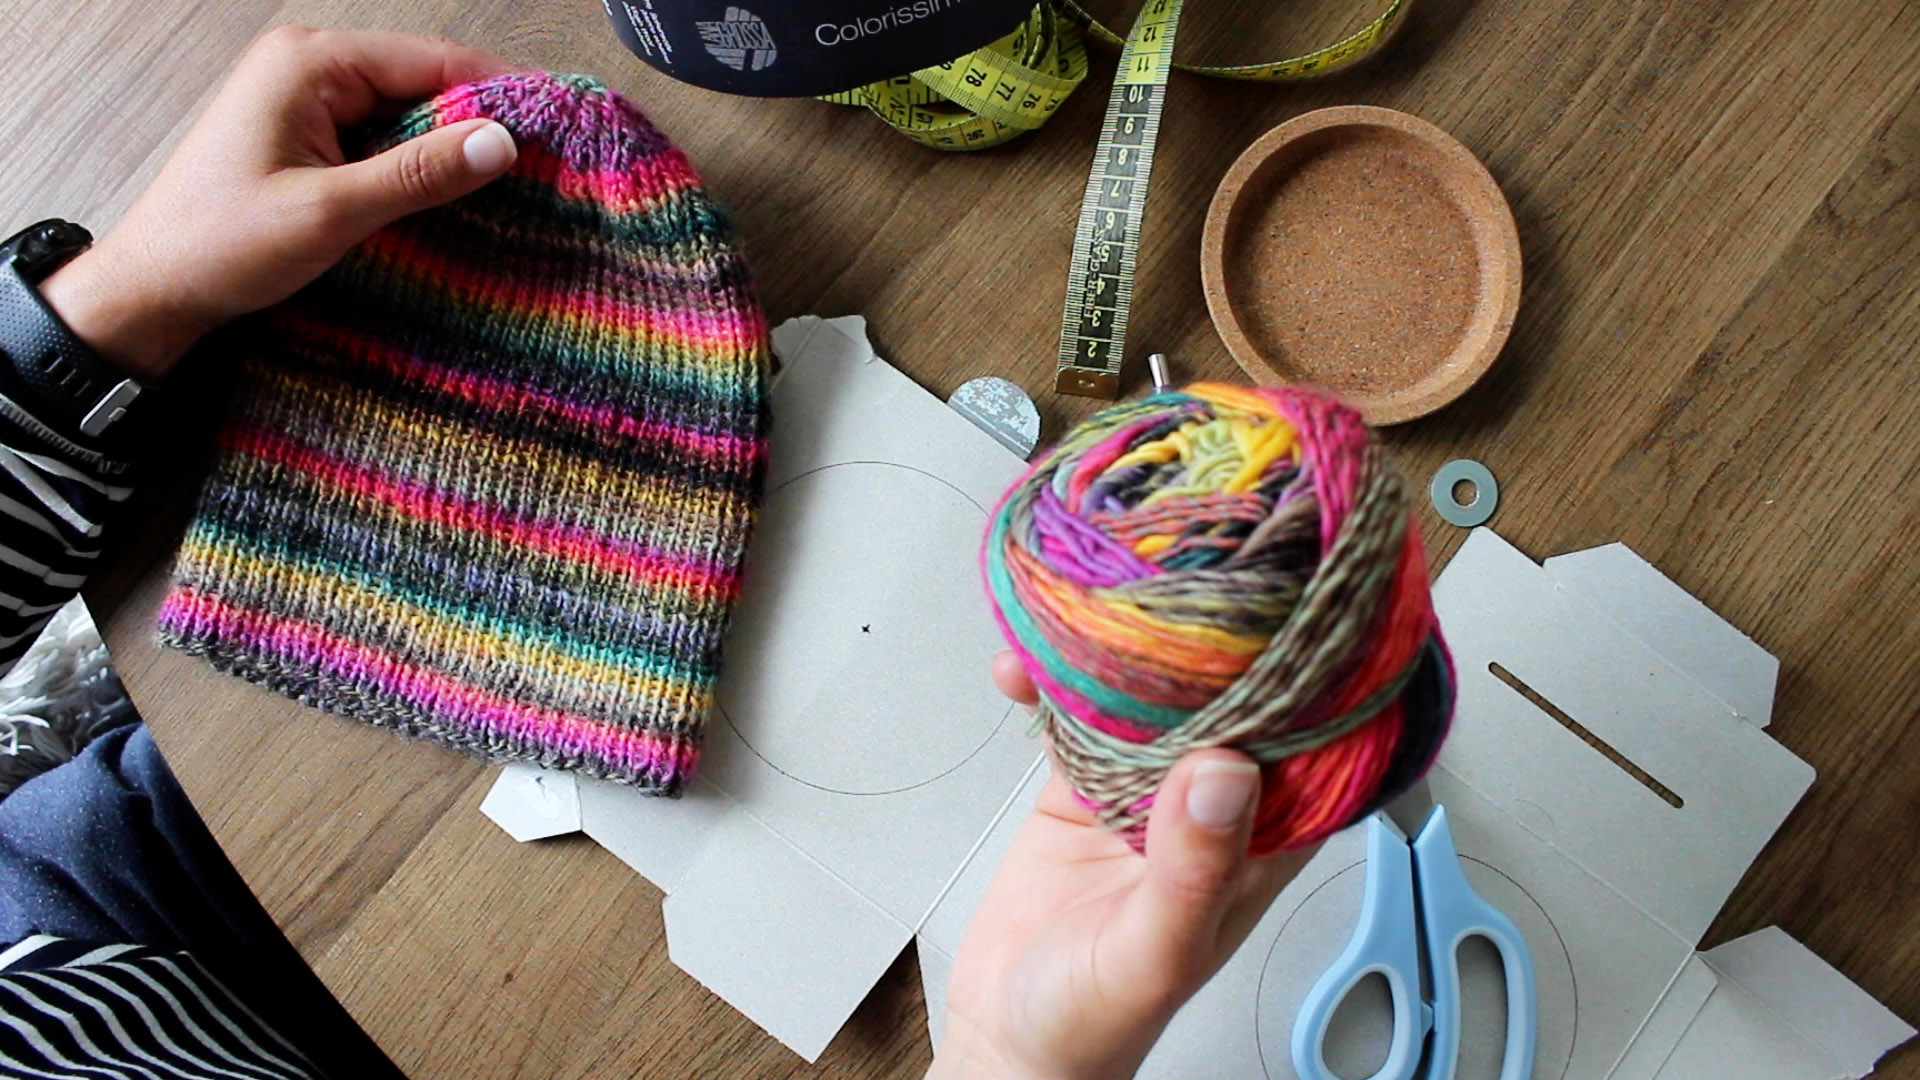
In meinem letzten Beitrag habe ich euch doch von meiner neuen Ringelmütze erzählt. Ich liebe ja, das farbenfrohe Design dieser Mütze, aber irgendwie hatte bei der Mütze noch das gewisse „Etwas“ gefehlt. Und dann kam mir eine ganz tolle Idee. Diese Mütze benötigt einen XL-PomPom! Gesagt, getan.
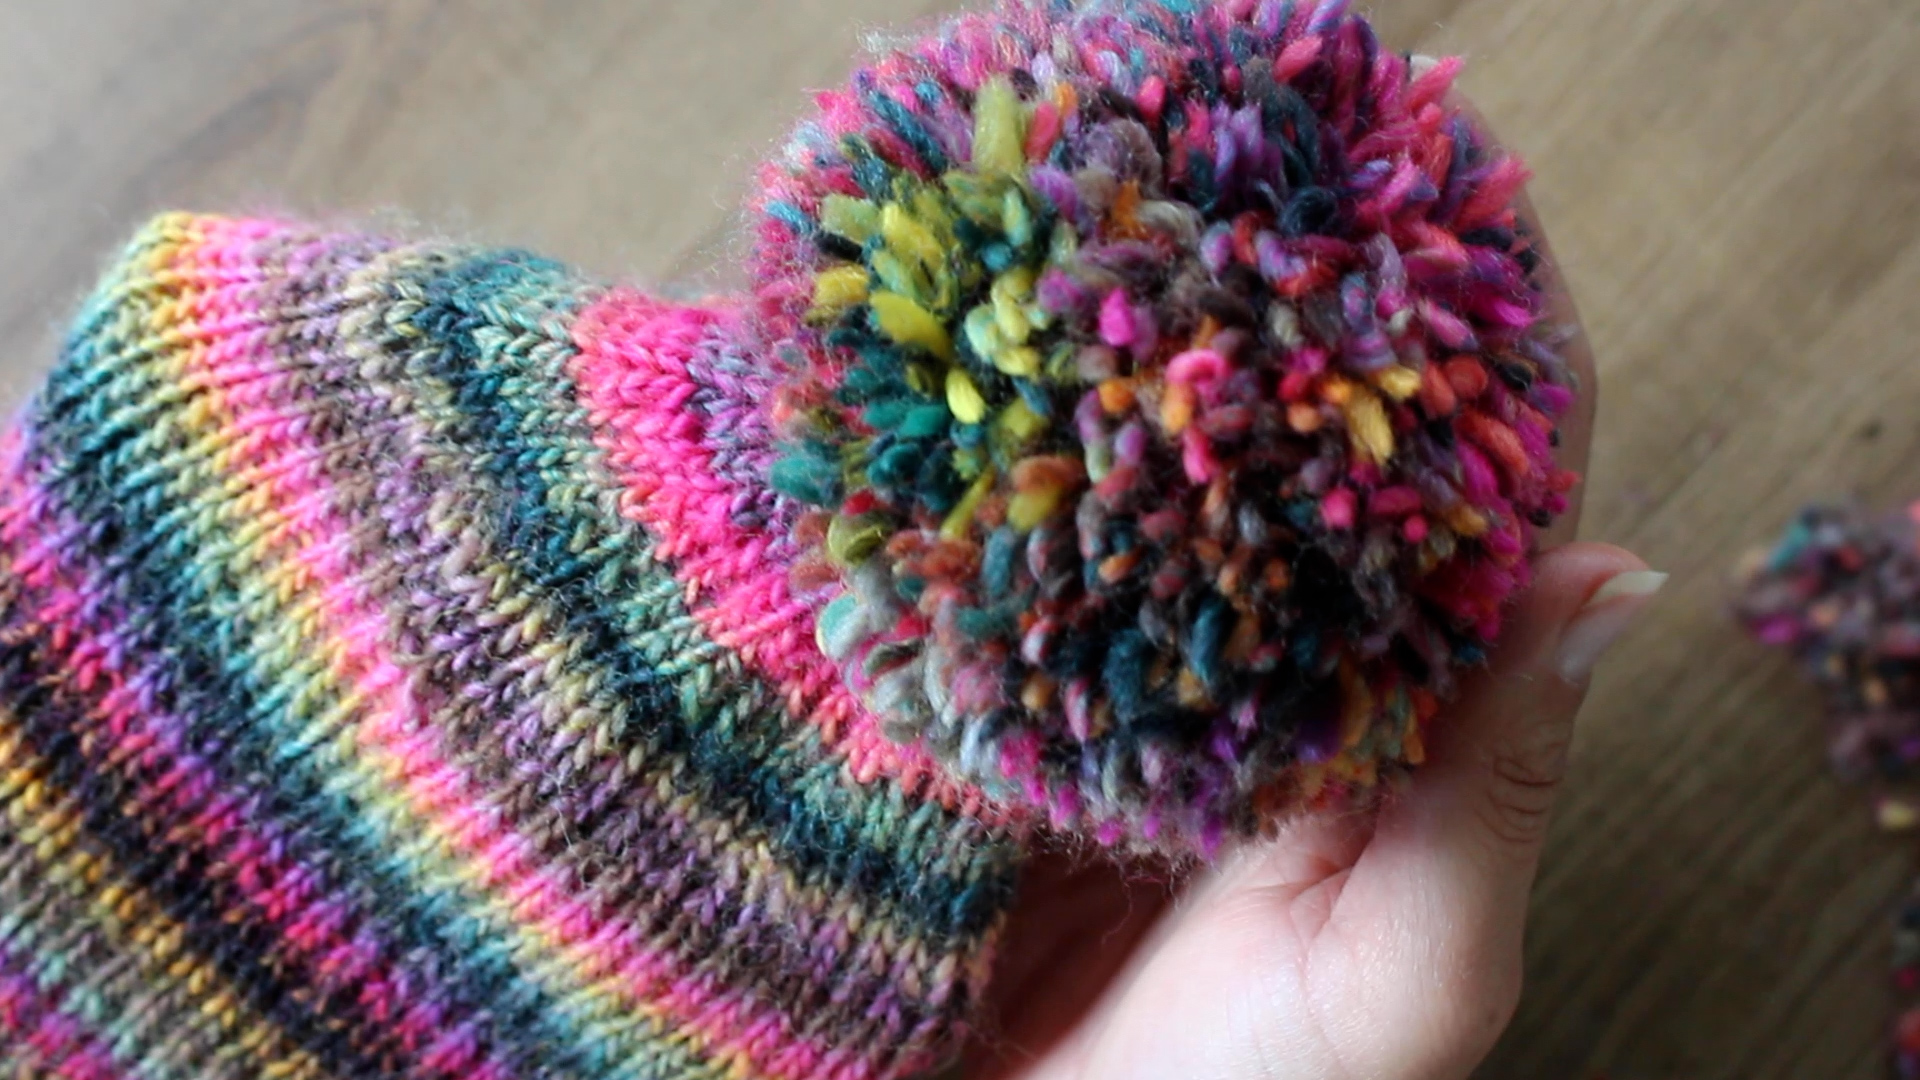
In meinem 2. DIY-Tutorial zeige ich euch, wie man einen XL-PomPom aus Wolle herstellt und diese an eine selbstgestrickte Mütze befestigt. Die Anleitung ist super einfach und man kann den PomPom auch wunderbar gemeinsam mit Kindern basteln.
Um einen PomPom basteln zu können, benötigst du nur wenige Materialien:
1 x Karton (z.B. von einer Müsli-Verpackung)
1 x Schere
1 x Stift
1 x meine kostenlose Schablone oder einen Zirkel
1 x Stopfnadel
1 x Wolle deiner Wahl
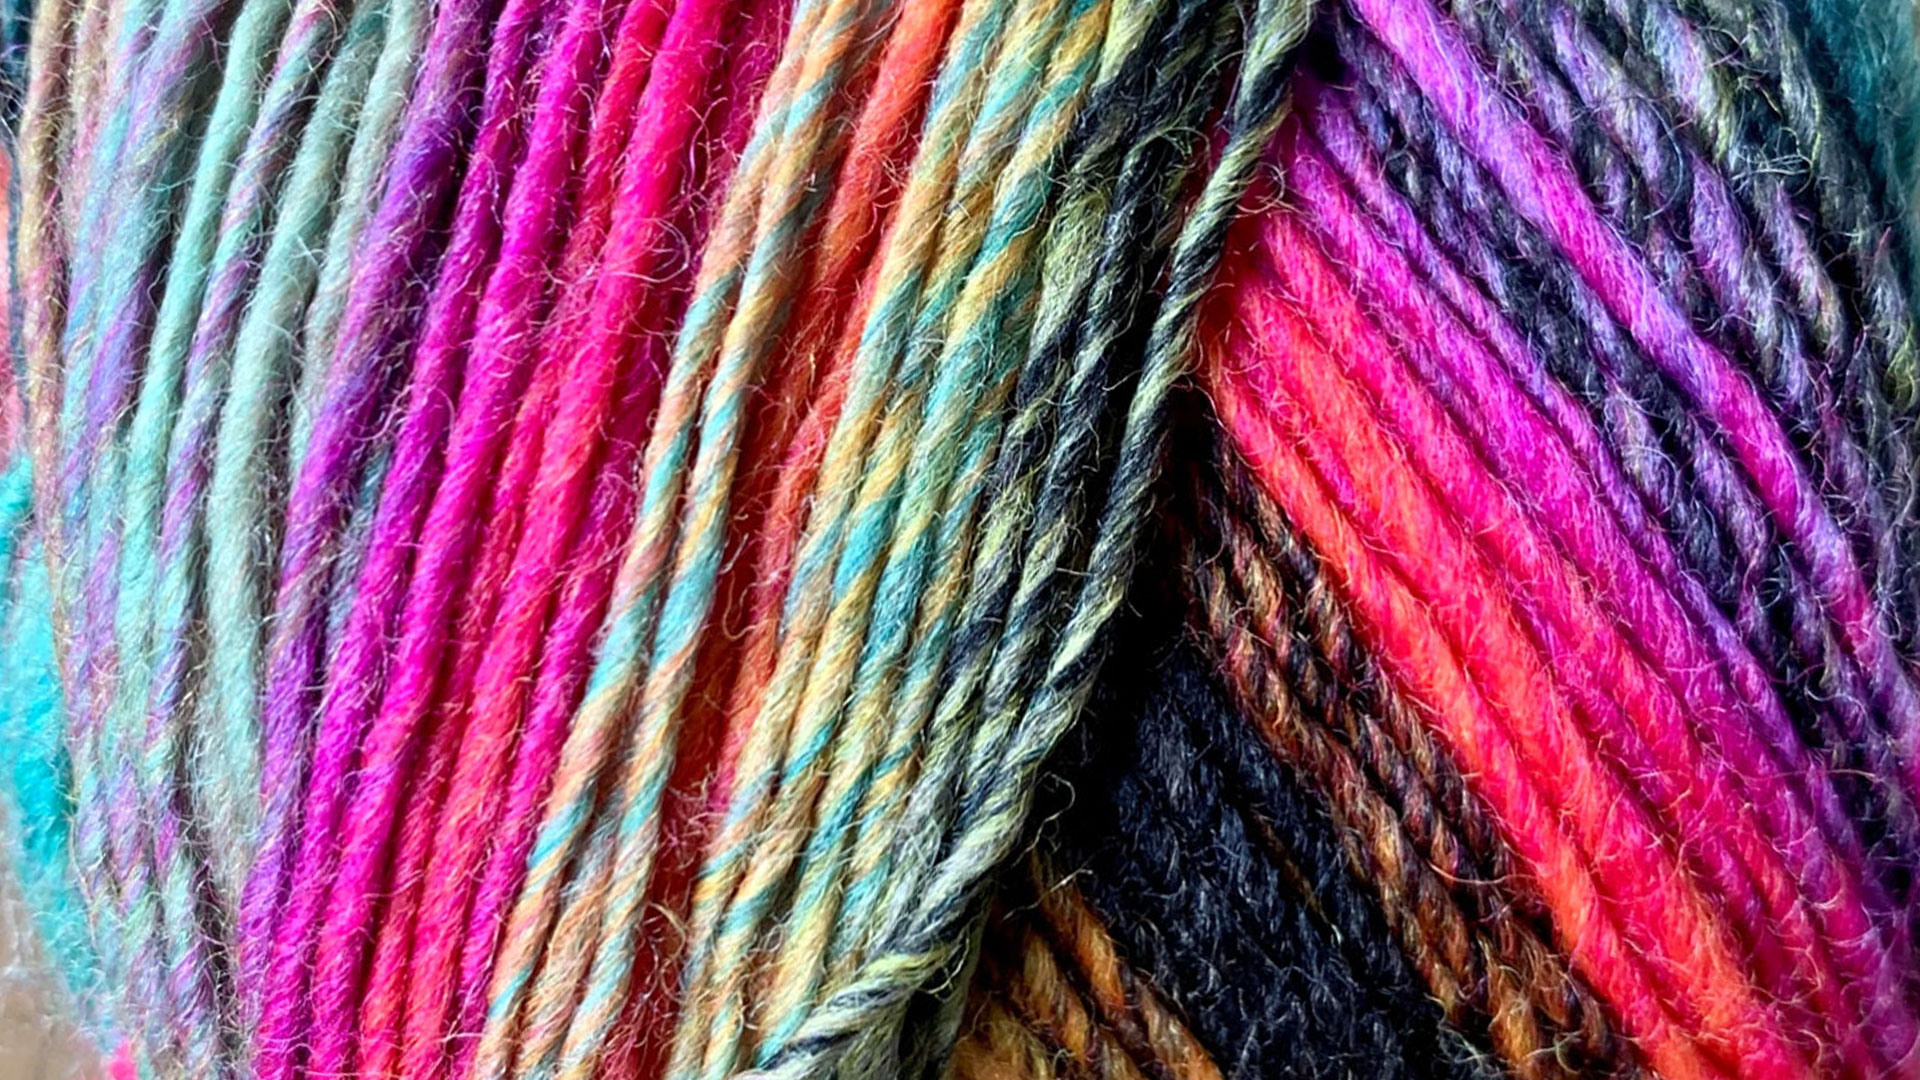
Ich wollte passend zu meiner Mütze einen sehr farbenfrohen Bommel herstellen, also habe ich einfach die Reste meiner Wolle verarbeitet.
Für meine Mütze und den PomPom habe ich die „Colorissimo“ von Lana Grossa in der Farbe 10 (Goldgelb/Lachs/Orchidee/Mint/Petrol/Rosa/Oliv) verwendet. Diese habe ich selbst bezahlt.
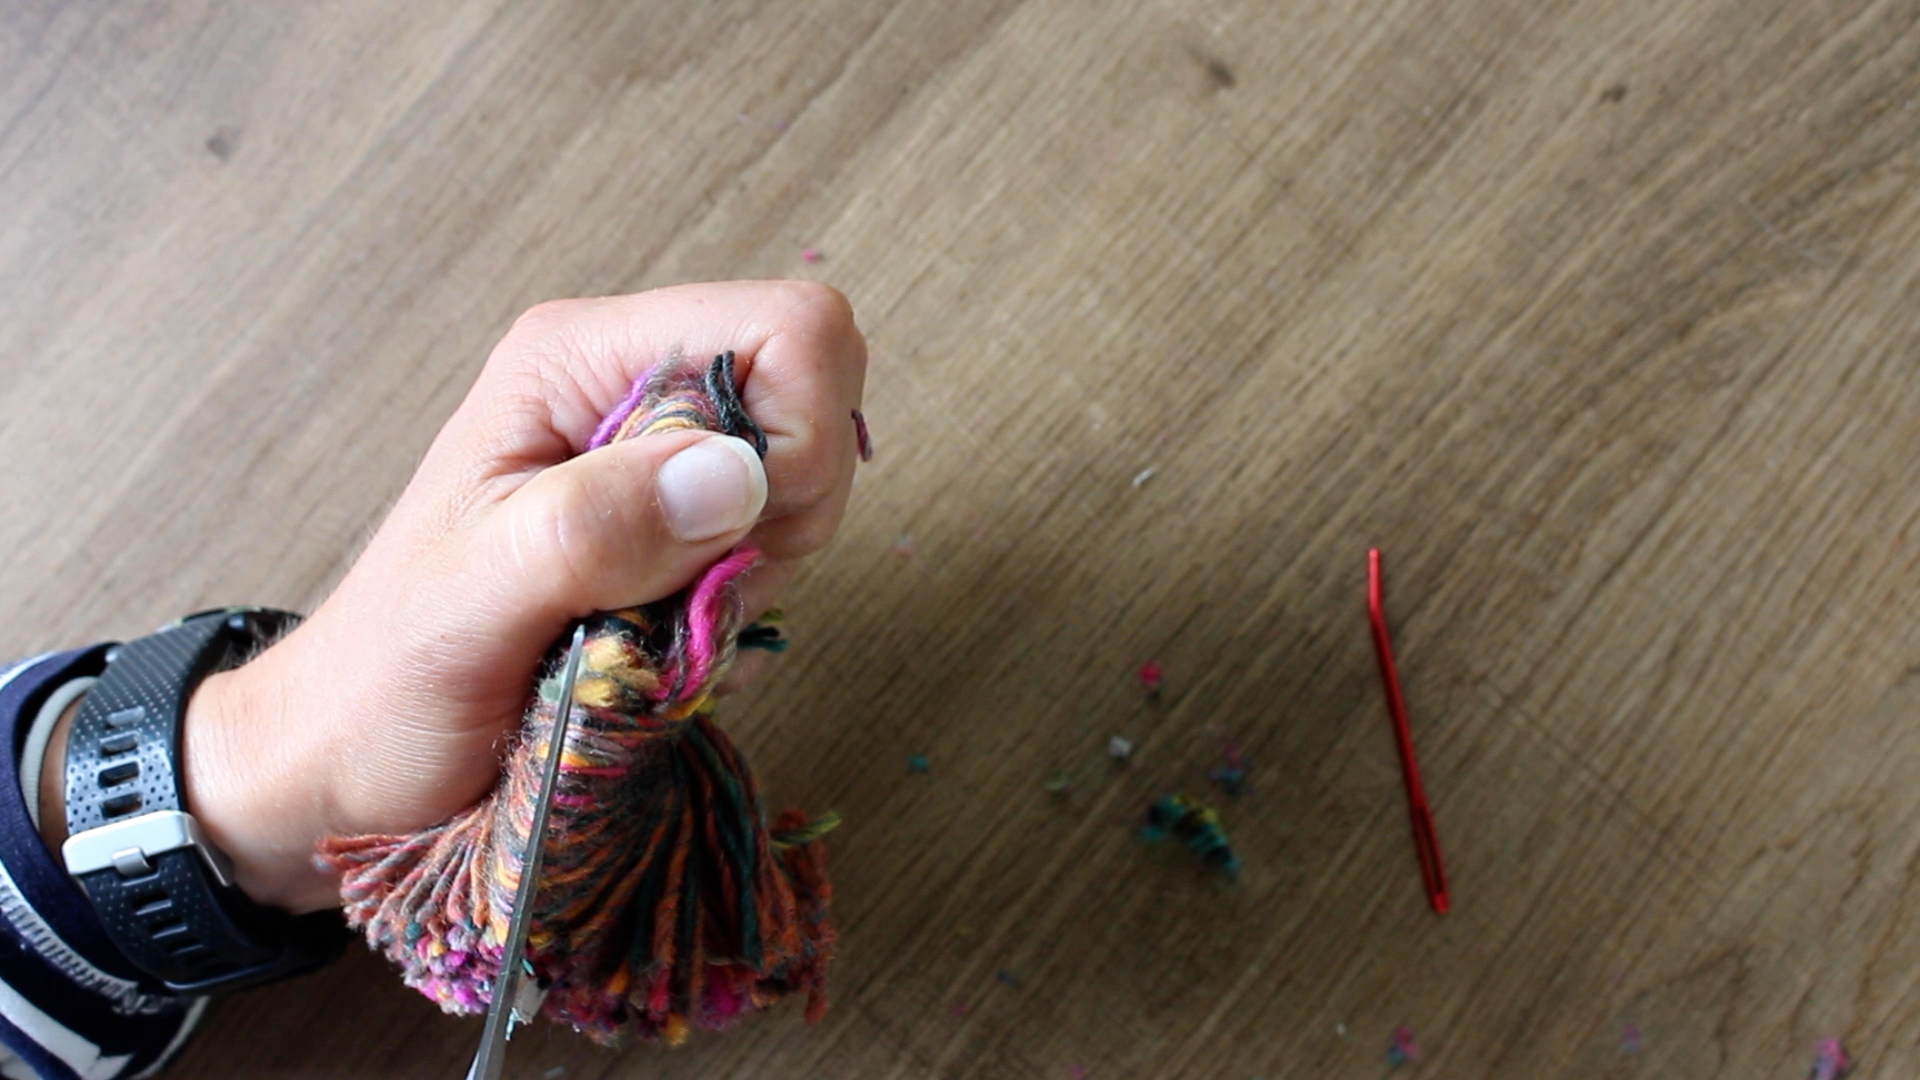
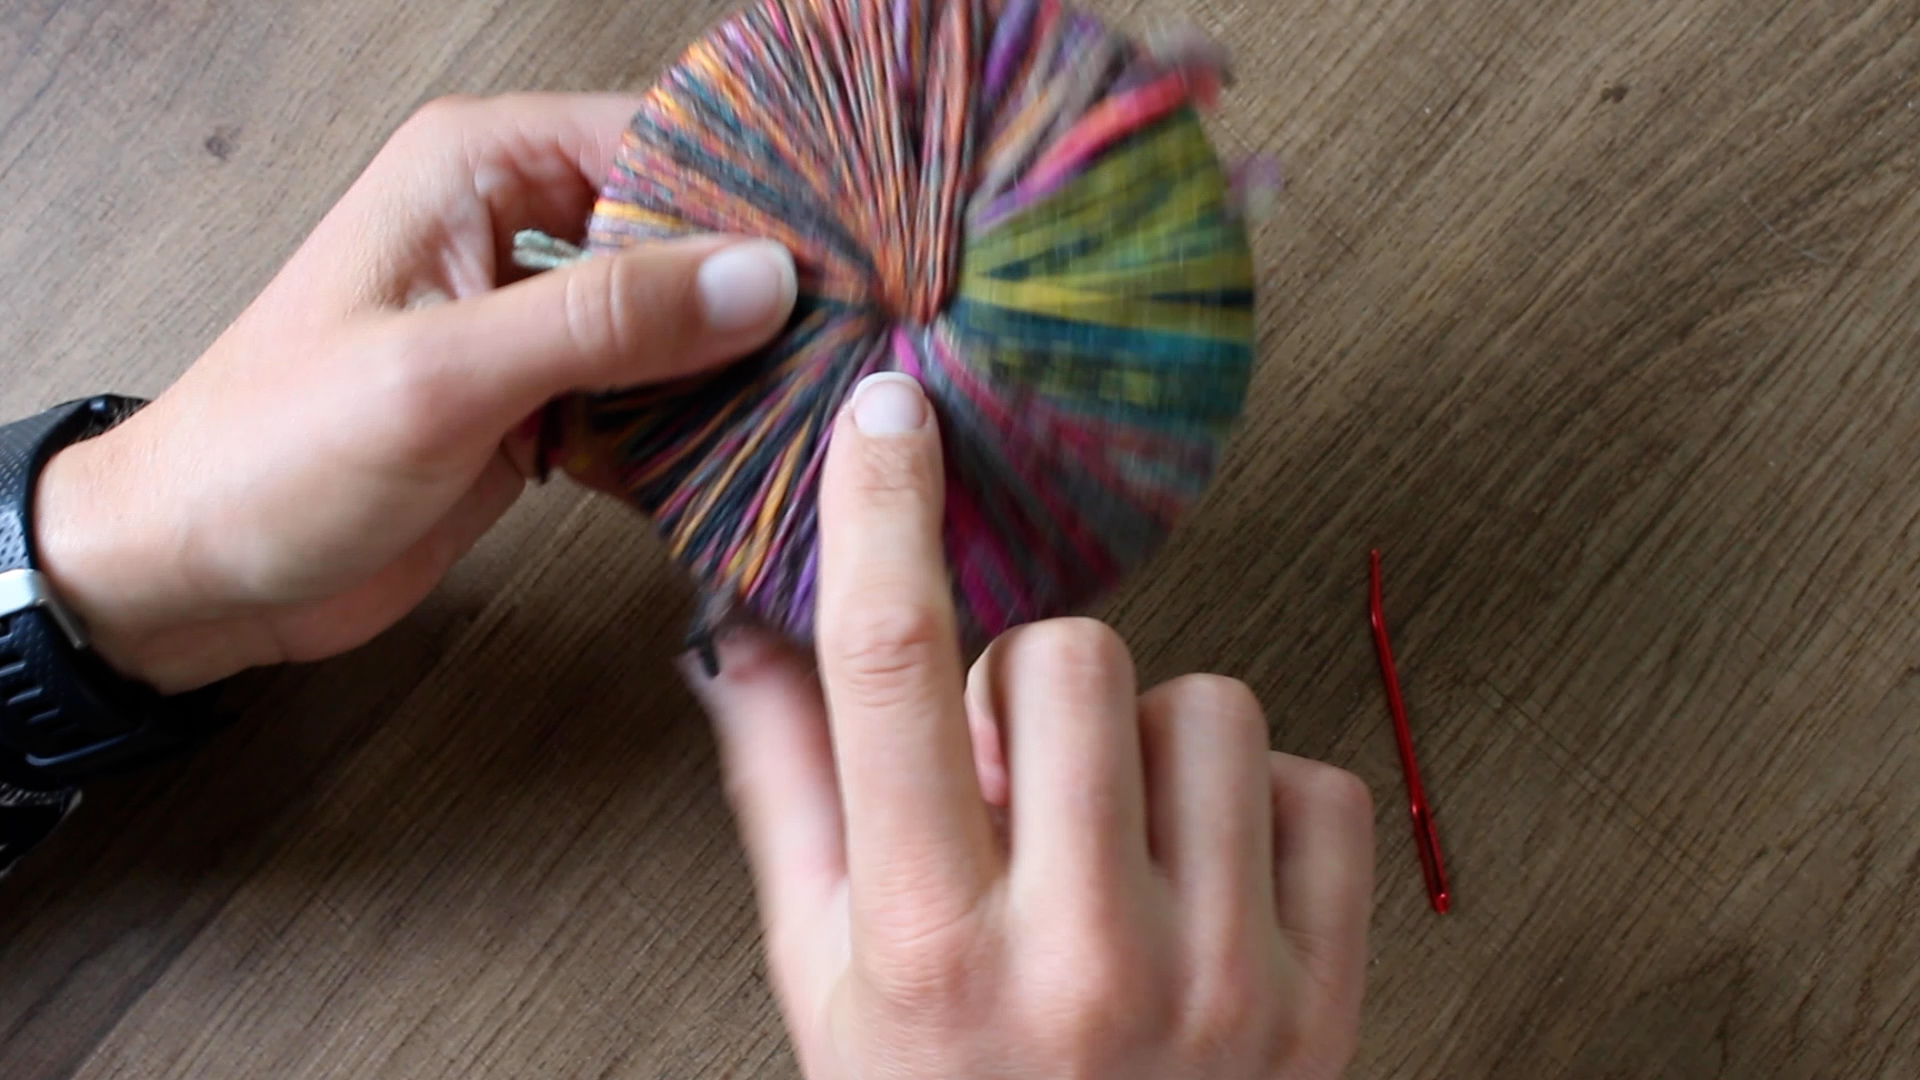
Um den PomPom herstellen zu können, müsst ihr einfach 2x eine Schablone aus dünnem Karton anfertigen und diese mit Wolle umwickeln, bis es nicht mehr geht. Danach schneidet ihr den umwickelten Kreis am Rand entlang mit einer Schere auf. Sobald der Kreis aufgeschnitten ist, führst du ein Stück Wolle zwischen beide Karton-Schablonen und machst einen Knoten. Nun kannst du die Schablonen aufbrechen und über die Wolle rüber ziehen. Den Bommel kannst du mit der Schere noch ein wenig in Form schneiden und fertig ist dein PomPom.
Für meinen XL-PomPom habe ich eine Schablone mit dem Durchmesser von 10 cm und einem Loch mit dem Durchmesser von 2 cm angefertigt.
VIEL SPAß BEIM NACHBASTELN!
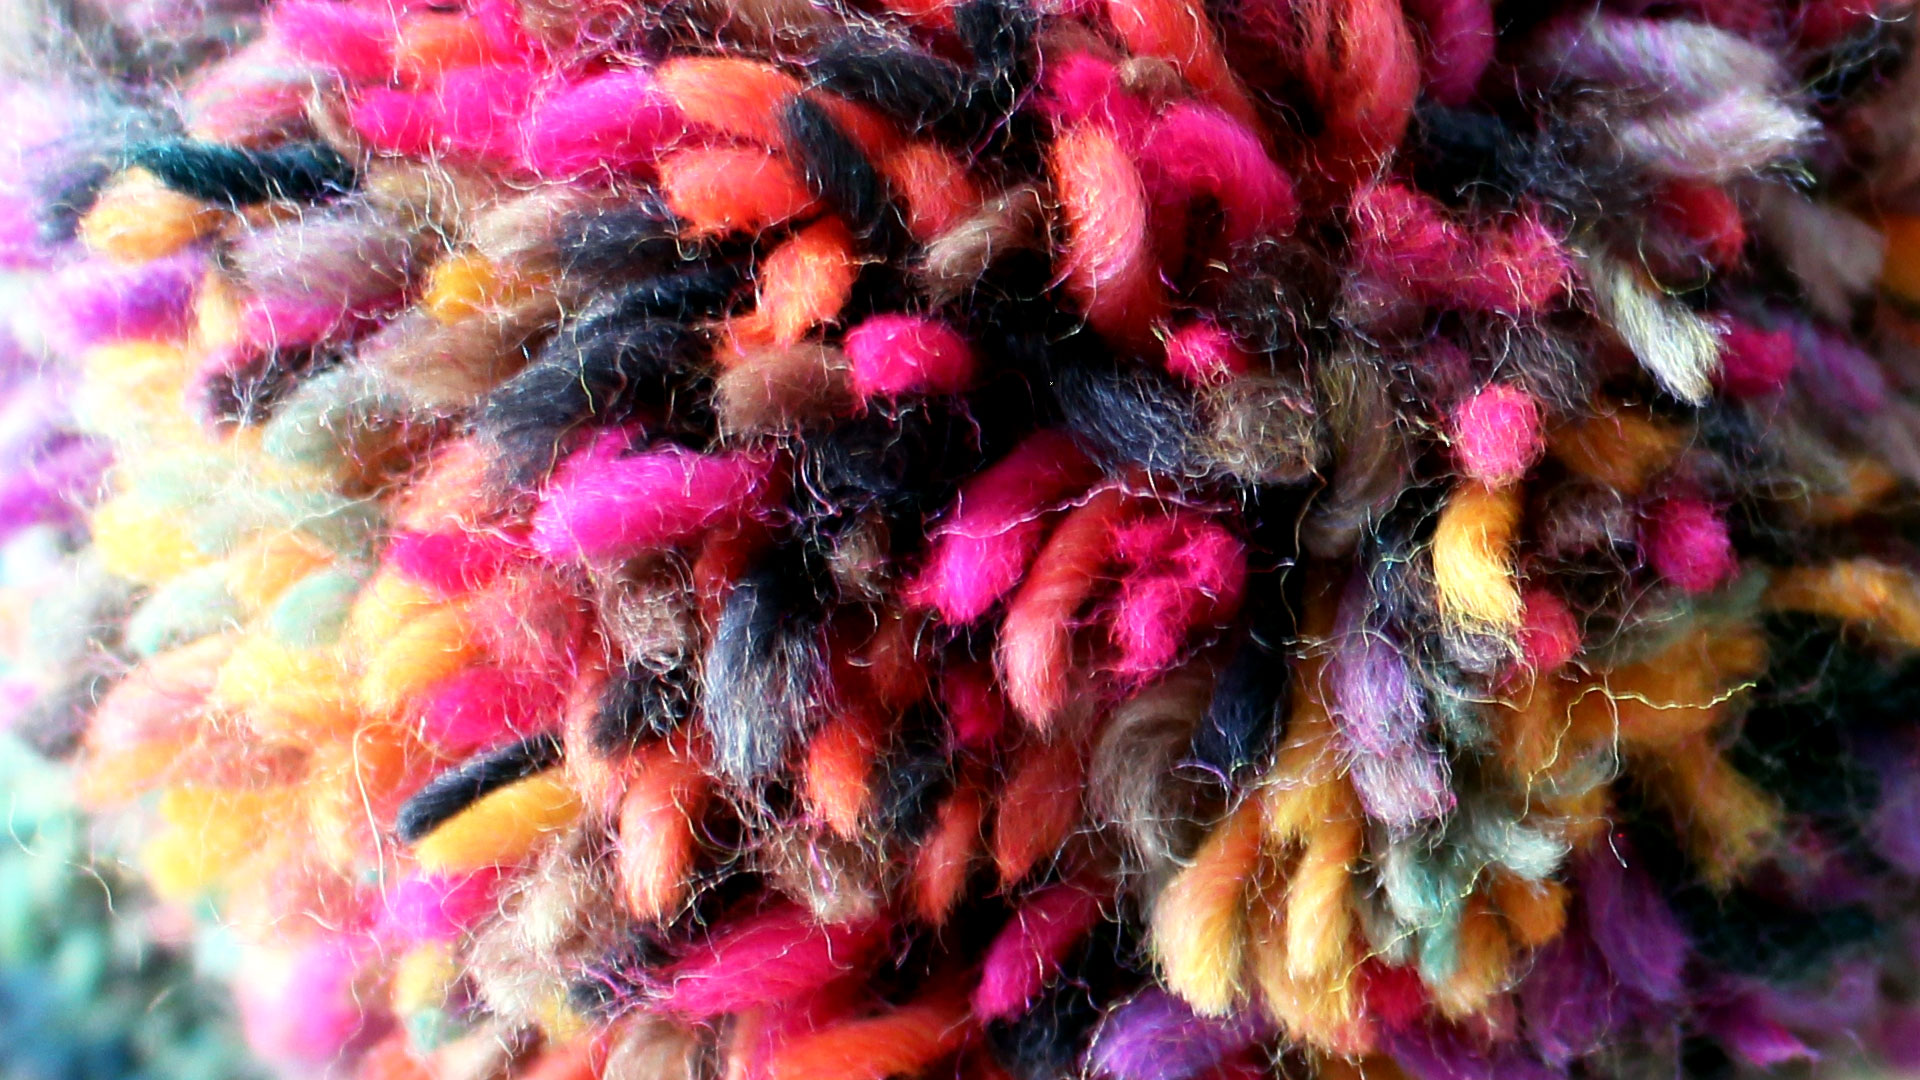
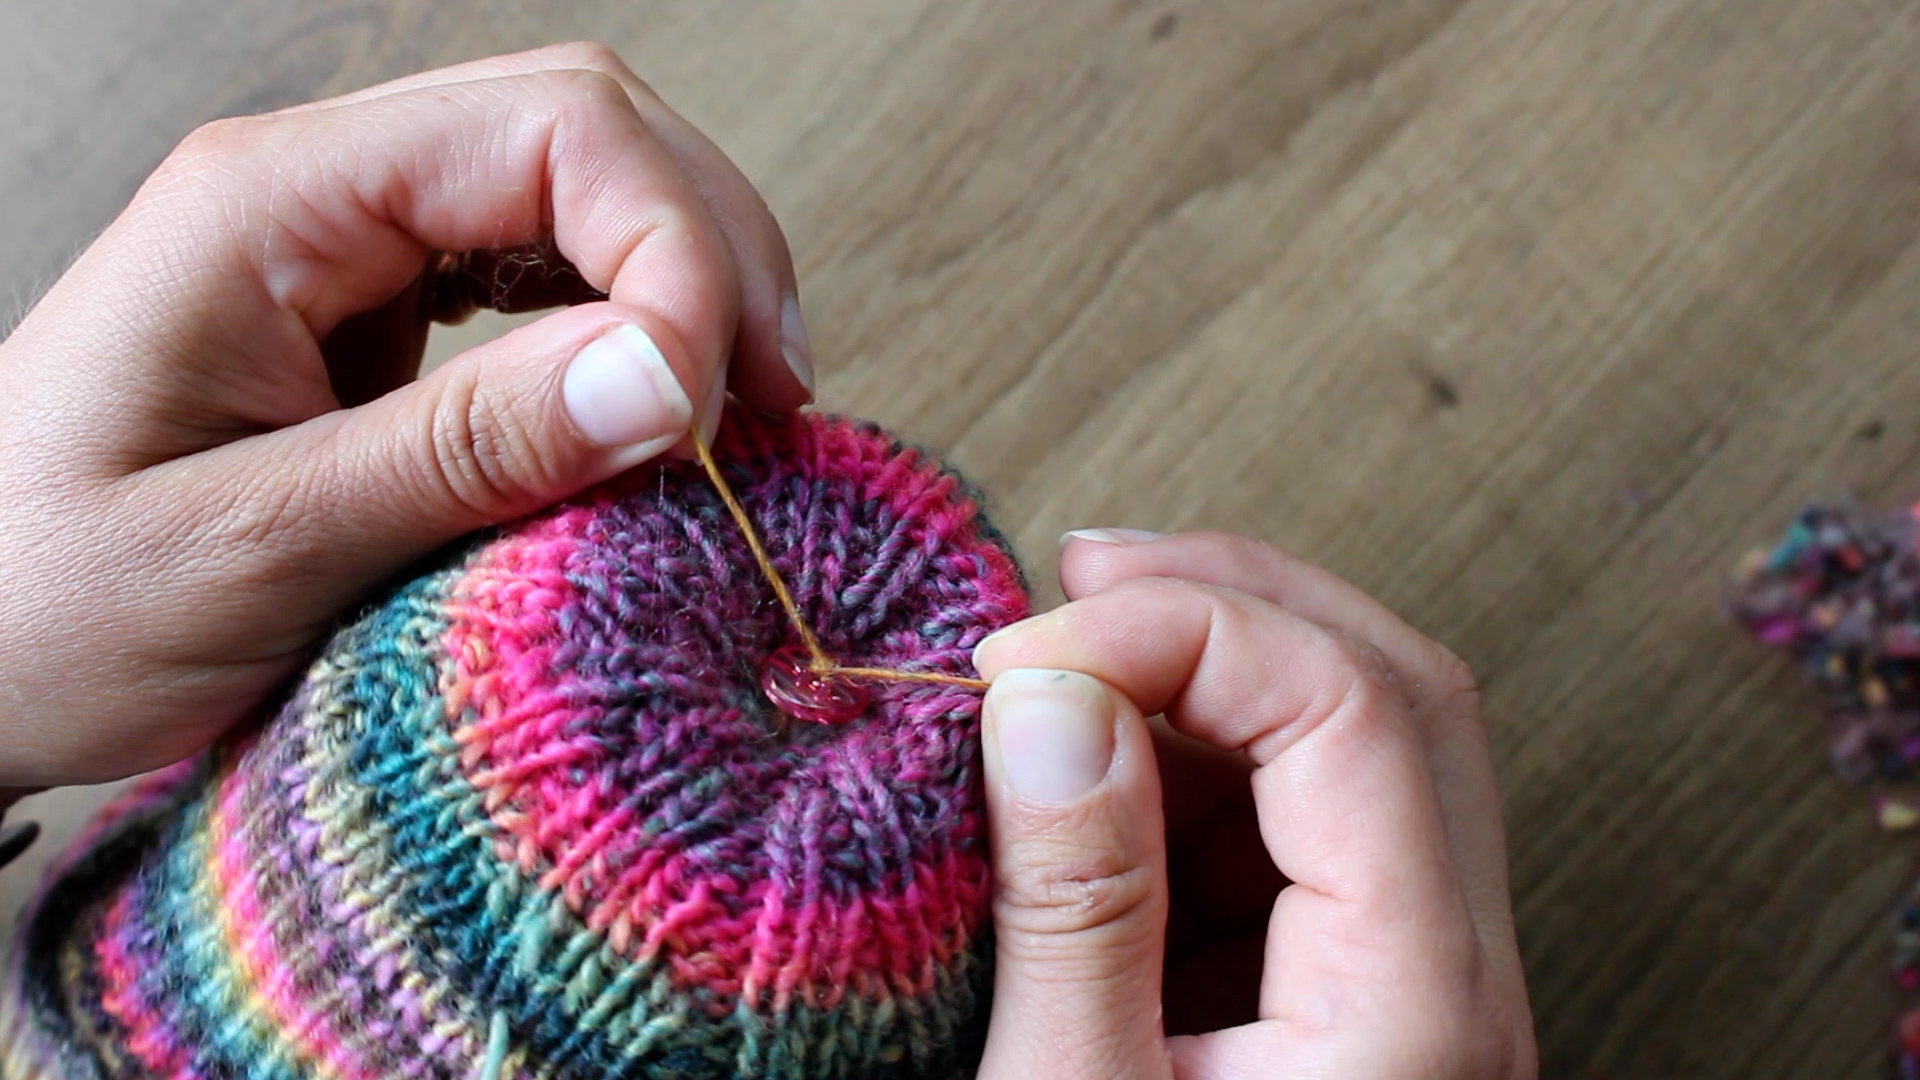
Nachdem du den XL-Bommel nach meiner Anleitung gebastelt hast, kannst du ihn ganz einfach an deine selbstgestrickte Mütze nähen. Zur Stabilisierung und damit die Wolle in der Mitte der Krone nicht ausleihert, habe ich den PomPom mit einem Knopf auf der Innenseite als Gegenstück festgenäht. Wähle dafür einfach einen glatten Knopf, der in die Spitze deiner Krone passt und nicht zu groß ist. So kannst du den PomPom auch wieder leicht entfernen, wenn du die Mütze einmal waschen möchtest oder auch einfach keine Lust mehr auf diesen hast.
Aber ich glaube, wer einmal diesen lustigen Bommel an seine farbenfrohe Mütze genäht hat, der kann nicht mehr ohne… Es macht einfach viel zu viel Spaß, diesen XL-PomPom zu tragen!
DER ENTSTEHUNGSPROZESS

