CREST SOMMER-TOP VON BIRGITTA-HELMERSSON, TAUKO 19

Vor einiger Zeit sah ich auf Instagram, dass TAUKO Test-Näher für ihre neue Ausgabe Nr.19 suchen. Mein 1. Gedanke war: „Wie cool ist das denn!?! Dafür muss ich mich unbedingt bewerben!“. Gesagt getan. Und was soll ich sagen, einige Tage später erhielt ich die frohe Nachricht, dass ich einen Schnitt aus der neuen Ausgabe testen darf. Bei der Auswahl habe ich mich etwas schwer getan, aber ich habe mich dann für das „CREST“ Sommer-Top entschieden. Bei diesem Schnitt von Birgitta-Helmersson hatte ich sofort das Gefühl, dass es einfach alles vereint: Leichtigkeit, Raffinesse und das gute Gefühl, etwas ganz Besonderes zu schaffen.
Ein Schnitt mit besonderem Konzept
Was „CREST“ so spannend macht, ist sein Zero-Waste-Ansatz. Das bedeutet: Der Schnitt ist so konzipiert, dass möglichst kein Stoff verschwendet wird. Statt kleiner Reststücke entstehen aus übrig gebliebenem Material praktische Details wie Bindebänder oder Einfassungen.
Der Schnitt wird nicht klassisch ausgeschnitten, sondern direkt auf den Stoff gezeichnet. Das fühlt sich im ersten Moment ungewohnt an, ist aber wirklich gar kein Problem.
Locker, luftig und individuell
Das Top (oder alternativ Kleid) lebt von seiner entspannten Silhouette. Durch großzügige Mehrweite sitzt es angenehm locker und wird zum perfekten Begleiter für warme Tage. Es kann jedoch auch wunderbar als Layering-Piece über Kurzarm-Pullover getragen werden.
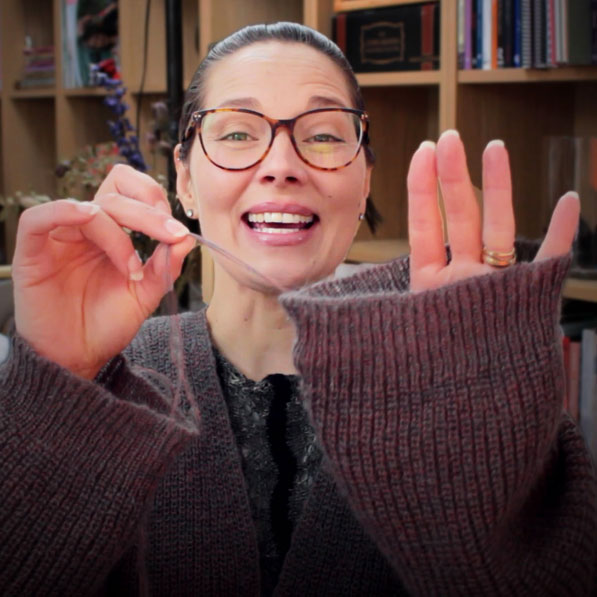
Besonders schön: Mit den charakteristischen Bindebändern kannst du die Passform individuell anpassen. Ob tailliert oder ganz lässig – du entscheidest selbst, wie dein fertiges Stück wirken soll. Ich muss gestehen, dass ich ja nicht ganz so der Fan von den vielen Bändern war, daher habe ich mich einfach dazu entschieden mit Gummibändern zu arbeiten. Das ging ebenfalls super einfach und meiner Meinung nach sieht es genau so cool aus, wie das „Bindebänder-Design“.
Die Details machen den Unterschied
Wenn du das Top 1:1 nach Anleitung nähst, lernst du (gerade als Anfängerin) ganz nebenbei einige spannende Techniken:
-
feine Bindebänder (Rouleau-Ties)
-
saubere Kanten durch Belege und Schrägstreifen
-
raffinierte Tunnelzüge für die Bänder
-
eine clevere Verarbeitung ganz ohne Overlock
Alles ist so aufgebaut, dass auch ambitionierte Anfänger gut mitkommen – und Fortgeschrittene trotzdem Freude an den Details haben.
Stoffwahl: Sommer pur
Übrigens. Für das „CREST“ Top eignen sich folgende Stoffe perfekt:
-
Leinen für einen natürlichen, luftigen Look
-
Viskose für fließende Eleganz
-
Baumwolle für einen unkomplizierten Allrounder
Ich habe mich bei meiner Variante für einen leichten Viskose-Polyamid Stoff mit Polka Dots entschieden. Ich hatte diesen Stoff bereits seit über 20 Jahren in meinem Stoff-Lager und hab mich riesig darüber gefreut, dass ich ihn nun endlich mit diesem Sommer-Top richtig in Szene setzen kann! Auch wenn die Verarbeitung ein wenig Fummel-Arbeit erforderte, so liebe ich den Fall von diesem leichten Stoff bei diesem Projekt.


Jetzt freue ich mich riesig darauf, mein „CREST“ Top zu tragen. Ich liebe dieses Layering-Piece. Es sieht super schick zu einer Hose oder über einem schmal geschnittenem Kleid aus und zaubert so eine schöne Silhouette.
Wenn ihr mehr über den Näh-Prozess wissen wollt und vielleicht auch darüber, welche Änderungen ich vorgenommen habe, dann schaut euch doch unbeding mein Projekt-Video dazu an.
Wenn ihr das „CREST“ Top von Birgitta-Helmersson auch einmal nähen wollt, dann holt euch doch unbedingt die neue TAUKO Nr. 19 . Und wenn ihr euer Modell genäht habt, dann erzählt mir unbedingt davon. Schreibt mir entweder hier, auf YouTube oder Instagram .