NEUE SOCKEN MIT TREPPENMUSTER, INKL. TUTORIAL

Ende letzten Jahres habe ich neben meinen Accessoires auch 3 Pullover gestrickt. Das Pullover-Stricken hat mir viel Freude bereitet, doch ich habe gemerkt, dass ich die kleinen Projekte wirklich vermisst habe. Im Austausch mit anderen Strickerinnen habe ich erfahren, dass die Meisten von ihnen das ganze Jahr über Socken stricken. Meistens aber nicht für sich selbst, sondern für einen guten Zweck am Ende des Jahres. Das fand ich so toll und es hat mich motiviert, wieder kurze Socken-Tutorials für euch aufzunehmen.
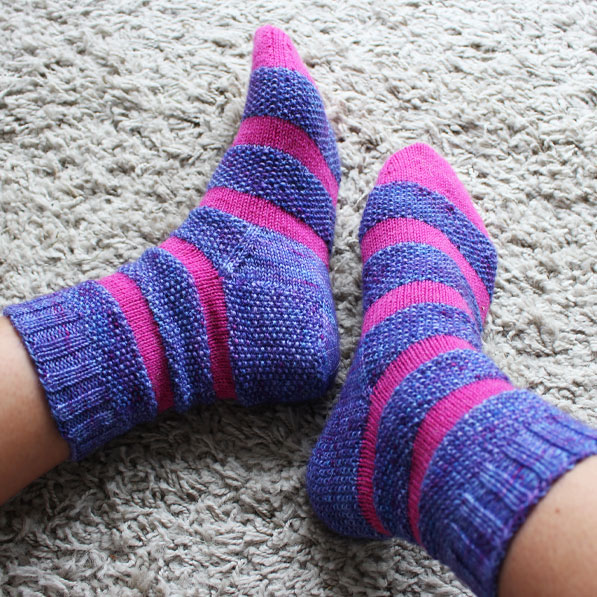
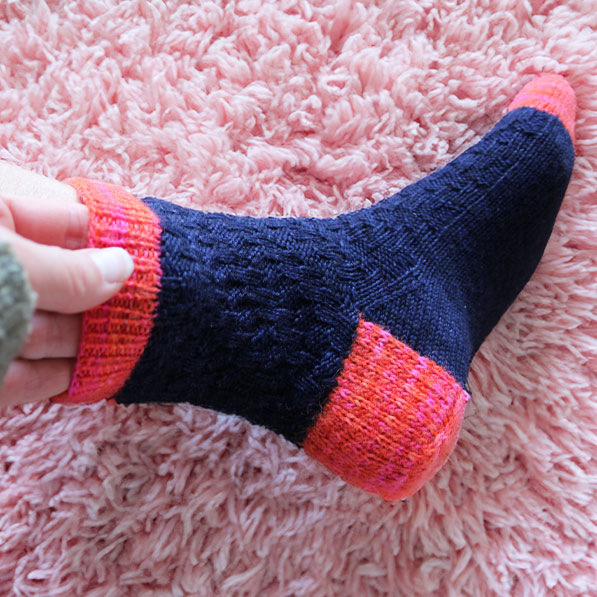
Heute möchte ich euch daher wieder ein neues Sockenmuster vorstellen. Ich habe es „Trepp auf, Trepp ab“ genannt und es handelt sich dabei um mein 1. Sockenmuster 2024. Das Strickmuster ist selbstverständlich kostenlos und ich hoffe, ihr habt viel Freude dabei es einmal selbst auszuprobieren.


Ich habe das Muster 3x für den Schaft und 4x für den Fuß verwendet. Im Fuß-Bereich habe ich das Muster jedoch nur im oberen Bereich verwendet, da ich dies zum einen optisch ganz toll finde, aber auch für den Tragekomfort besser finde. Ihr könnt das Muster aber selbstverständlich komplett durch stricken.

Das Treppen-Muster ist leicht zu merken, lässt sich super einfach stricken und gibt dem Socken auch noch zusätzlich einen tollen Tragekomfort. Besser geht es doch gar nicht, oder!?! Wie ihr nun dieses Sockenmuster strickt, das zeige ich euch in meinem aktuellsten YouTube-Video. Das Strickmuster hat einen Rapport über 8 Maschen und ist für eine Sockengröße 40/41 mit einem Anschlag von 64 Maschen designt.

Damit euch das Muster ganz einfach von der Nadel geht, habe ich euch wieder einmal ein kurzes Strick-Tutorial aufgenommen. Wenn euch das Video gefällt, gebt mir bitte ein LIKE und ABONNIERT meinen Kanal. Das motiviert mich, neue Videos für euch aufzunehmen.
Für meine Socken verwende ich folgende Materialien (alle selbst bezahlt):
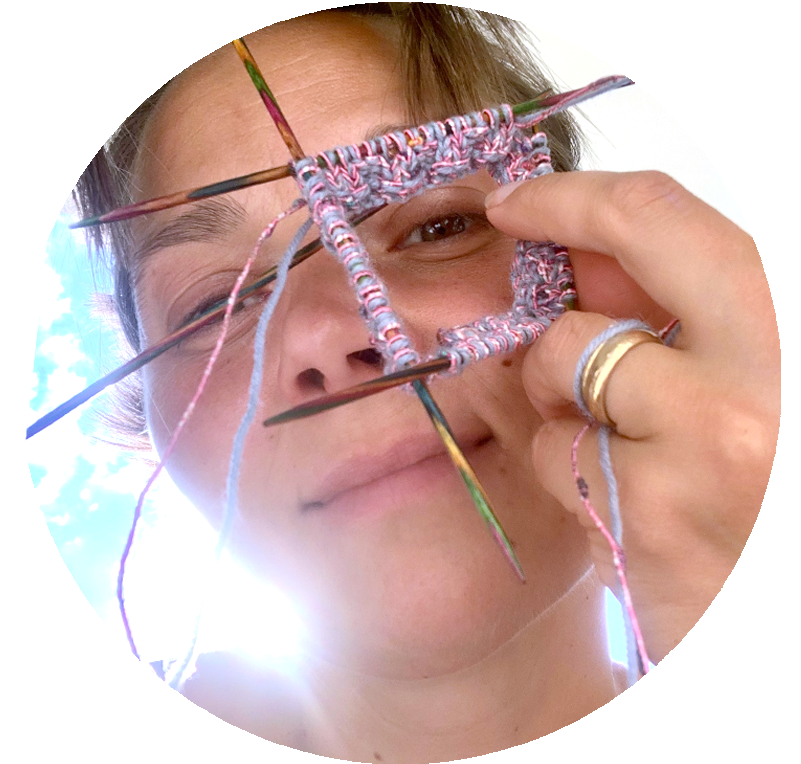
Nadelspiel: Symfonie von Knit Pro, Nadelstärke 2,5
Blaue Wolle: Selbst gefärbte 4-fach Sockenwolle „Dark Navy“
Pink-Orange Wolle: Selbst gefärbte 4-fach Sockenwolle „Pinke Koralle“