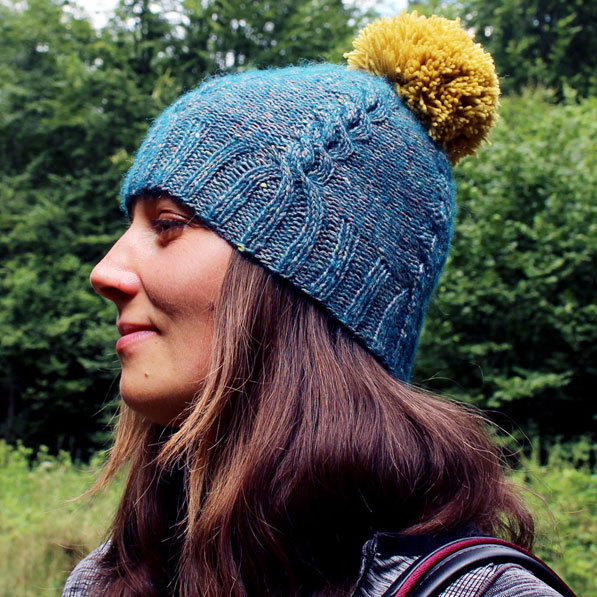
MEINE NEUE MÜTZE „TROPICAL CYCLONES“ MIT EINFACHEM ZOPFMUSTER IST FERTIG – INKL. TUTORIAL

MEINE NEUE MÜTZE „TROPICAL CYCLONES“ MIT EINFACHEM ZOPFMUSTER IST FERTIG – INKL. TUTORIAL
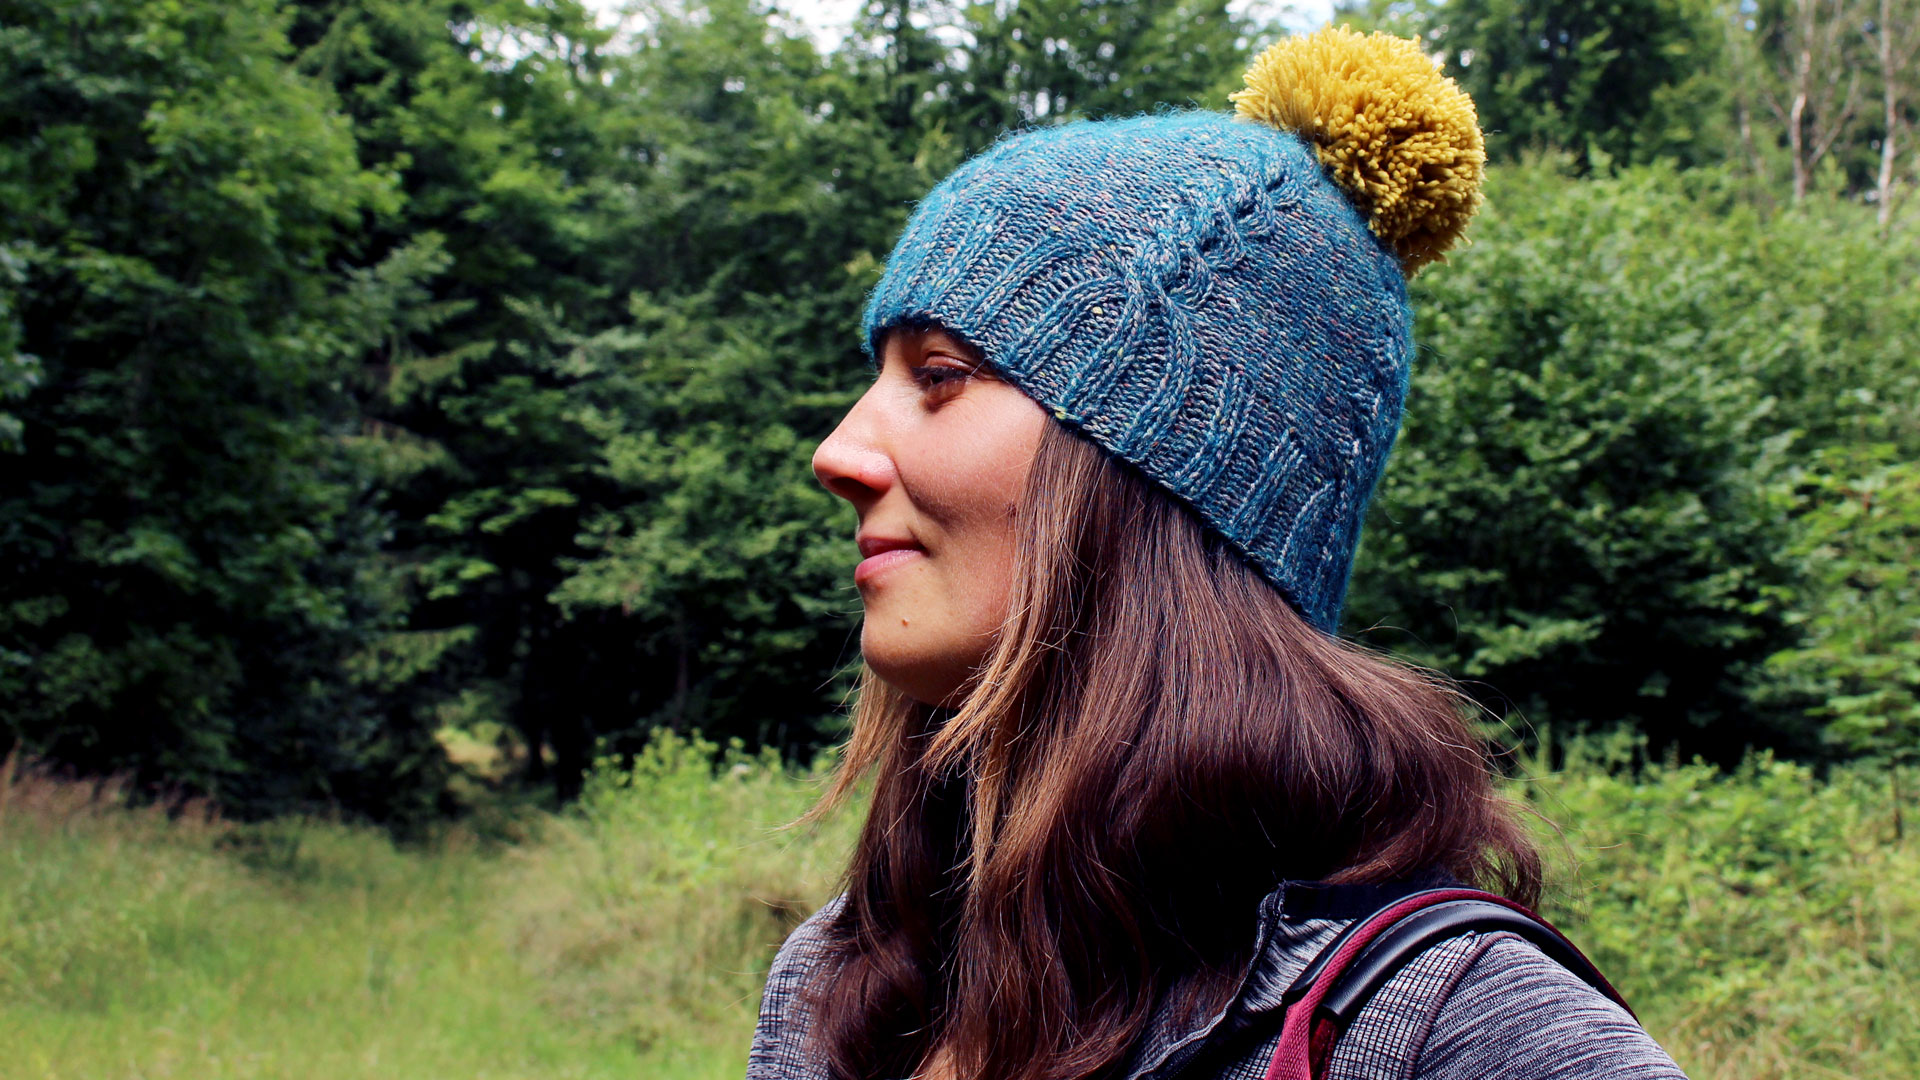
Heute möchte ich euch mein 1. eigenes Mützen-Design zeigen. Diese Mütze entstand, als ich mit verschiedenen Zopf-Mustern experimentiert habe. Dieses spezielle Zopfmuster erinnerte mich an einen Wirbelsturm. Und da ich bei meiner Mütze fünf dieser Zopfmuster integriert habe, entstand der Name, dieser Mütze.

Der Name „Tropical Cyclones“ soll darauf hinweisen, dass diese Mütze von der Wirbelstruktur und Dynamik von tropischen Wirbelstürmen inspiriert ist. Da ich für meine Mütze 5 Zöpfe verstrickt habe, solte diese Mütze eigentlich „Quintuple Tropical Cyclones“ heißen. Doch wer kann das schon aussprechen!?!

Dennoch. Solche gleichzeitigen Ereignisse mit fünf Wirbelstürmen sind selten und können während der Wirbelsturmsaison auftreten, wenn die atmosphärischen Bedingungen besonders günstig sind. Diese Ereignisse sind für die Wetter- und Katastrophenüberwachung von großer Bedeutung und erfordern besondere Aufmerksamkeit und Vorbereitung, da sie eine erhebliche Bedrohung für betroffene Gebiete darstellen können.

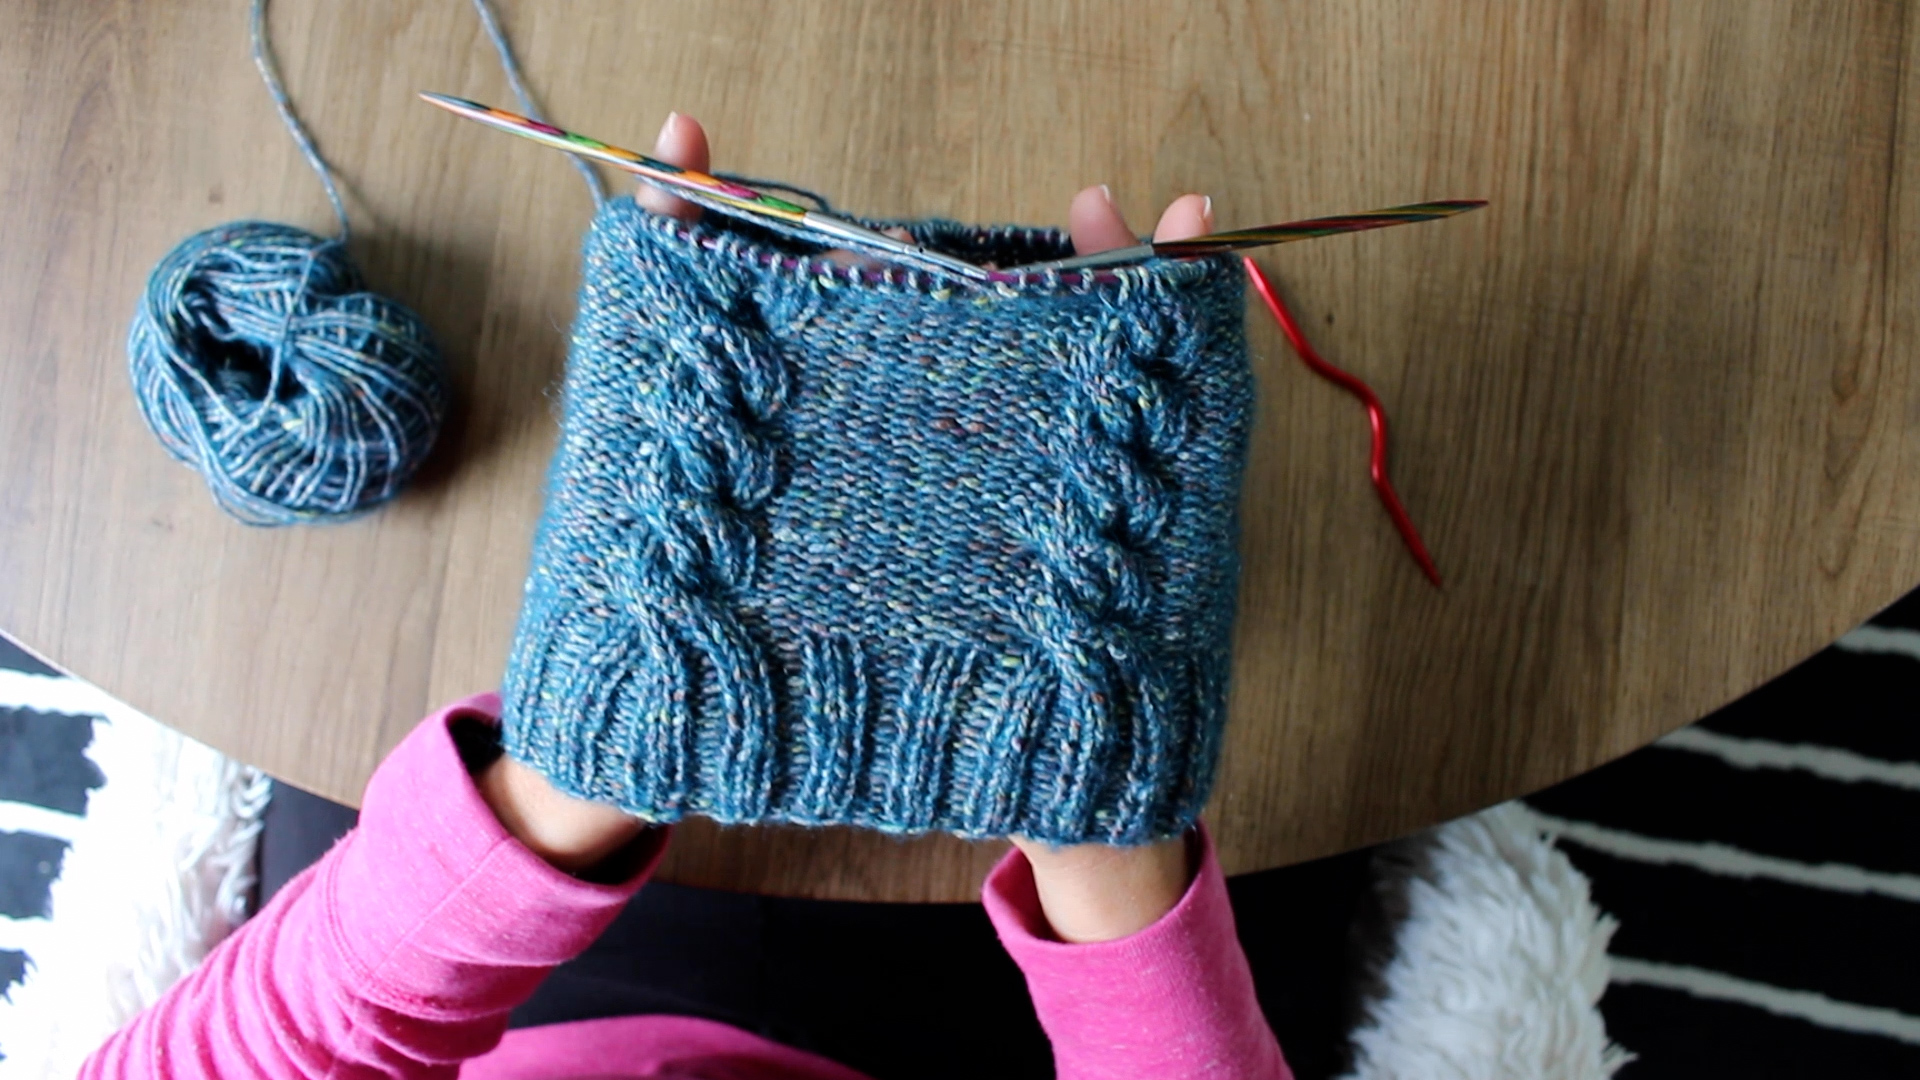
Die Anzahl und die besondere Struktur des Zopfmusters stellt die Verwirbelung der fünffach auftretenden tropischen Wirbelstürmen dar und soll an die unbändigende Kraft und Energie erinnern, die in solchen Stürmen vorhanden ist.

Durch den gelben XL-Bommel, der die Mütze ziert, wird zudem die strahlende und wärmende Kraft der Sonne symbolisiert, die selbst inmitten der stürmischsten Zeiten für Hoffnung und Licht sorgt.
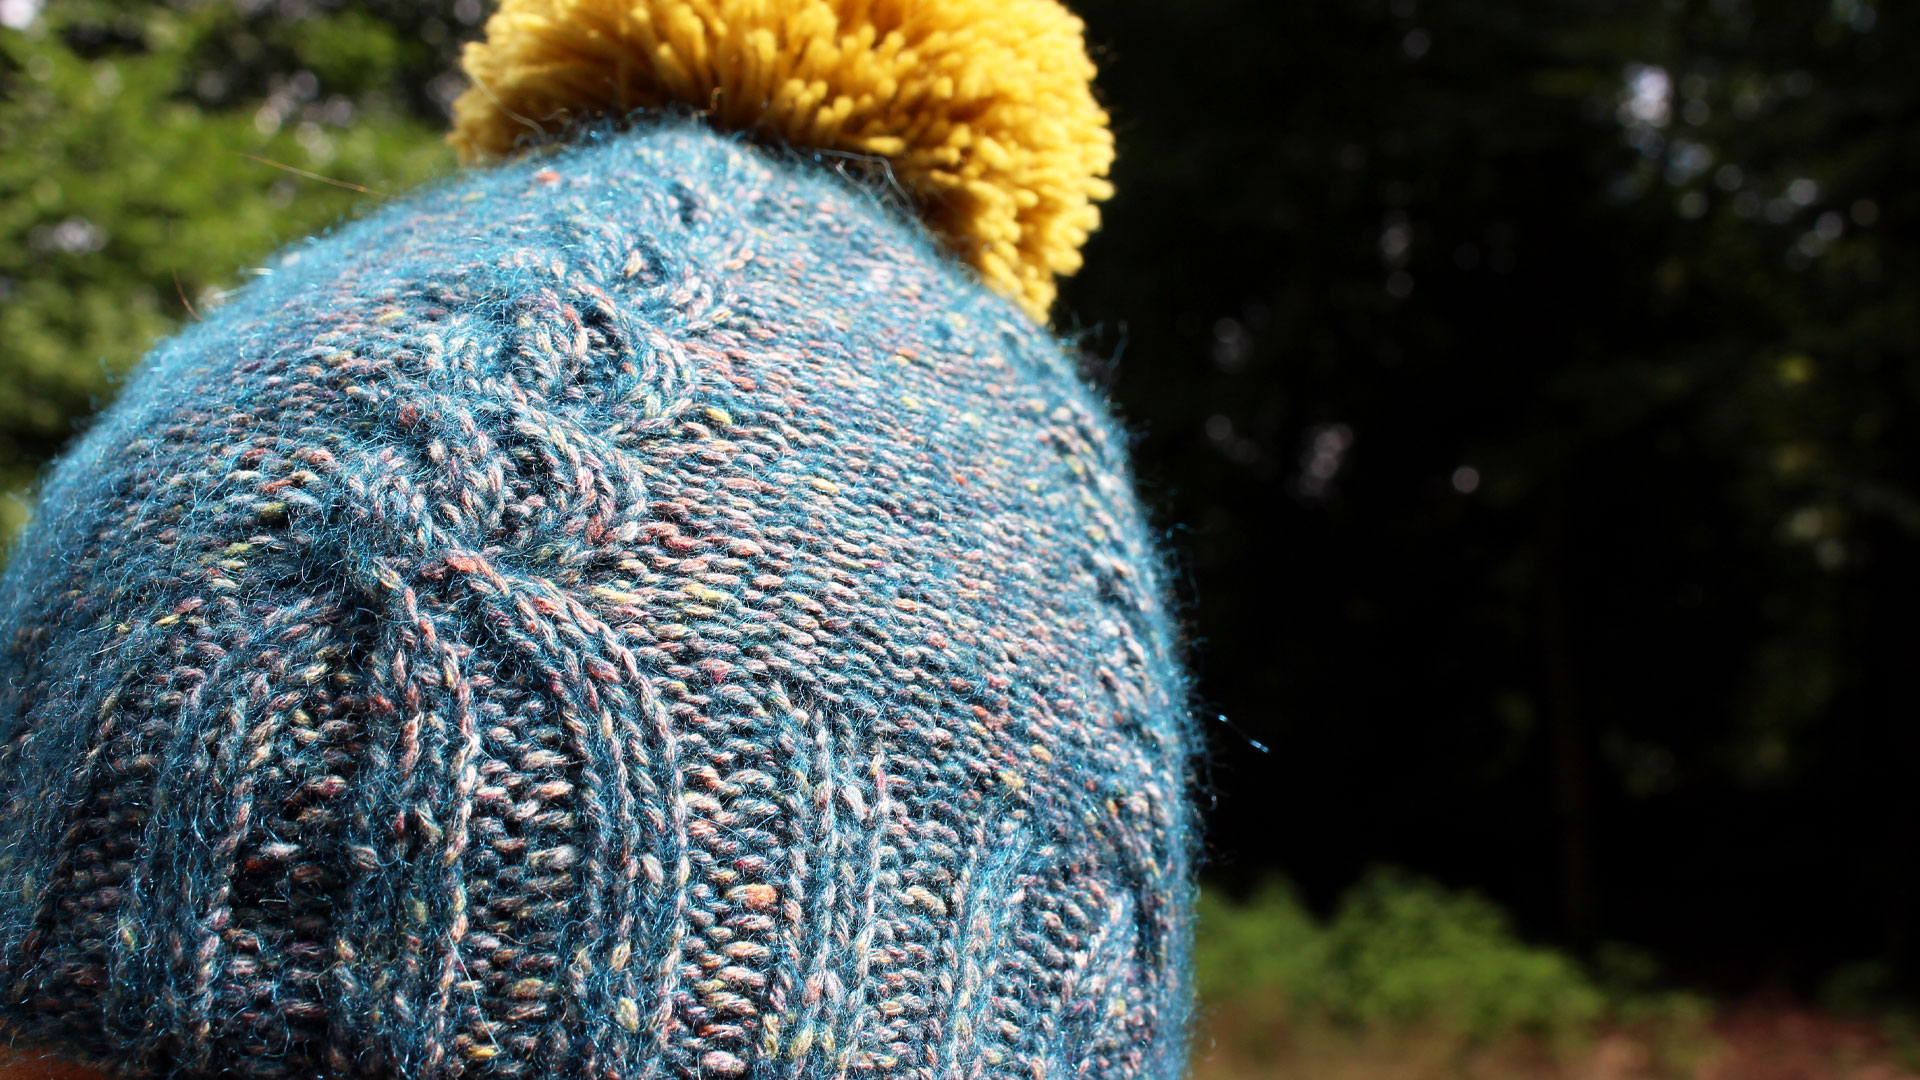
Today I want to show you my first own hat design. This hat was created while experimenting with different cable patterns. This particular cable pattern reminded me of a hurricane. And since I integrated five of these cable patterns into my hat, the name of this hat came about.

The name „Tropical Cyclones“ is intended to indicate that this hat is inspired by the swirling structure and dynamics of tropical cyclones. Since I knitted 5 braids for my hat, this hat should actually be called „Quintuple Tropical Cyclones“. But who can say that!?!

Nonetheless. Such simultaneous five-cyclone events are rare and may occur during cyclone season when atmospheric conditions are particularly favorable. These events are of great importance for weather and disaster surveillance and require special attention and preparation as they can pose a significant threat to affected areas.

The number and special structure of the cable pattern represents the turbulence of the fivefold tropical cyclones and is intended to evoke the overwhelming power and energy that is present in such storms.

The yellow XL bobble that adorns the cap also symbolizes the radiant and warming power of the sun, which provides hope and light even in the midst of the stormiest of times.

TROPICAL CYCLONES

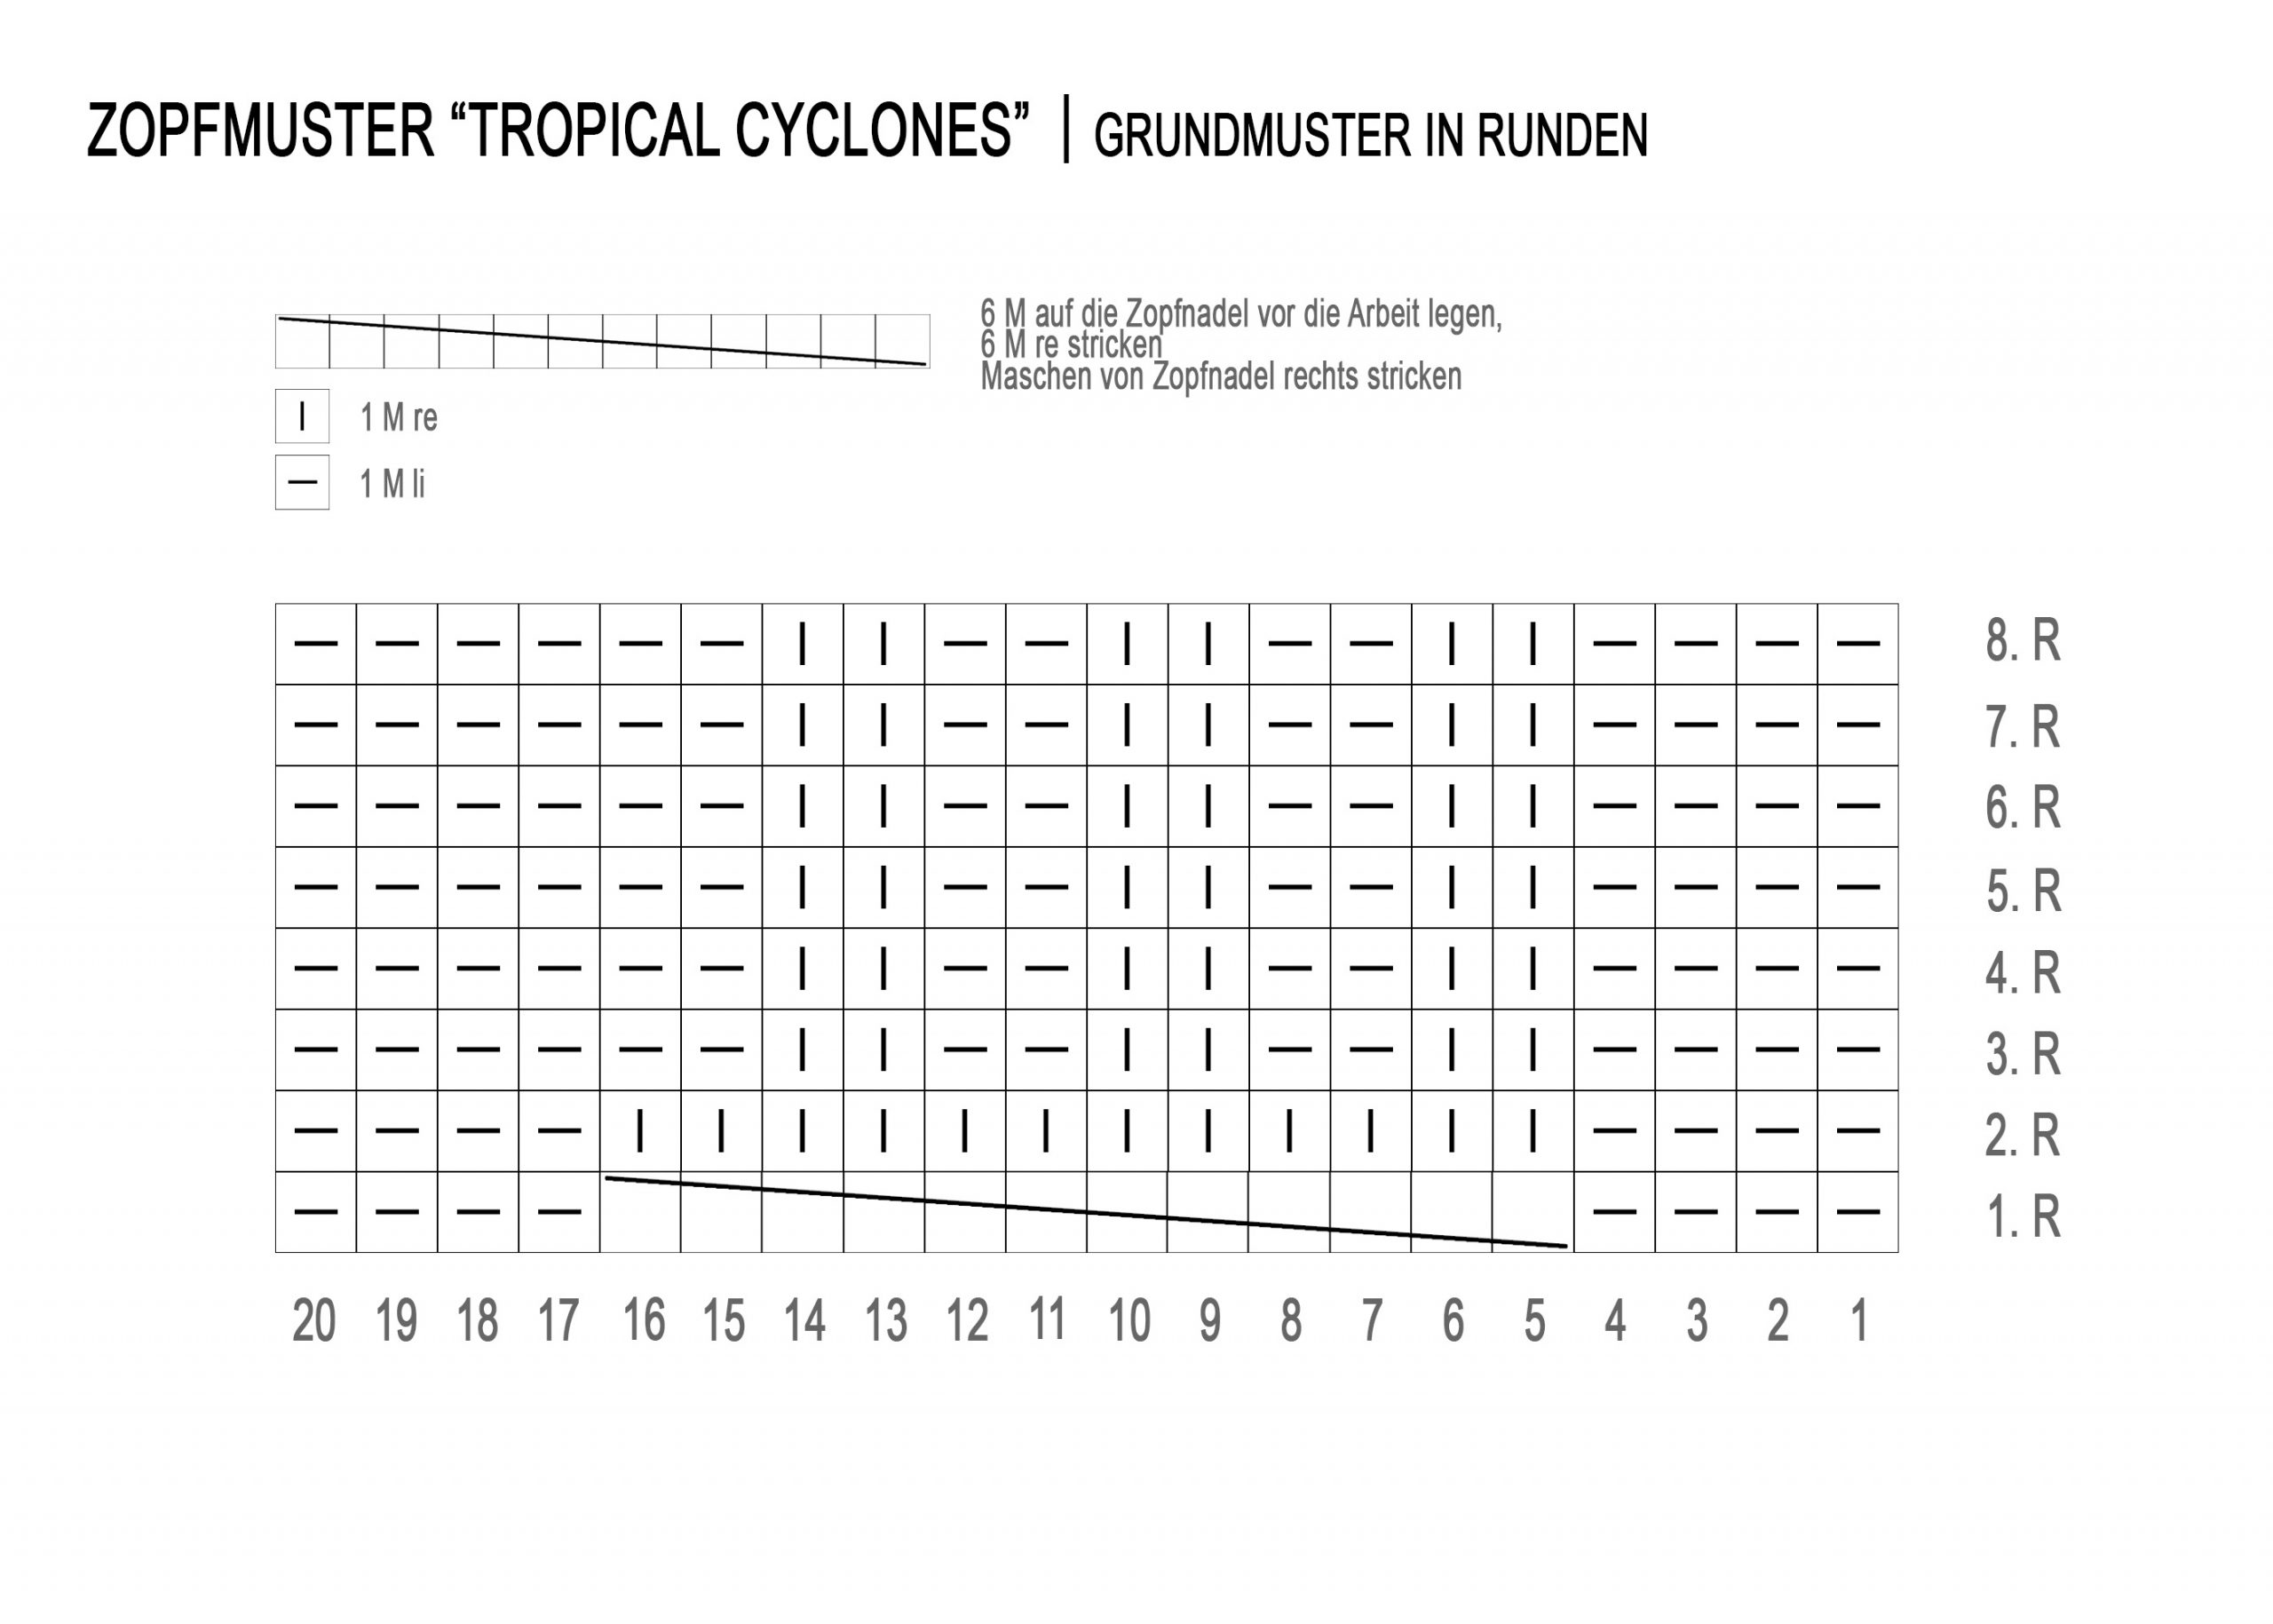
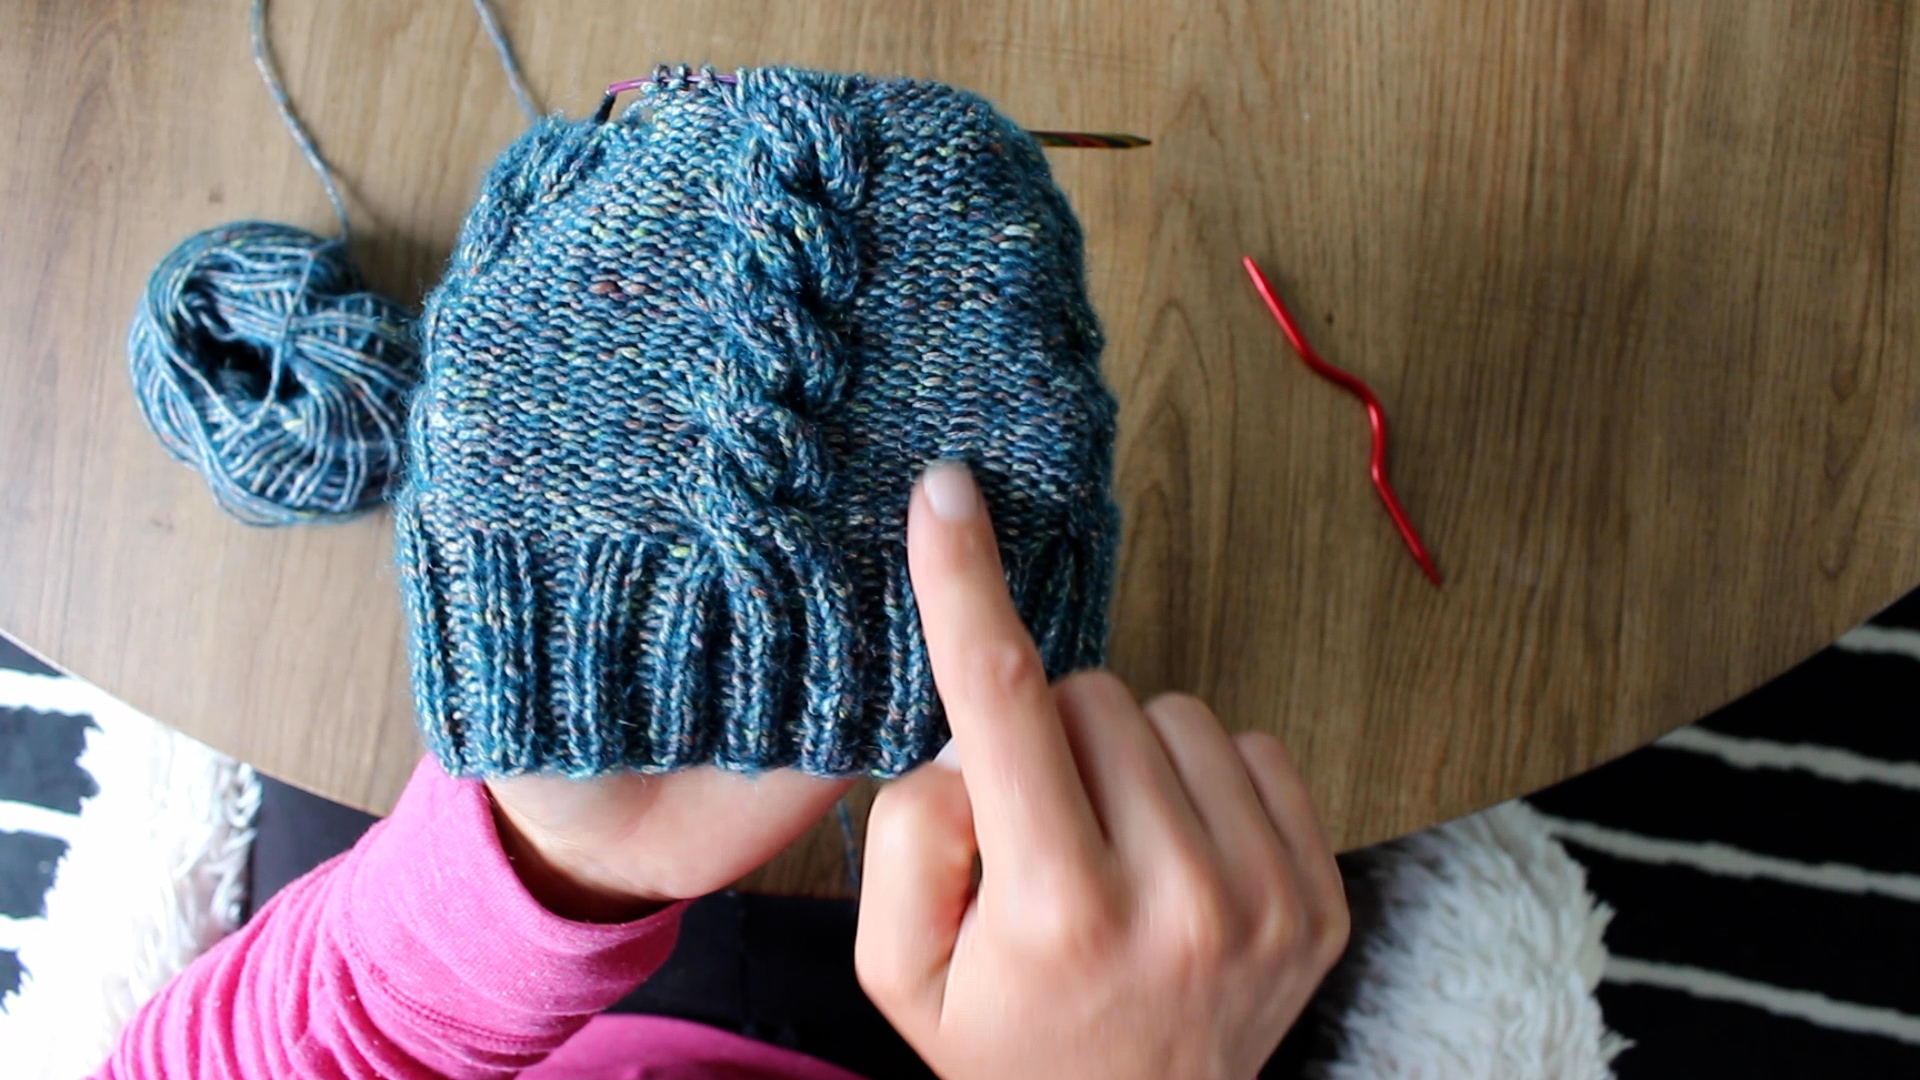
Das nicht ganz so klassische Zopfmuster ist super einfach zu stricken und besteht aus einem Muster-Rapport über 20 Maschen.

Stricke als Vorbereitung für diese Mütze die ersten Runden in einem einfachem Rippen-Bündchenmuster, das aus 2 rechte Maschen und 2 linke Maschen besteht.

Für meine Mütze habe ich 100 Maschen angeschlagen.

Dann stricke das Zopfmuster nach Anleitung.

TROPICAL CYCLONES

The not-so-classic cable pattern is super easy to knit and consists of a pattern repeat over 20 stitches.

In preparation for this hat, knit the first rounds in a simple rib knit stitch consisting of 2 knit stitches and 2 purl stitches.

For my hat I cast on 100 stitches.

Then knit the cable pattern according to the instructions.

Wiederhole die Zopfreihe, bis du die gewünschte Länge erreicht hast. In meinem Fall habe ich das Muster 6 Mal wiederholt.

Bei der Gestaltung der Krone bin ich etwas intuitiv vorgegangen. Nachdem ich den letzten Zopf gestrickt hatte, habe ich die Abnahme zunächst 4 Mal im Zwischenbereich der Zöpfe mit linken Maschen gemacht (2 Maschen jeweils links zusammen gestrickt). Dabei habe ich zwischen jeder Abnahme eine Runde ohne Abnahme gestrickt.

Nachdem ich mit meinen Abnahmen etwas über dem Zopfmuster angelangt war, habe ich die restliche Maschenanzahl durch 5 geteilt und dort einen Maschenmarker gesetzt. Nun habe ich wieder regelmäßig zwei linke Maschen vor dem Marker links zusammen gestrickt.

Da ich für diese Mütze einen PomPom vorgesehen hatte, wollte ich, dass die Mütze nicht zu spitz zusammenläuft. Daher habe ich die letzten Abnahmen ohne Zwischenrunden gestrickt.

Übrigens, wenn ihr nicht wisst, wie man einen XL-PomPom selbst herstellt, dann schaut euch doch einfach kurz mein YouTube Tutorial dazu an. Denn gerade wenn man das Mützen-Stricken für sich entdeckt hat, sollte man definitiv wissen, wie man den passenden Bommel dazu selbst bastelt.

Repeat the row of braids until you reach the desired length. In my case I repeated the pattern 6 times.

When designing the crown, I proceeded somewhat intuitively. After I had knitted the last cable, I first made the decrease 4 times in the area between the cables with purl stitches (2 stitches each purled together). I knitted a round without a decrease between each decrease.

After I got a little over the cable pattern with my decreases, I divided the remaining stitch count by 5 and placed a stitch marker there. Now I have again regularly purled two purl stitches together in front of the marker.

Since I planned a pom-pom for this hat, I didn’t want the hat to be too pointy. Therefore I knitted the last decreases without intermediate rounds.

By the way, if you don’t know how to make an XL pom-pom yourself, just take a quick look at my YouTube tutorial. Because just when you have discovered knitting hats for yourself, you should definitely know how to make the right bobble yourself.

Übrigens, damit euch das Muster noch einfacher von der Hand geht, habe ich für euch ein Strick-Tutorial auf meinen YouTube Kanal hochgeladen.

Für meine Mütze im Video verwende ich folgende Materialien (alle selbst bezahlt):
Rundstricknadel: Symfonie von Knit Pro, Nadelstärke 4,0
Wolle für die Mütze: Ecopuno Tweed von Lana Grossa, Farbe: 306, Petrol meliert
Wolle für den XL-PomPom: Meilenweit Uni von Lana Grossa, Farbe: 1370, Senfgelb

Viel Spaß beim Nachstricken!

By the way, to make the pattern even easier for you, I have uploaded a knitting tutorial to my YouTube channel for you.

For my hat in the video I use the following materials (all paid for by myself):
Circular needles: Symfonie by Knit Pro, needle size 4.0
Wool for the hat: Ecopuno Tweed by Lana Grossa, color: 306, petrol mottled
Yarn for the XL PomPom: Miles wide Uni from Lana Grossa, color: 1370, mustard yellow

Happy knitting!

XL-POMPOM FÜR MEINE NEUE RINGELMÜTZE – INKL. TUTORIAL

XL-POMPOM FÜR MEINE NEUE RINGELMÜTZE – INKL. TUTORIAL

In meinem letzten Beitrag habe ich euch doch von meiner neuen Ringelmütze erzählt. Ich liebe ja, das farbenfrohe Design dieser Mütze, aber irgendwie hatte bei der Mütze noch das gewisse „Etwas“ gefehlt. Und dann kam mir eine ganz tolle Idee. Diese Mütze benötigt einen XL-PomPom! Gesagt, getan.

In meinem 2. DIY-Tutorial zeige ich euch, wie man einen XL-PomPom aus Wolle herstellt und diese an eine selbstgestrickte Mütze befestigt. Die Anleitung ist super einfach und man kann den PomPom auch wunderbar gemeinsam mit Kindern basteln.

In my last post I told you about my new striped hat. I love the colorful design of this beanie, but somehow something was missing. And then I had a really great idea. This beanie needs an XL PomPom! Said and done.

In my 2nd DIY tutorial, I show you how to make an XL pom-pom out of wool and attach it to a self-knitted hat. The instructions are super simple and you can also make the PomPom together with children.

Um einen PomPom basteln zu können, benötigst du nur wenige Materialien:

1 x Karton (z.B. von einer Müsli-Verpackung)
1 x Schere
1 x Stift
1 x meine kostenlose Schablone oder einen Zirkel
1 x Stopfnadel
1 x Wolle deiner Wahl

Ich wollte passend zu meiner Mütze einen sehr farbenfrohen Bommel herstellen, also habe ich einfach die Reste meiner Wolle verarbeitet.

Für meine Mütze und den PomPom habe ich die „Colorissimo“ von Lana Grossa in der Farbe 10 (Goldgelb/Lachs/Orchidee/Mint/Petrol/Rosa/Oliv) verwendet. Diese habe ich selbst bezahlt.

You only need a few materials to make a PomPom:

1 x carton (e.g. from a muesli packaging)
1 x scissors
1 x pen
1 x my free template or a compass
1 x darning needle
1 x wool of your choice

I wanted to make a very colorful bobble to match my hat, so I just used leftover yarn from my beanie project.

For my hat and pompom I used the „Colorissimo“ from Lana Grossa in color 10 (golden yellow/salmon/orchid/mint/petrol/pink/olive). I paid for this myself.

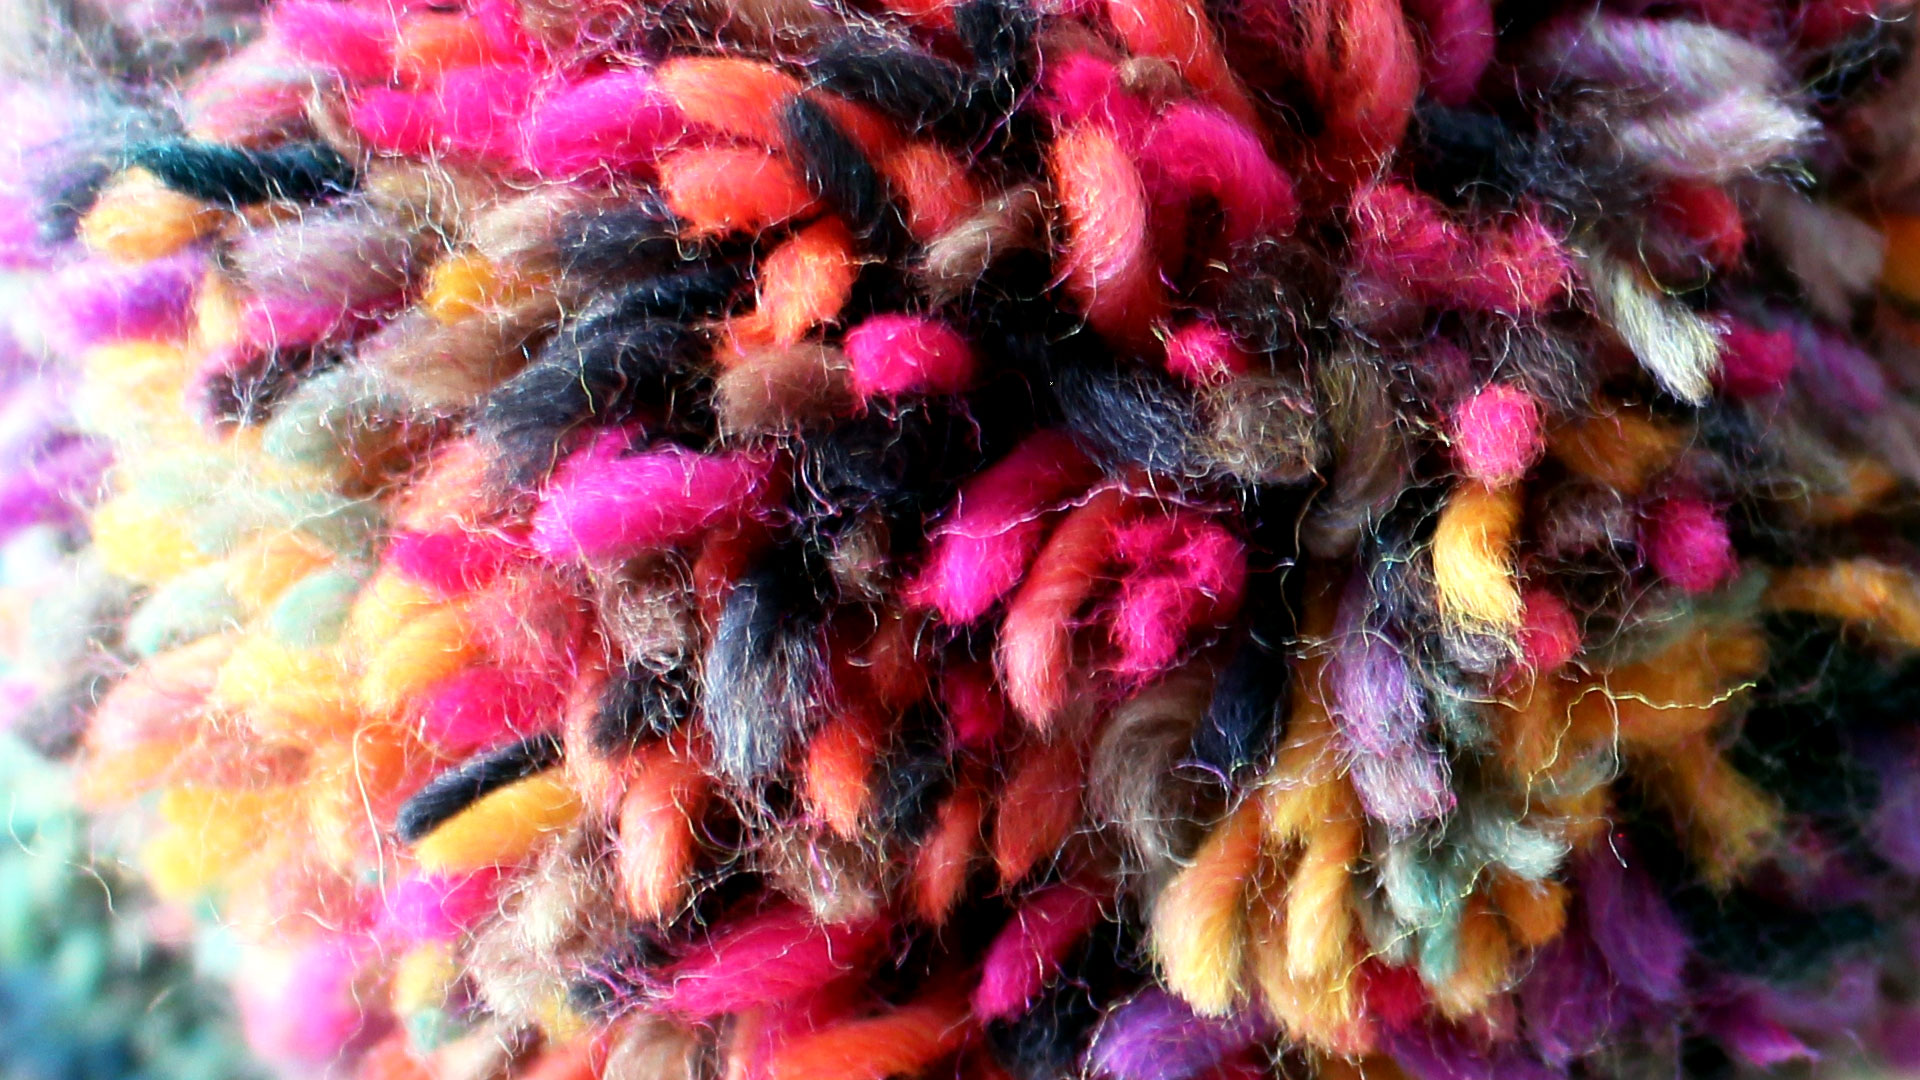
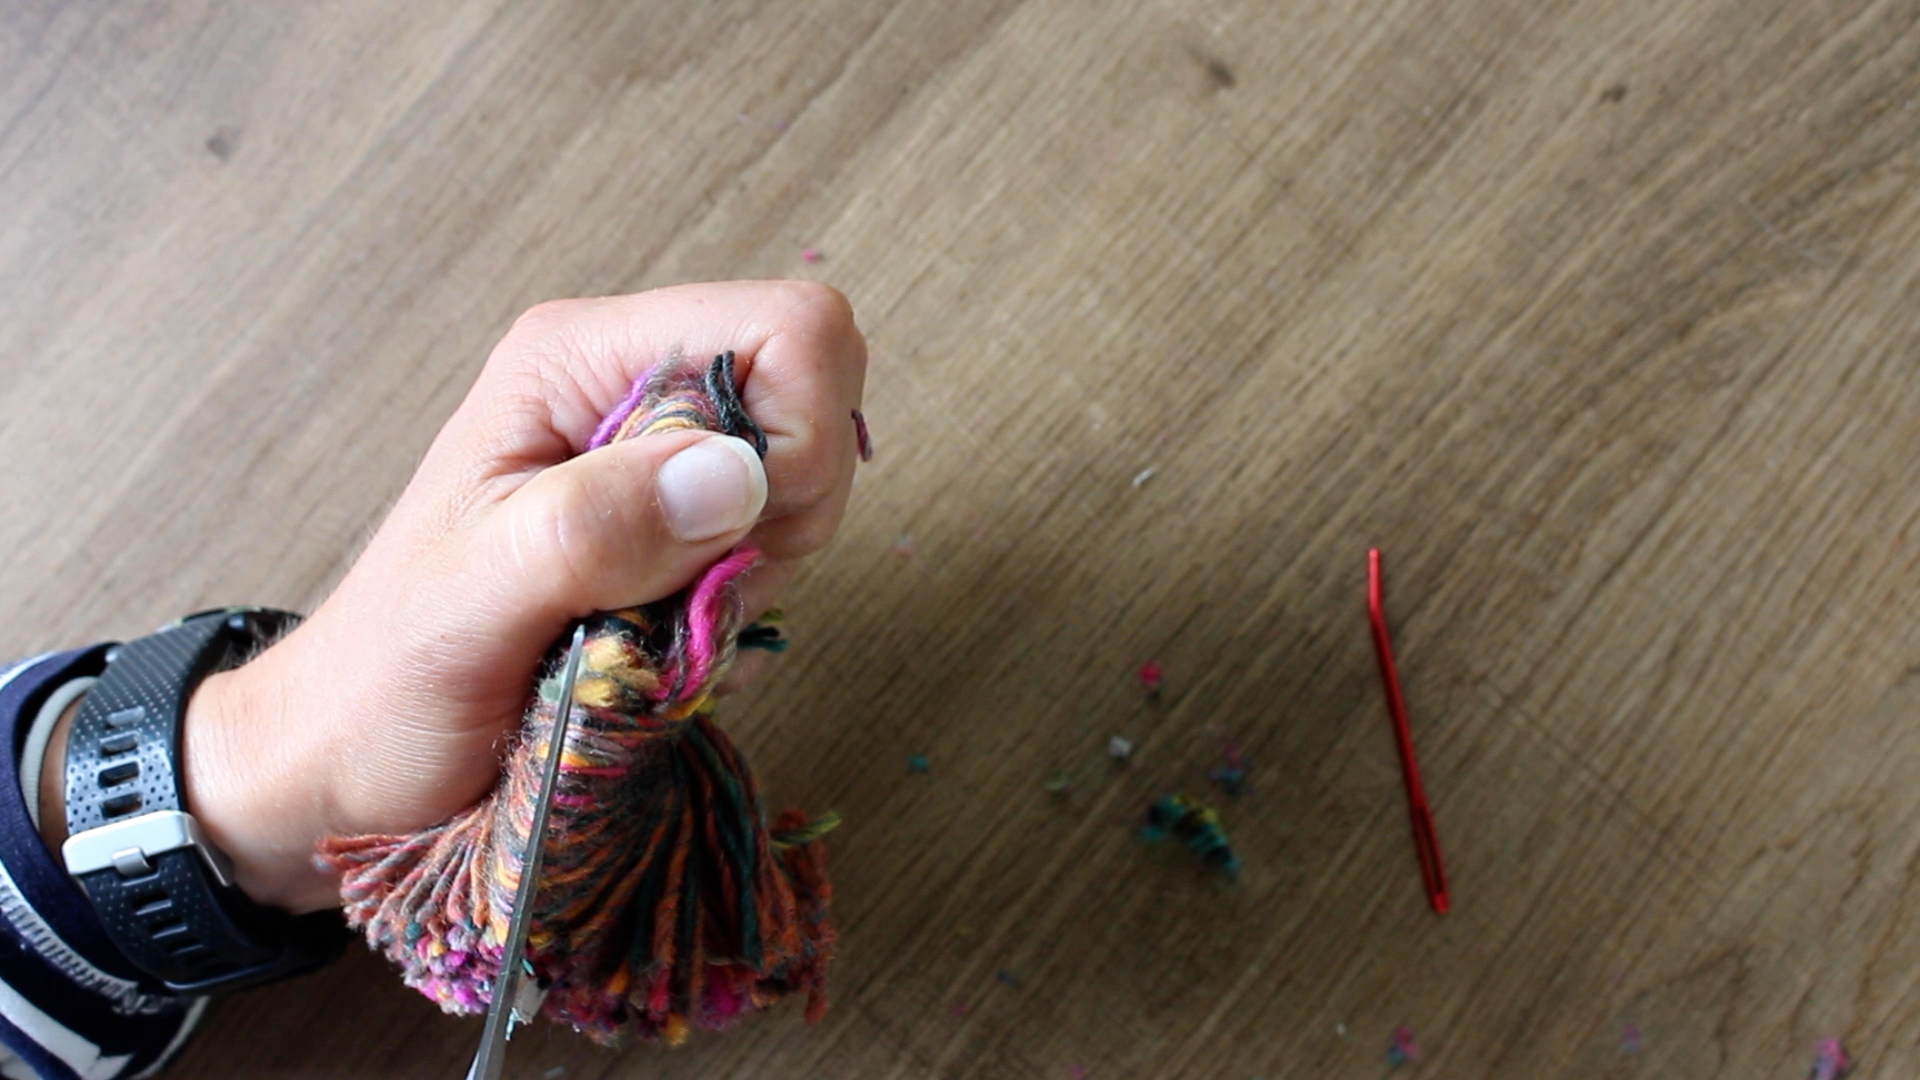
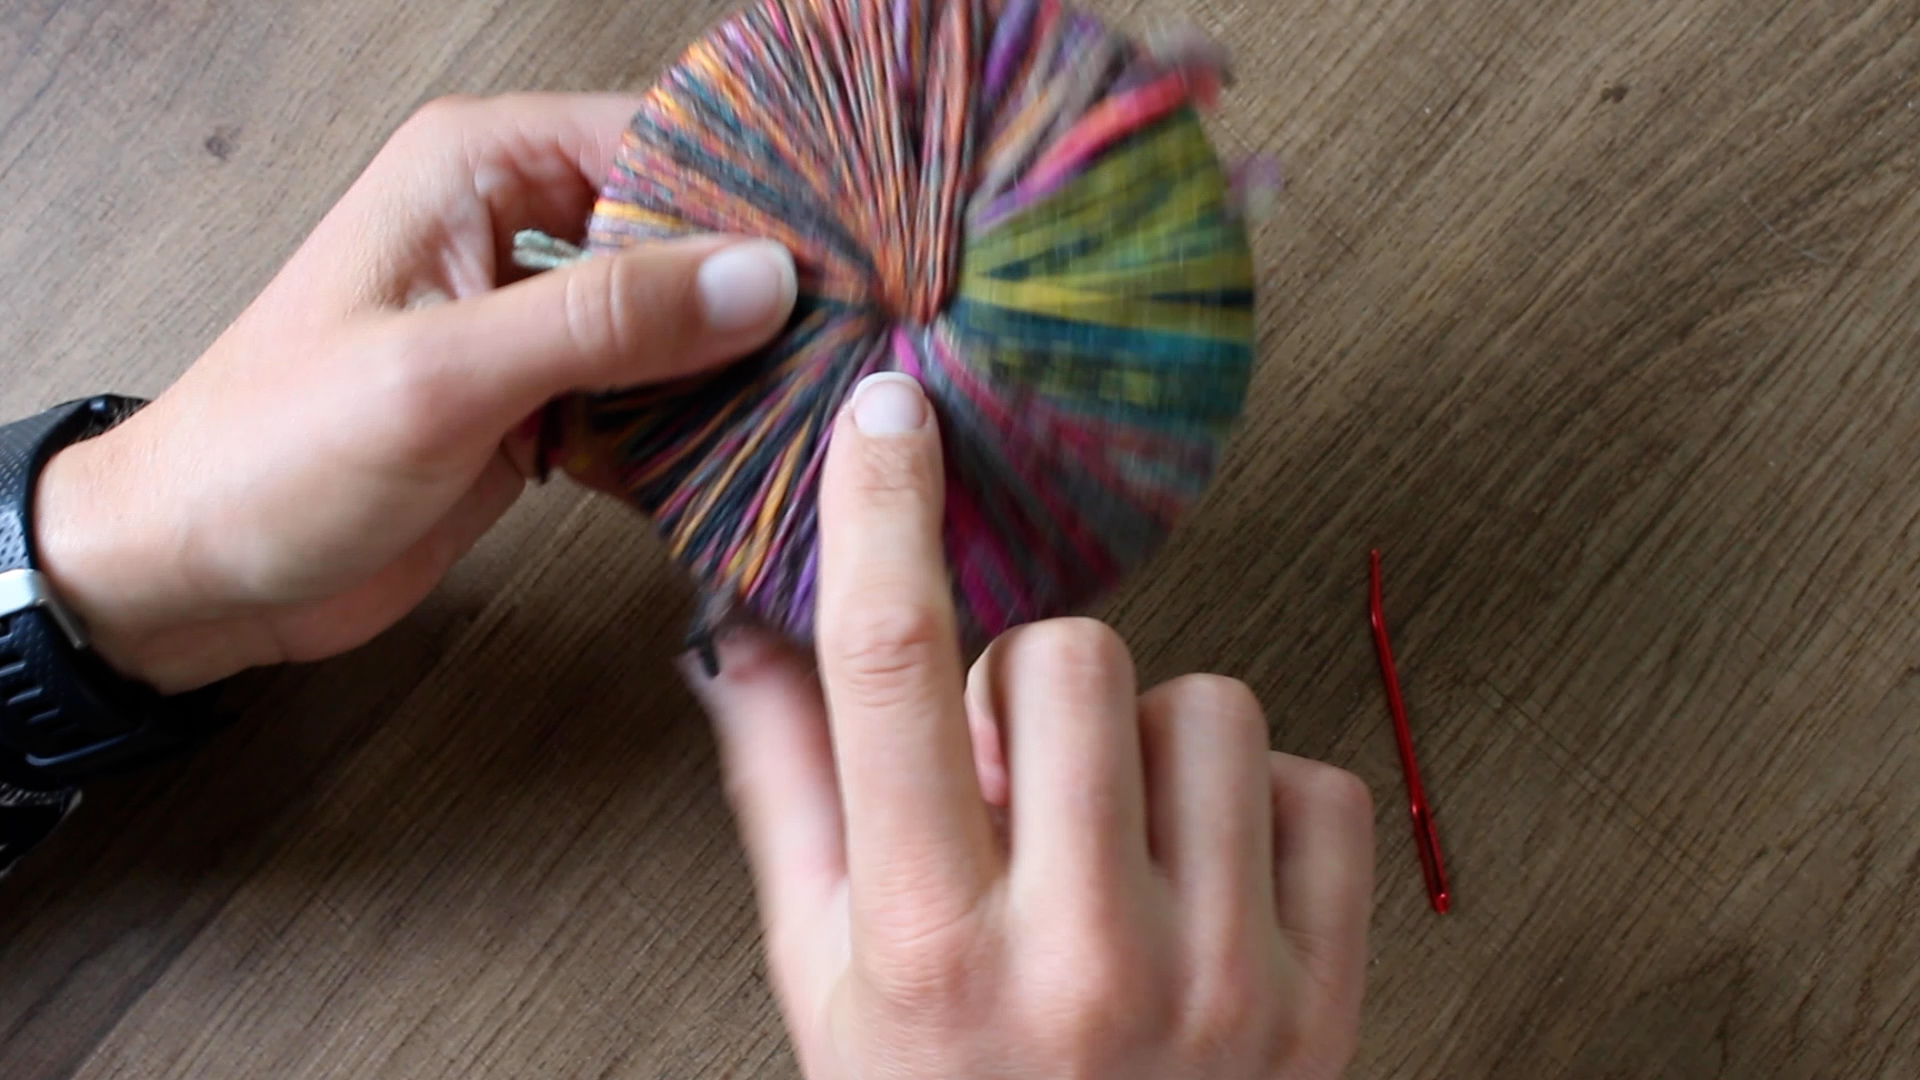
Um den PomPom herstellen zu können, müsst ihr einfach 2x eine Schablone aus dünnem Karton anfertigen und diese mit Wolle umwickeln, bis es nicht mehr geht. Danach schneidet ihr den umwickelten Kreis am Rand entlang mit einer Schere auf. Sobald der Kreis aufgeschnitten ist, führst du ein Stück Wolle zwischen beide Karton-Schablonen und machst einen Knoten. Nun kannst du die Schablonen aufbrechen und über die Wolle rüber ziehen. Den Bommel kannst du mit der Schere noch ein wenig in Form schneiden und fertig ist dein PomPom.

Für meinen XL-PomPom habe ich eine Schablone mit dem Durchmesser von 10 cm und einem Loch mit dem Durchmesser von 2 cm angefertigt.

In order to be able to make the PomPom, you simply have to make 2x templates out of thin cardboard and wrap them with wool until you can’t anymore. Then you cut the wrapped circle along the edge with scissors. Once the circle is cut, thread a piece of yarn between the two cardboard templates and tie a knot. Now you can break open the template and pull it over the wool. You can use the scissors to cut the bobble into shape and your PomPom is done.

For my XL pom-pom I made a template with a diameter of 10 cm and a hole with a diameter of 2 cm.

VIEL SPAß BEIM NACHBASTELN!  |  HAPPY CRAFTING!

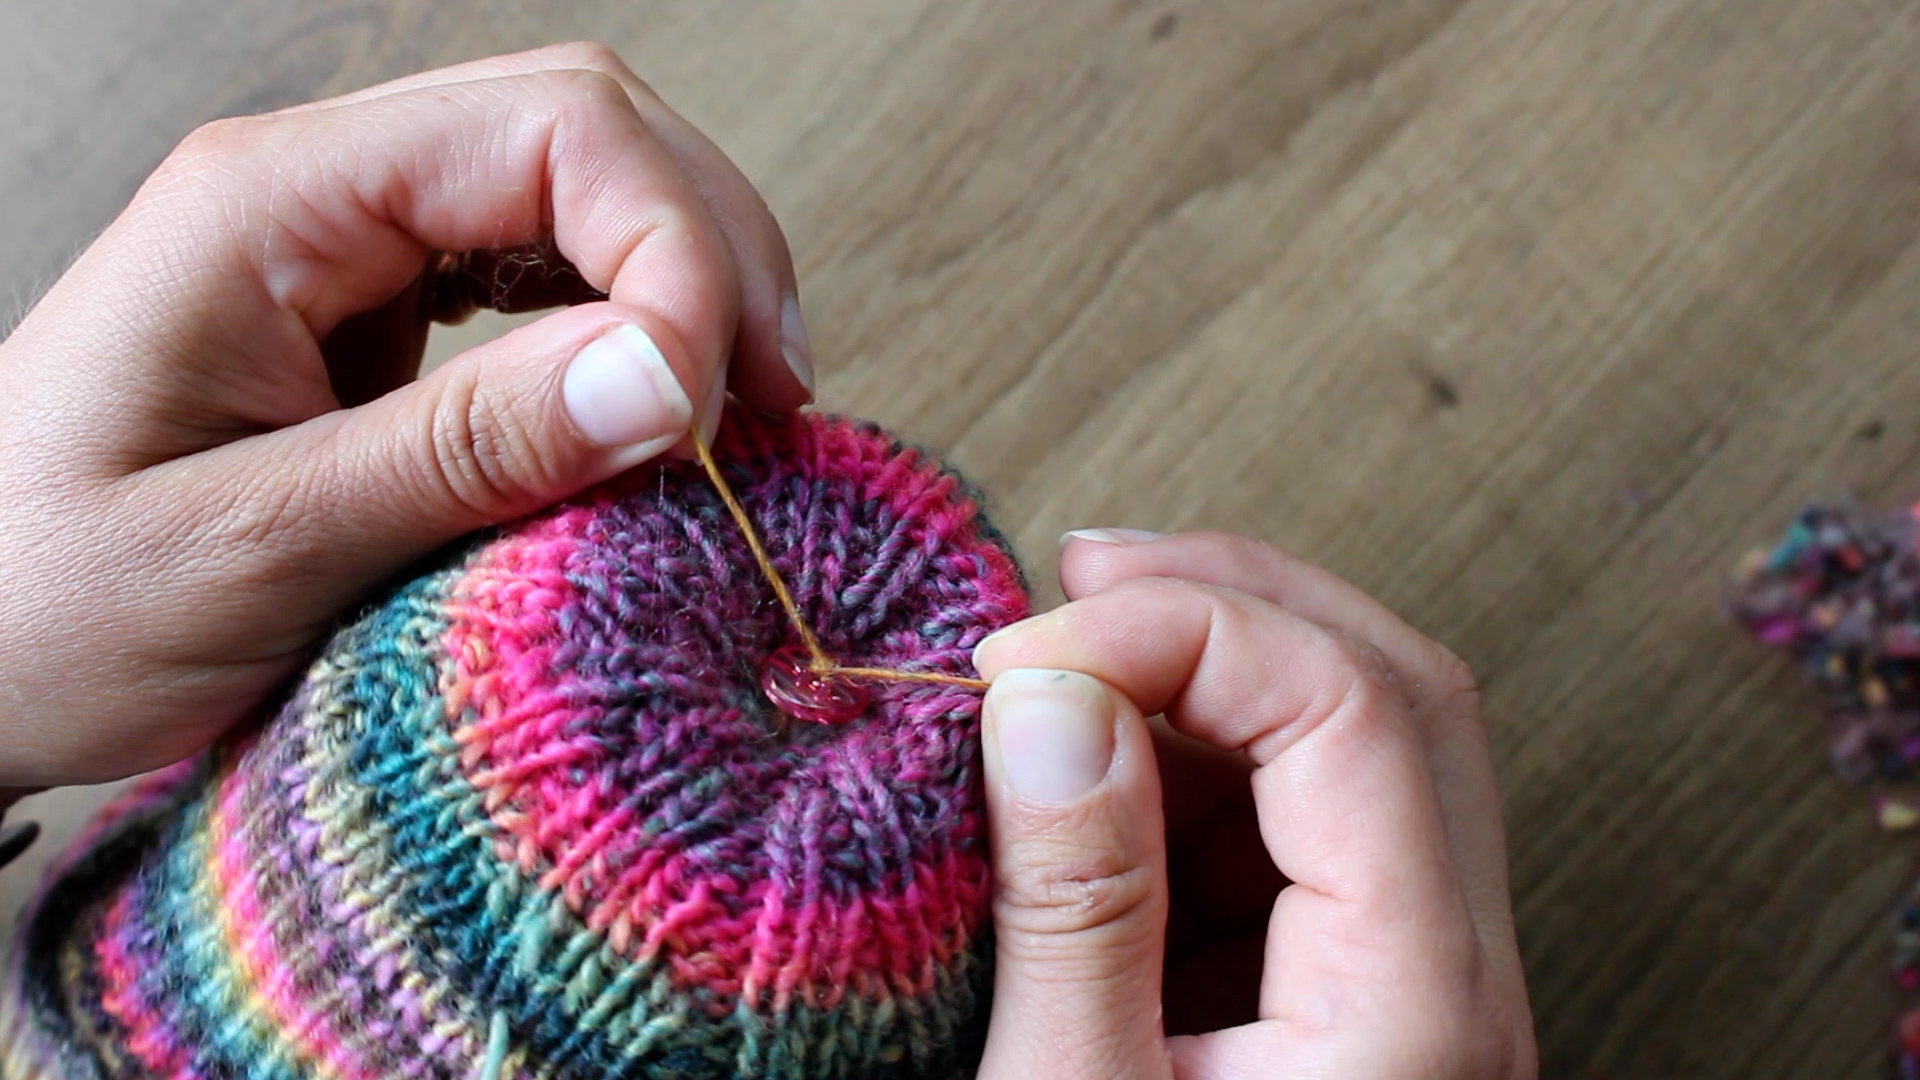
Nachdem du den XL-Bommel nach meiner Anleitung gebastelt hast, kannst du ihn ganz einfach an deine selbstgestrickte Mütze nähen. Zur Stabilisierung und damit die Wolle in der Mitte der Krone nicht ausleihert, habe ich den PomPom mit einem Knopf auf der Innenseite als Gegenstück festgenäht. Wähle dafür einfach einen glatten Knopf, der in die Spitze deiner Krone passt und nicht zu groß ist. So kannst du den PomPom auch wieder leicht entfernen, wenn du die Mütze einmal waschen möchtest oder auch einfach keine Lust mehr auf diesen hast.

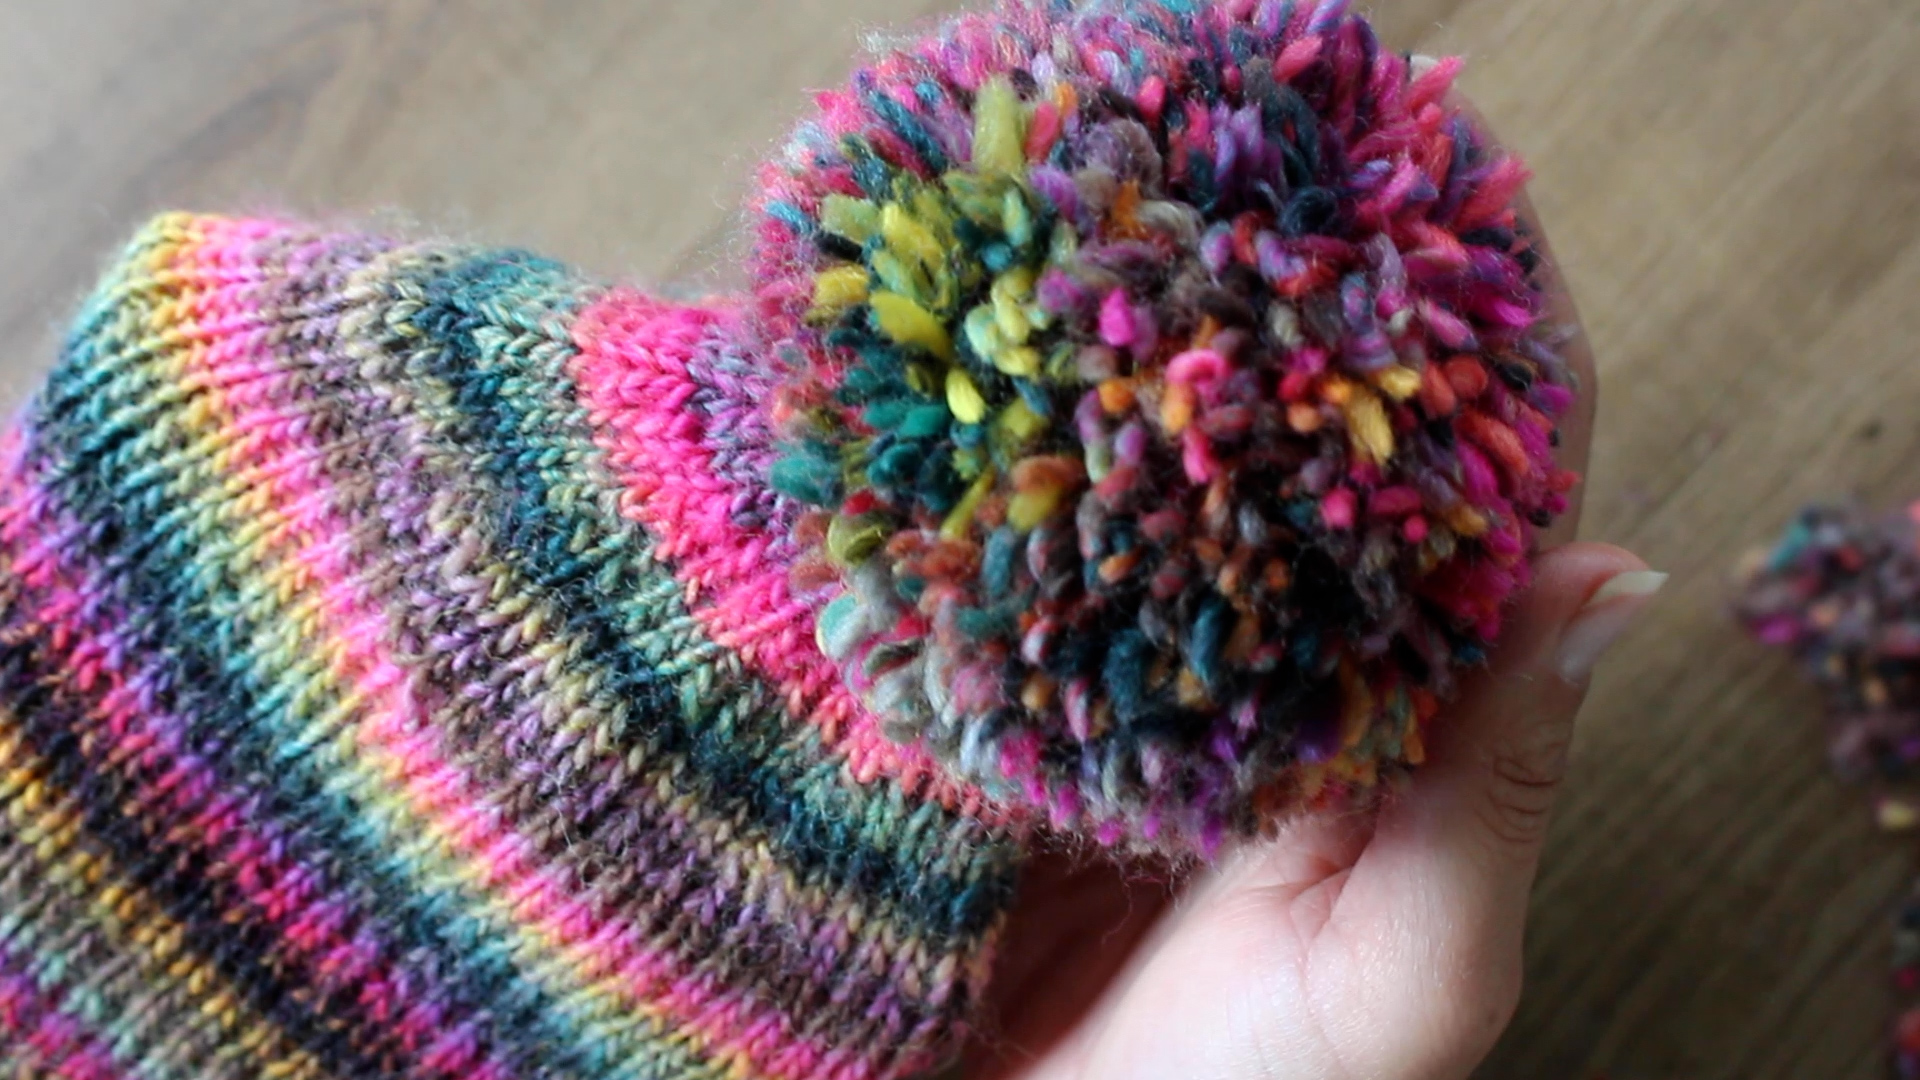
Aber ich glaube, wer einmal diesen lustigen Bommel an seine farbenfrohe Mütze genäht hat, der kann nicht mehr ohne… Es macht einfach viel zu viel Spaß, diesen XL-PomPom zu tragen!

After you have made the XL bobble according to my instructions, you can easily sew it onto your self-knitted hat. To stabilize and so that the wool in the middle of the crown does not lend out, I sewed the pom-pom with a button on the inside as a counterpart. Just choose a smooth button that fits the top of your crown and isn’t too big. So you can easily remove the PomPom for washing or if you don’t feel like it anymore.

But I think once you’ve sewn this funny bobble onto your colorful hat, you can’t do without it anymore… It’s just too much fun to wear these XL pom-poms!

DER ENTSTEHUNGSPROZESS | THE CREATION PROCESS

EINE FARBENFROHE, GESTREIFTE MÜTZE OHNE UMSCHLAG FÜR MICH

EINE FARBENFROHE, GESTREIFTE MÜTZE OHNE UMSCHLAG FÜR MICH

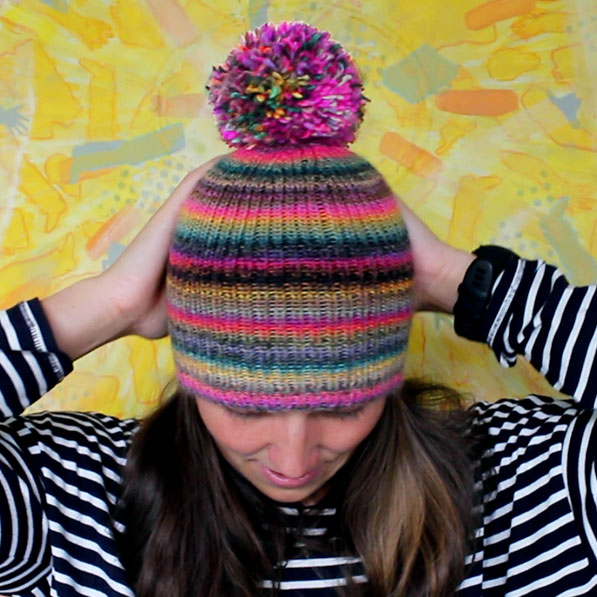
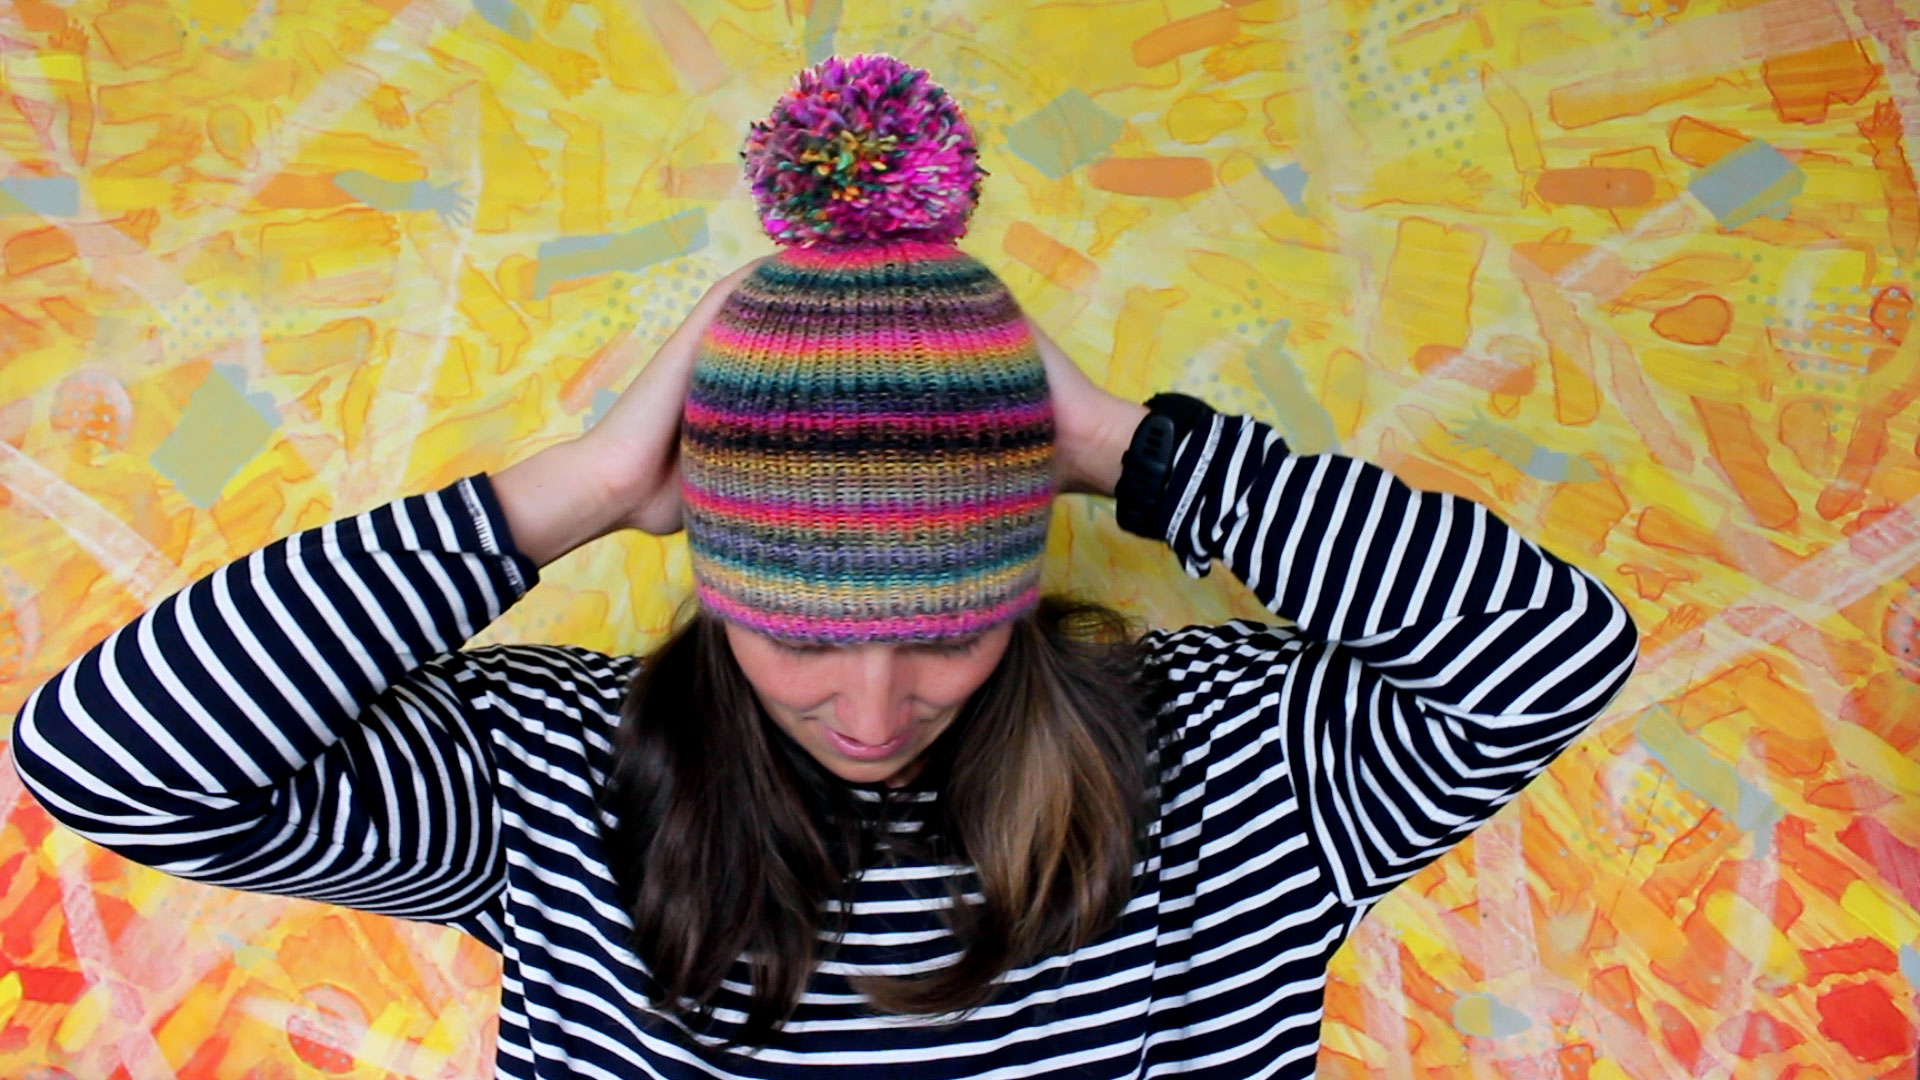
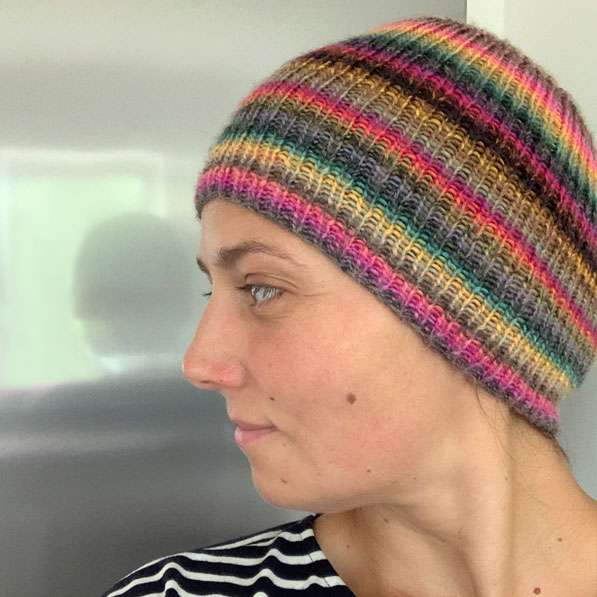
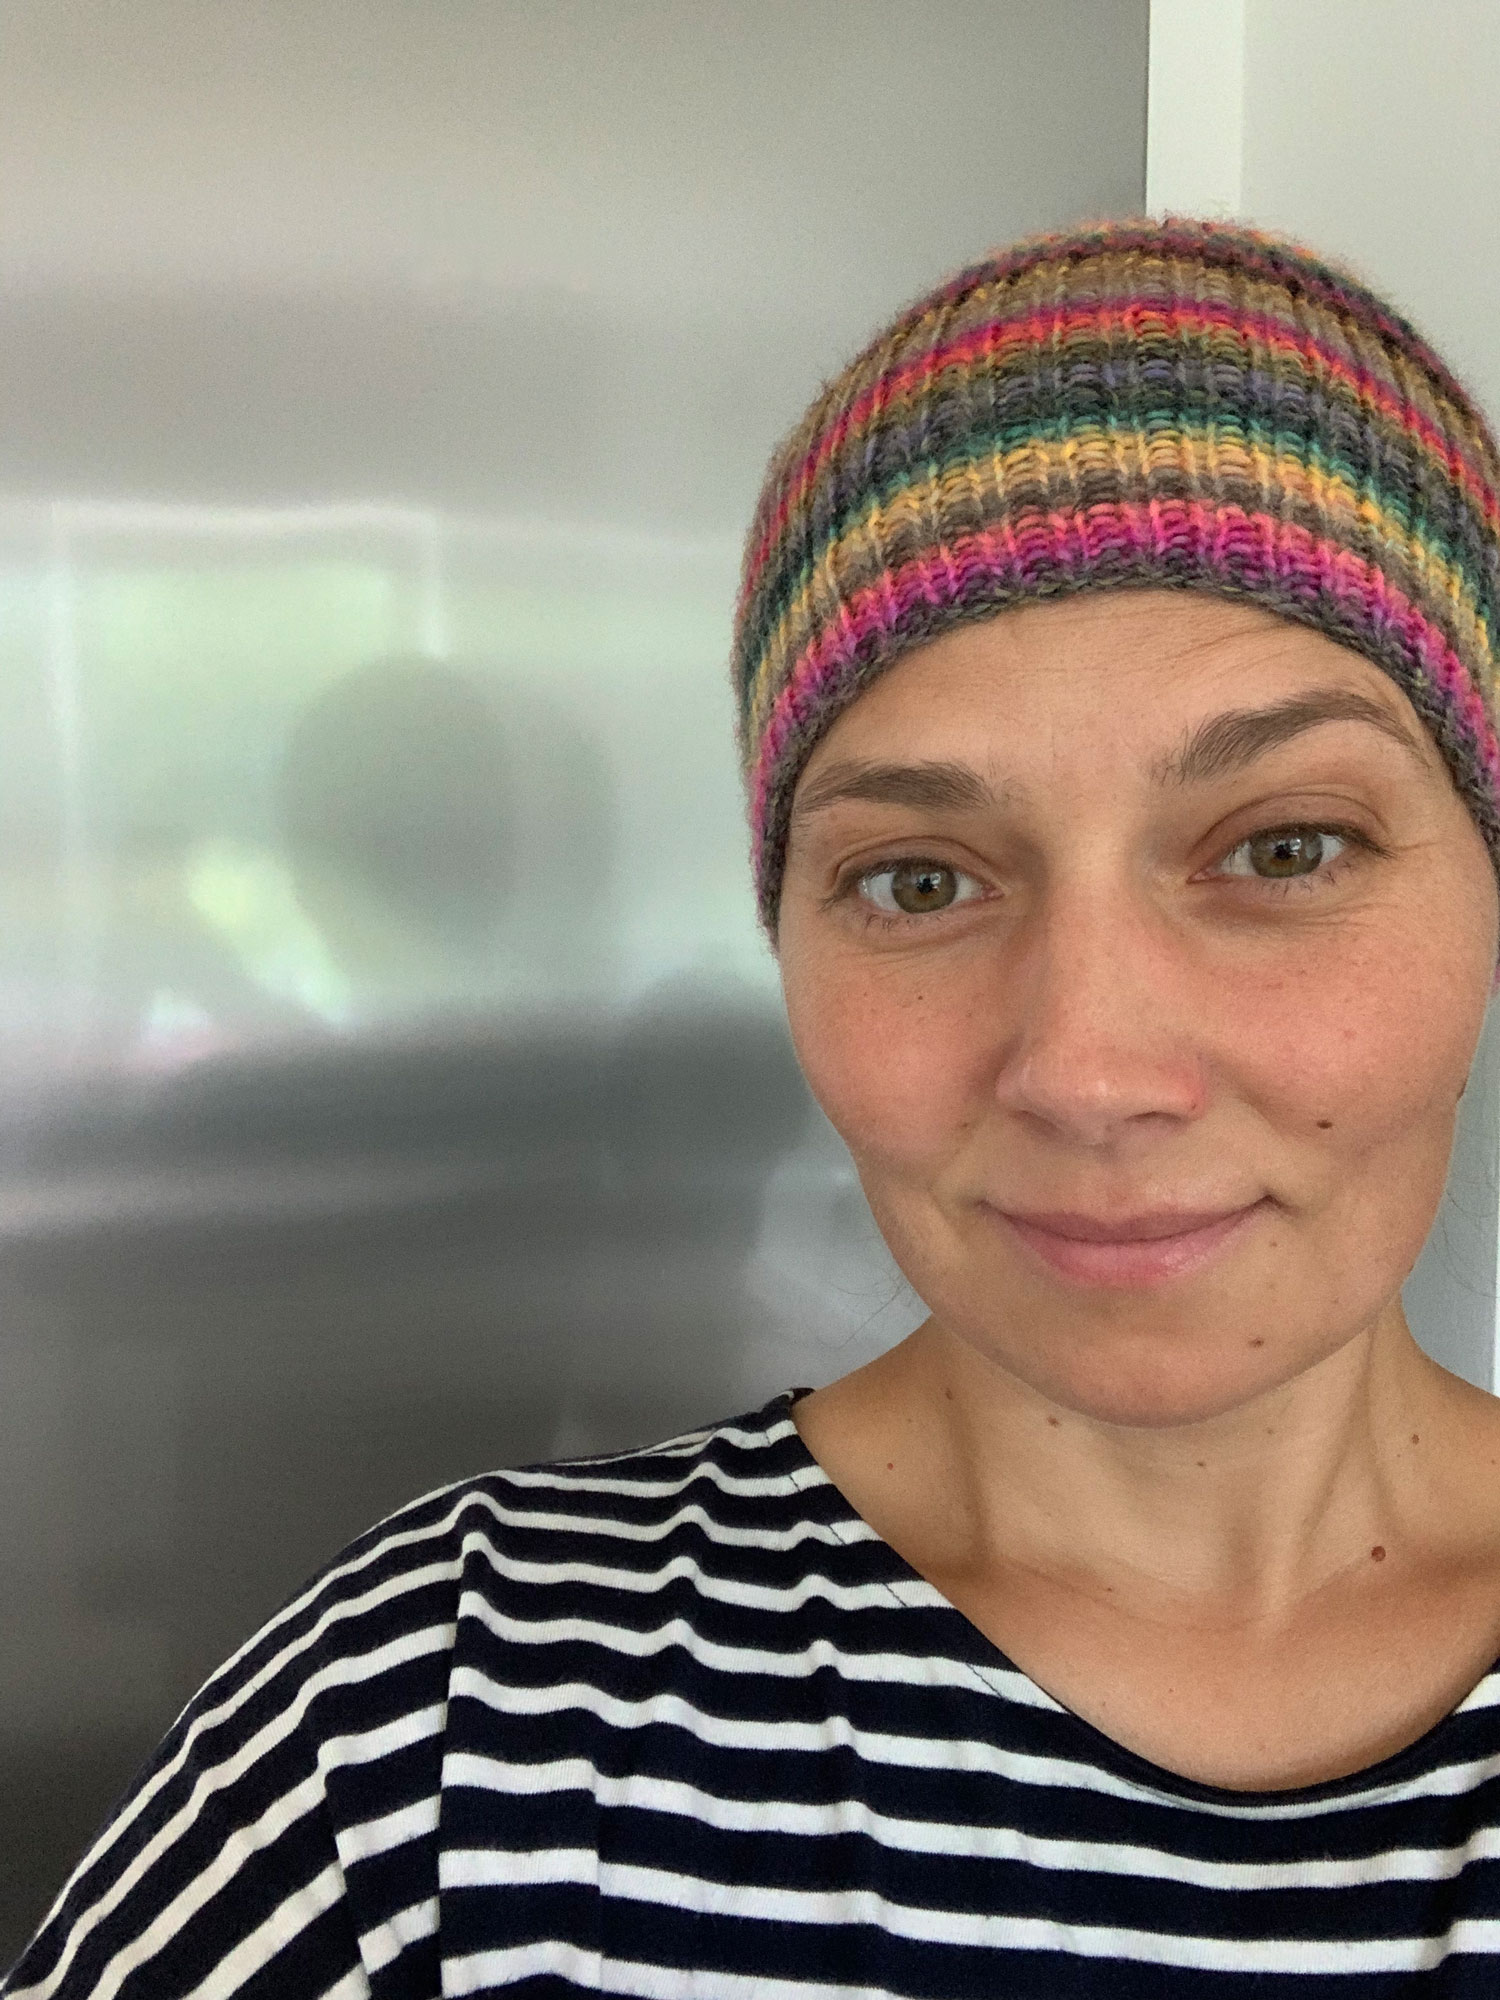
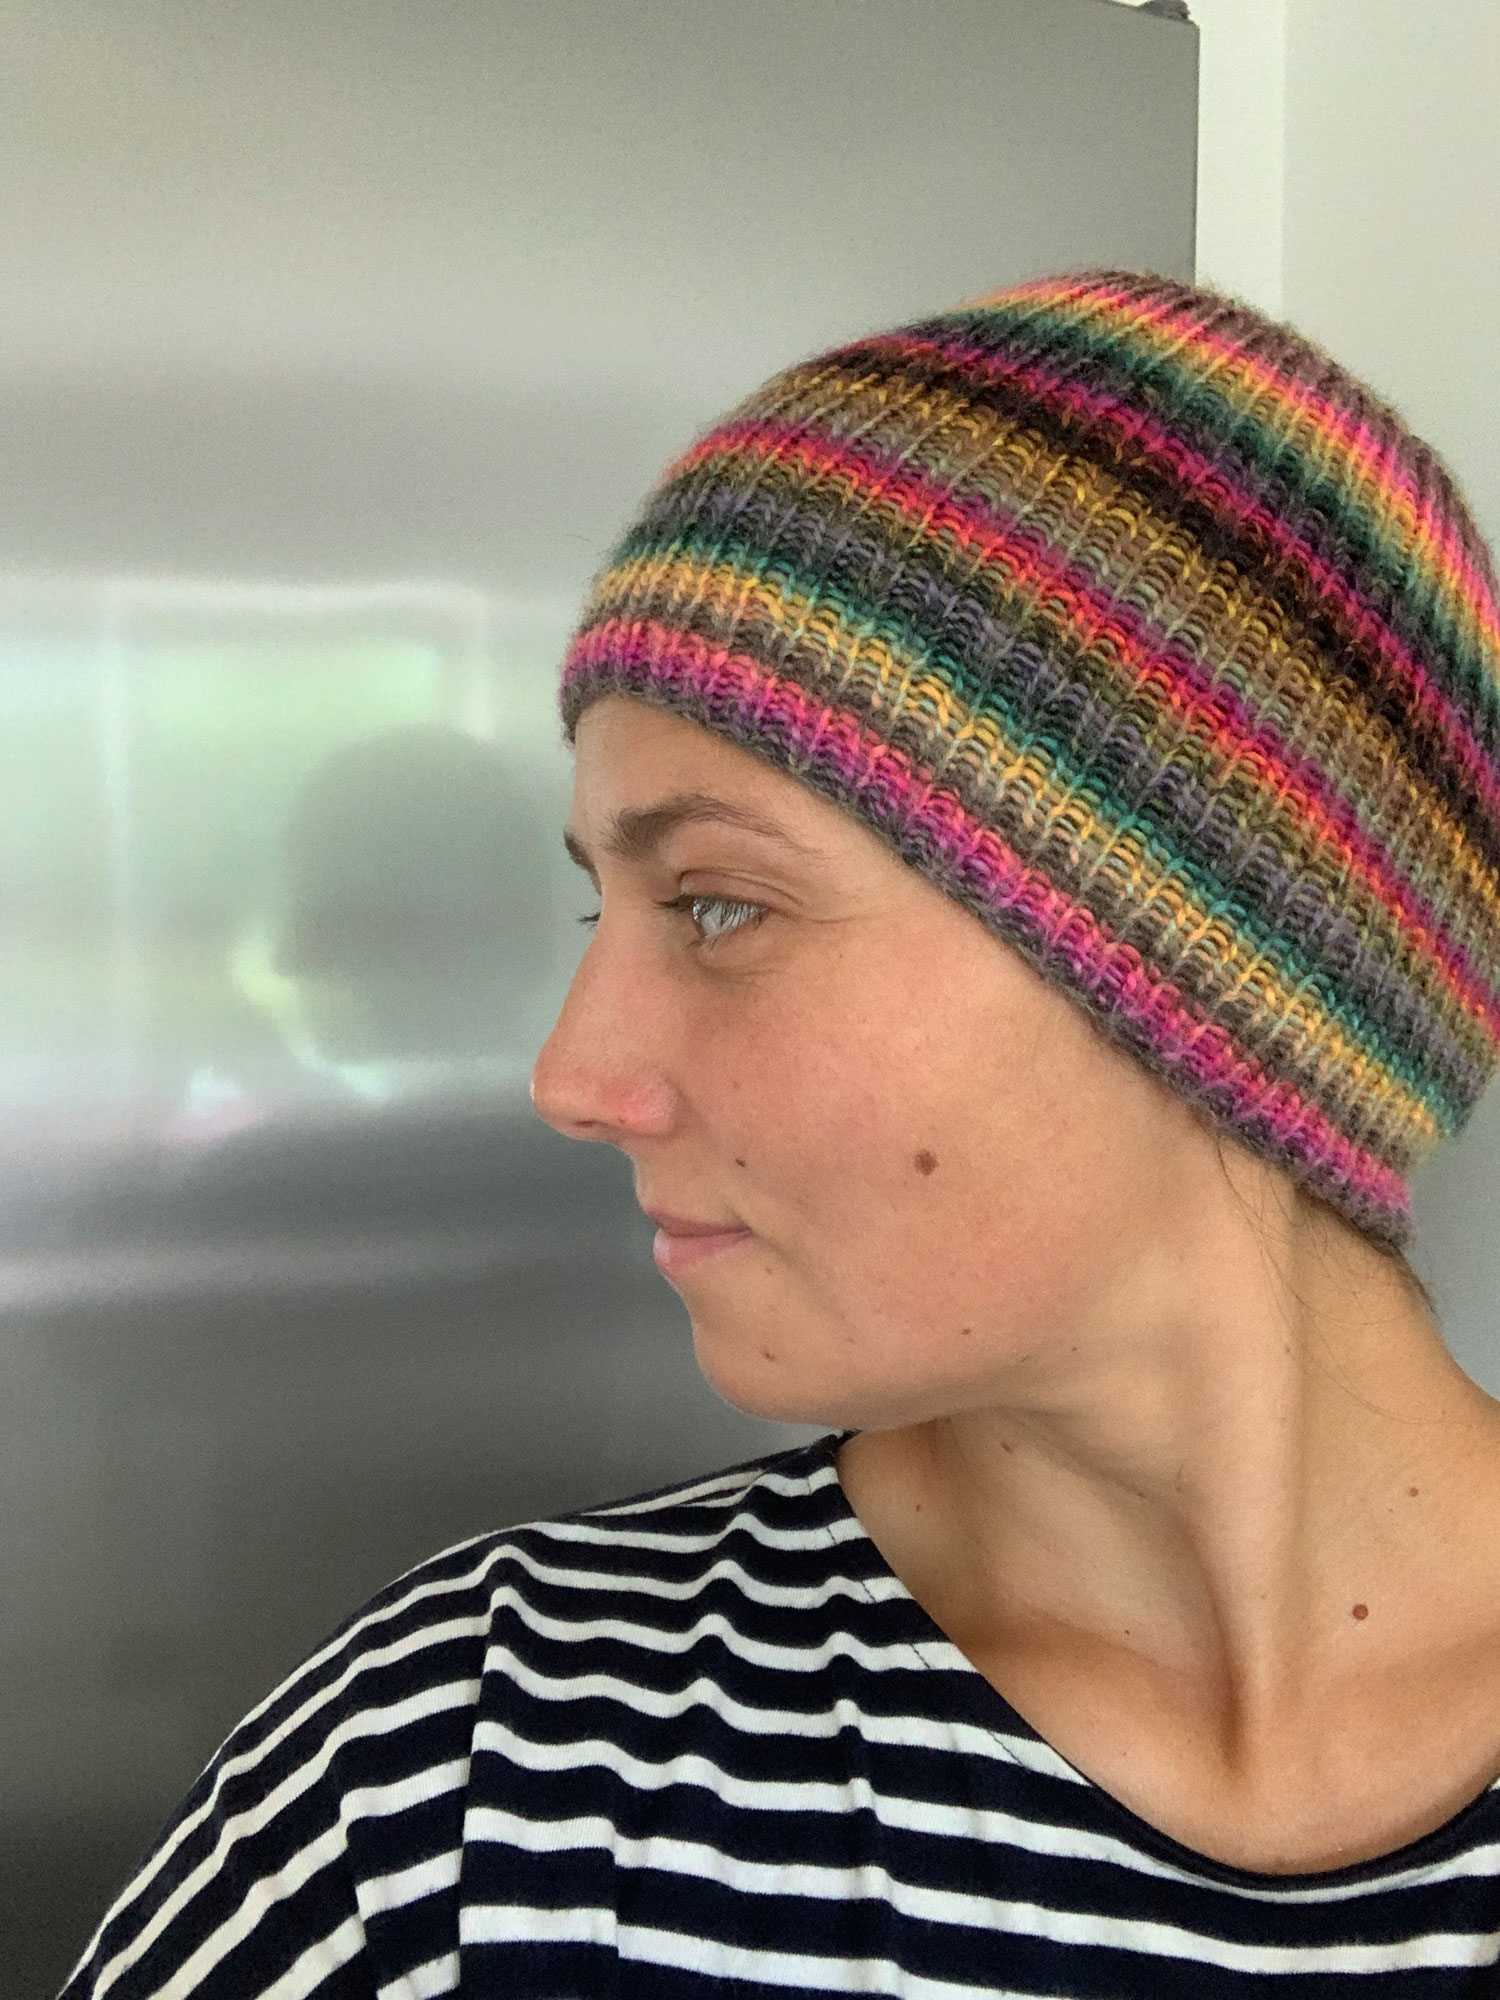
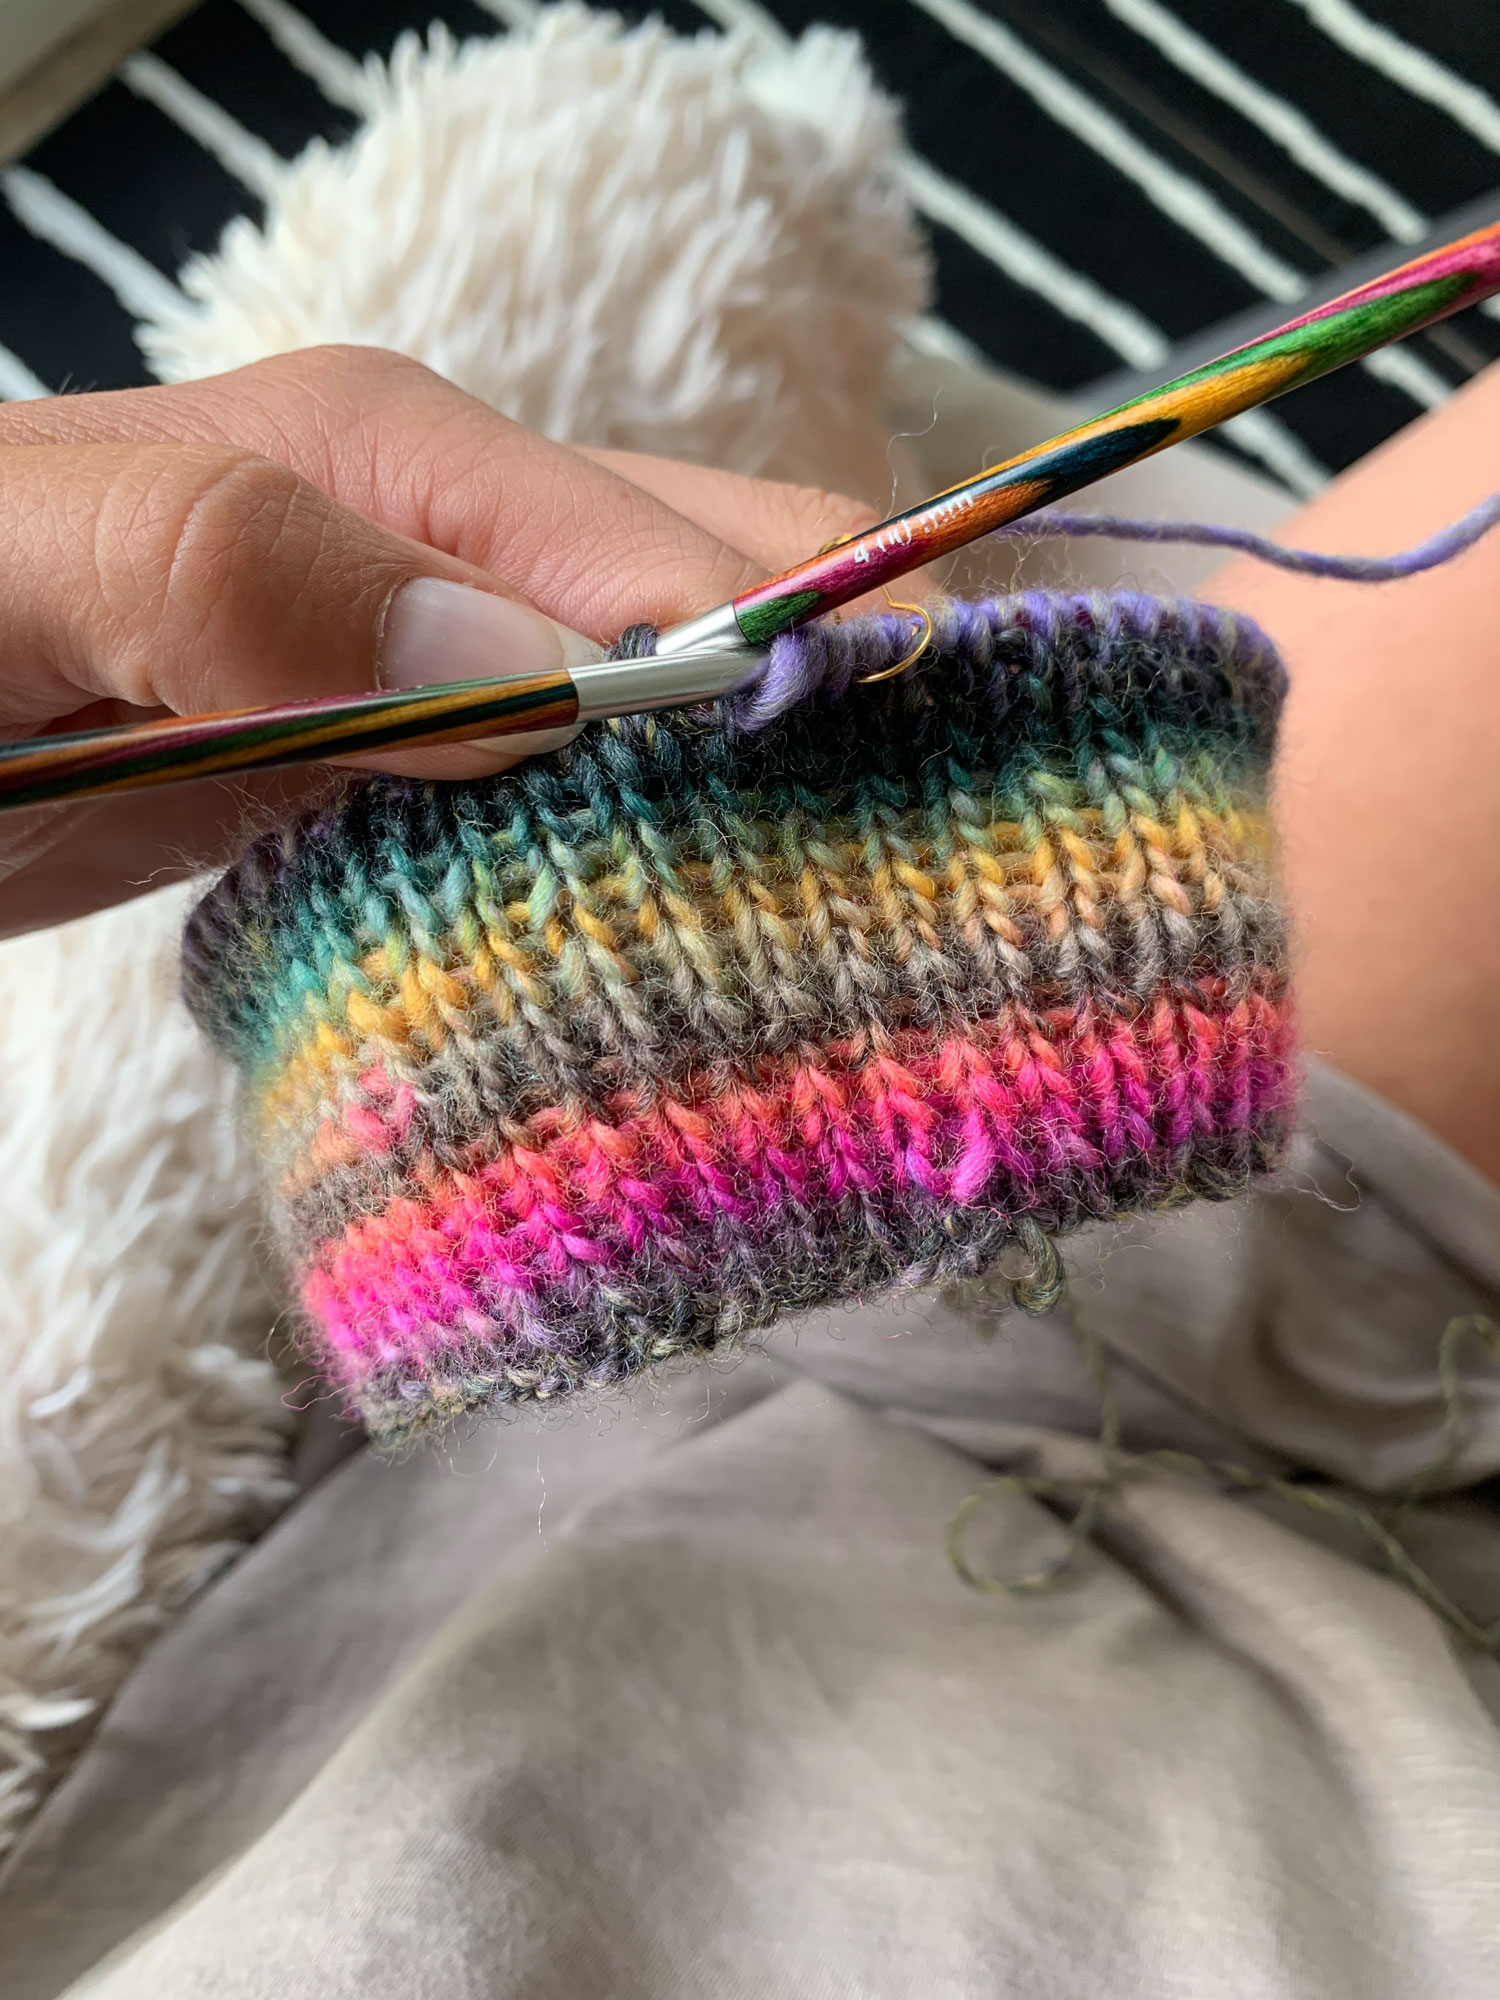
Ich habe euch ja bereits auf Instagram erzählt, dass ich mir eine eigene gestreifte Mütze stricken möchte, da mir die Mütze für meinen Bruder so unglaublich toll gefallen hat. Tja, jetzt endlich ist sie fertig. Und sie ist genau so geworden, wie ich sie mir vorgestellt habe. Sie ist bunt, sie ist gestreift und sie hat keinen Umschlag. Ganz einfach und schlicht. Eine Mütze, die ich mir auch mal im Haus aufsetzen kann, wenn meine Ohren mal etwas empfindlich sind.

I already told you on Instagram that I want to knit my own striped beanie because I really liked the beanie for my brother. Well, now it’s finally done. And it turned out exactly how I imagined it. It’s colorful, it’s striped and it has no brim. Very simple and plain. A beanie that I can put on inside the house when my ears are a bit sensitive.

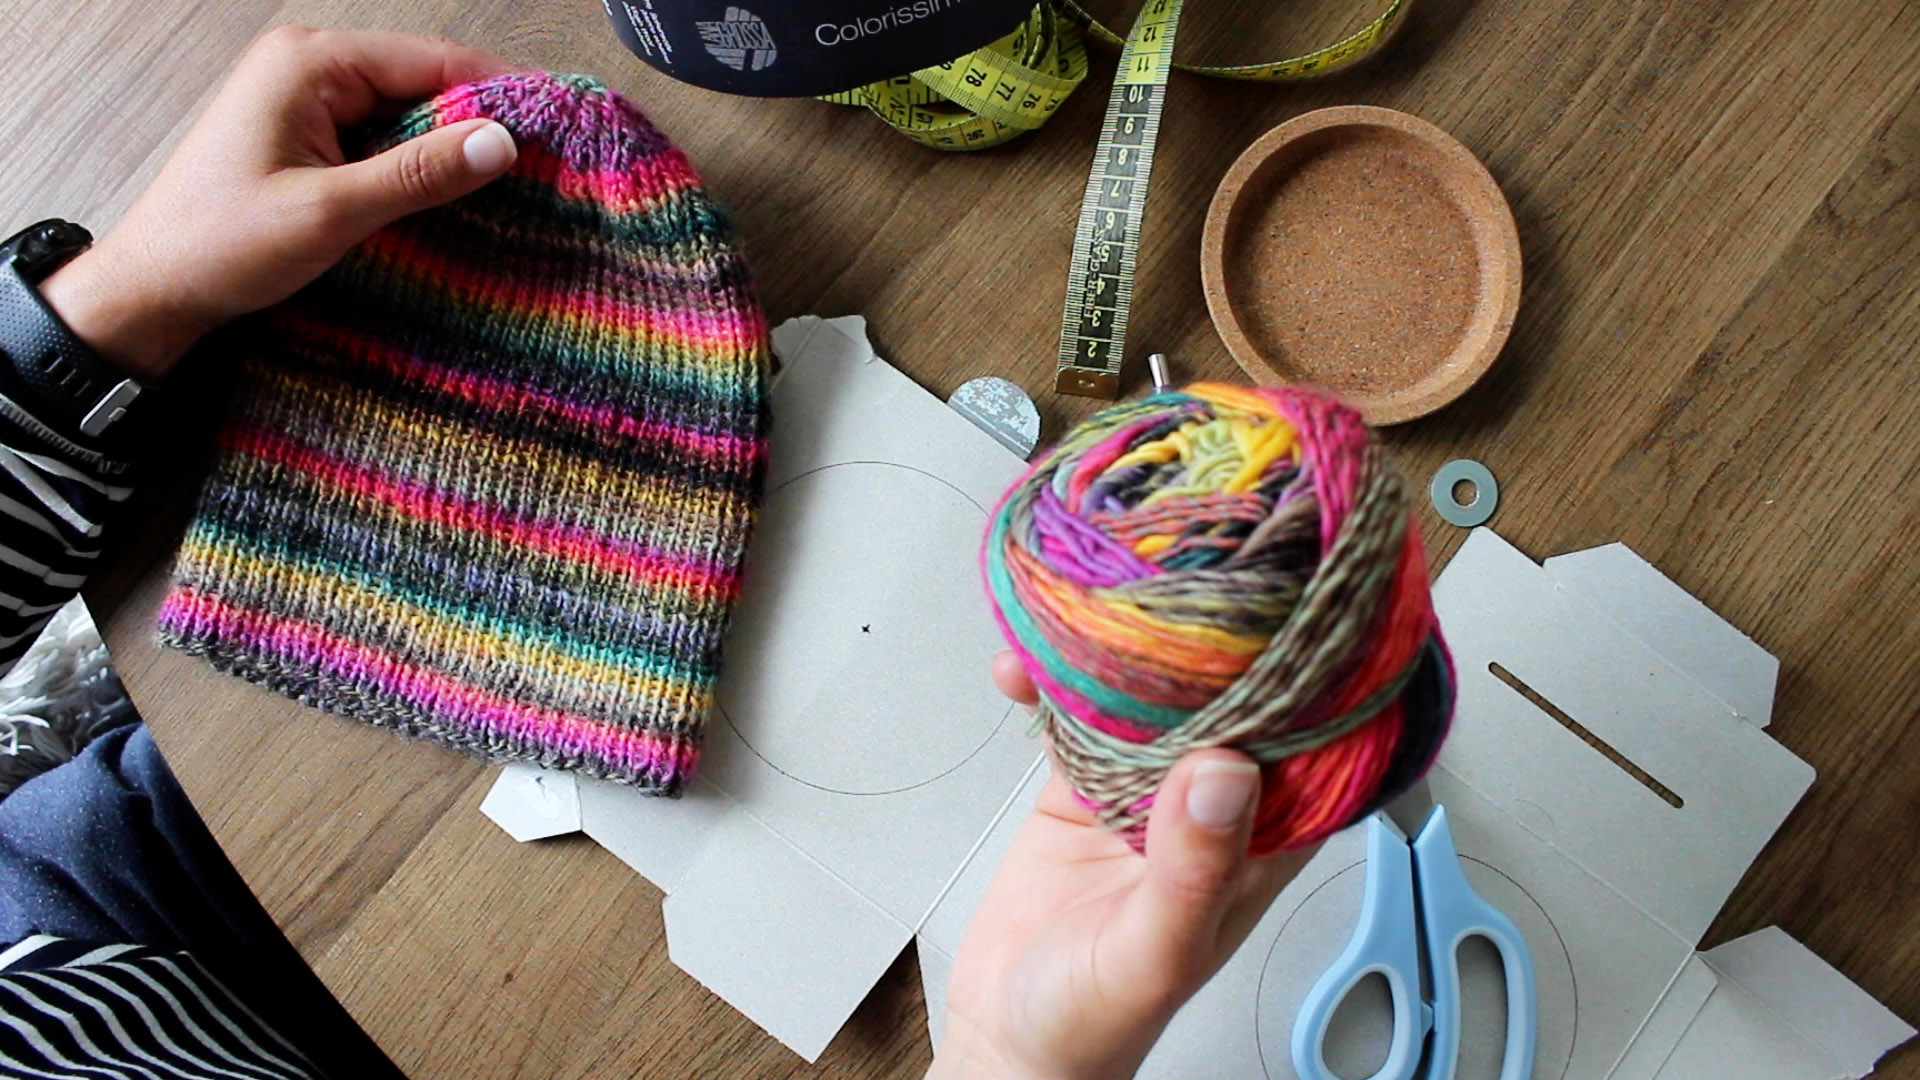
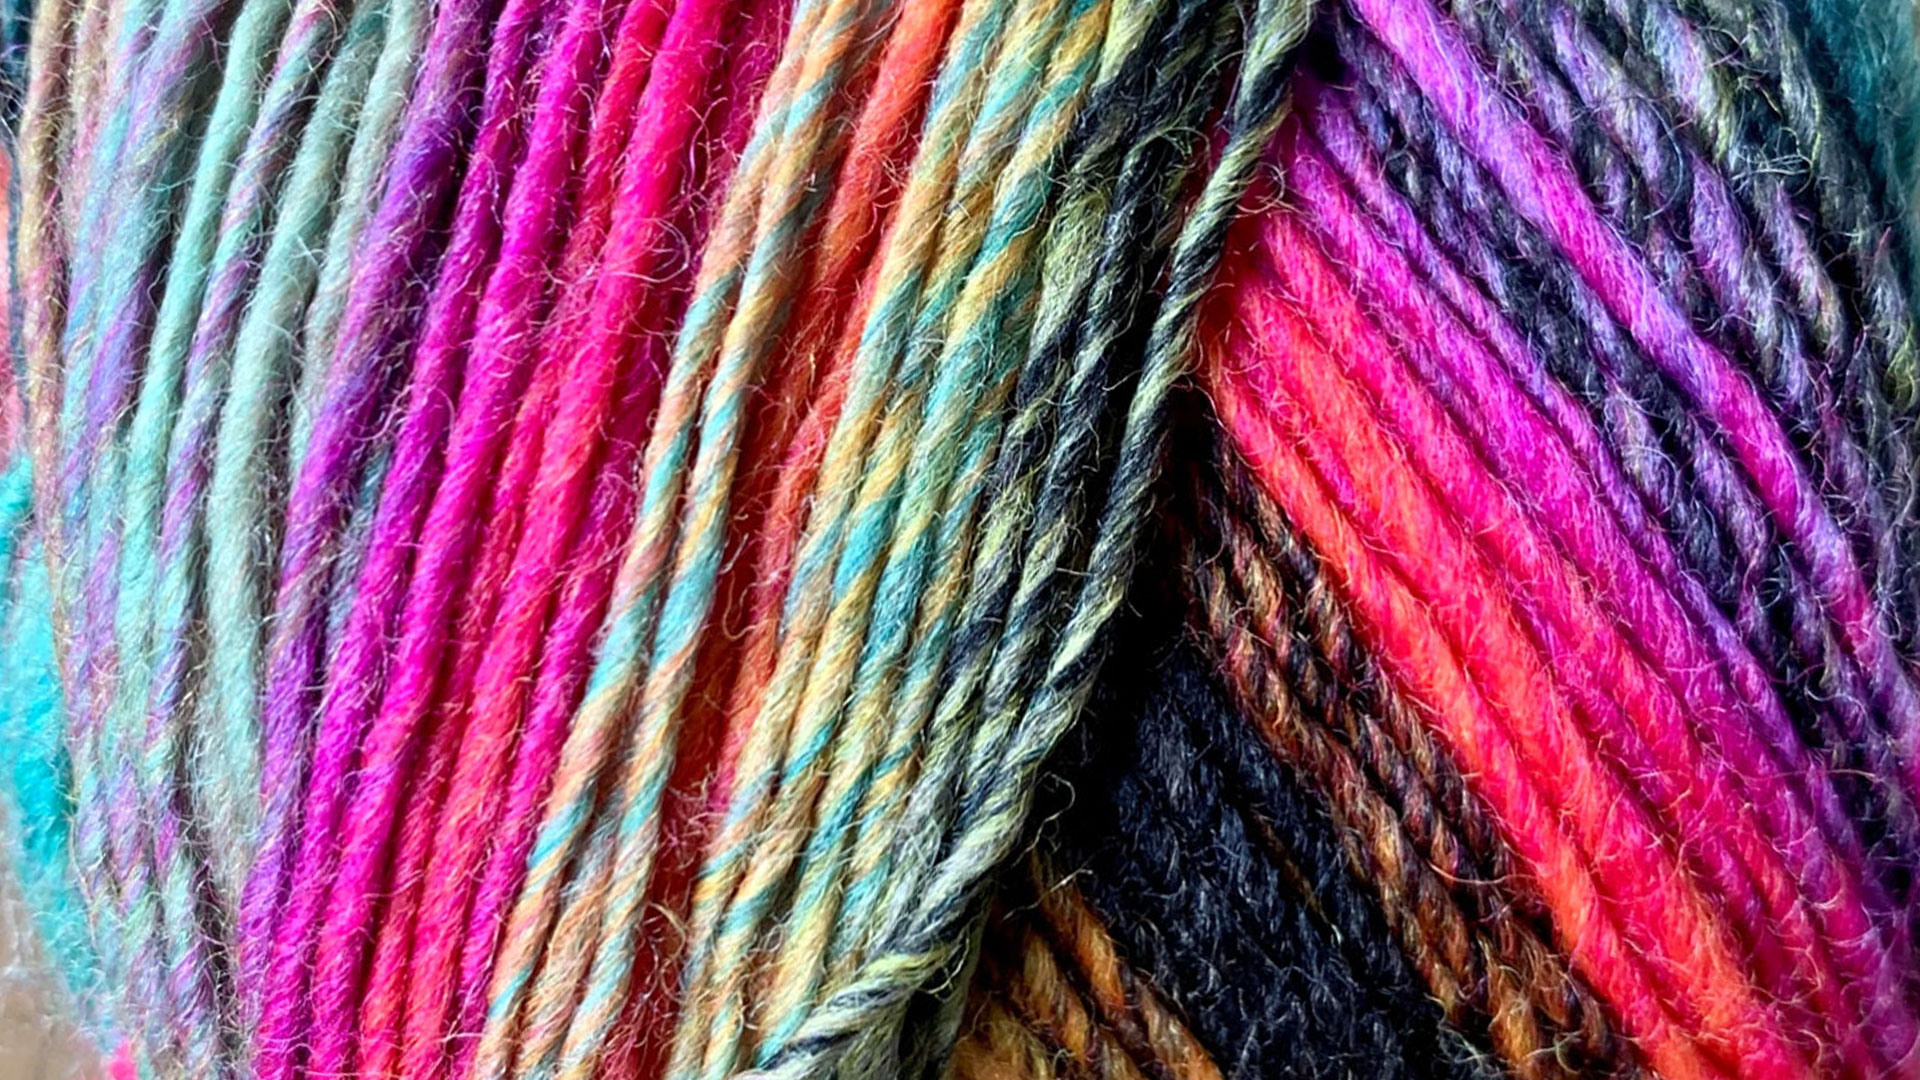
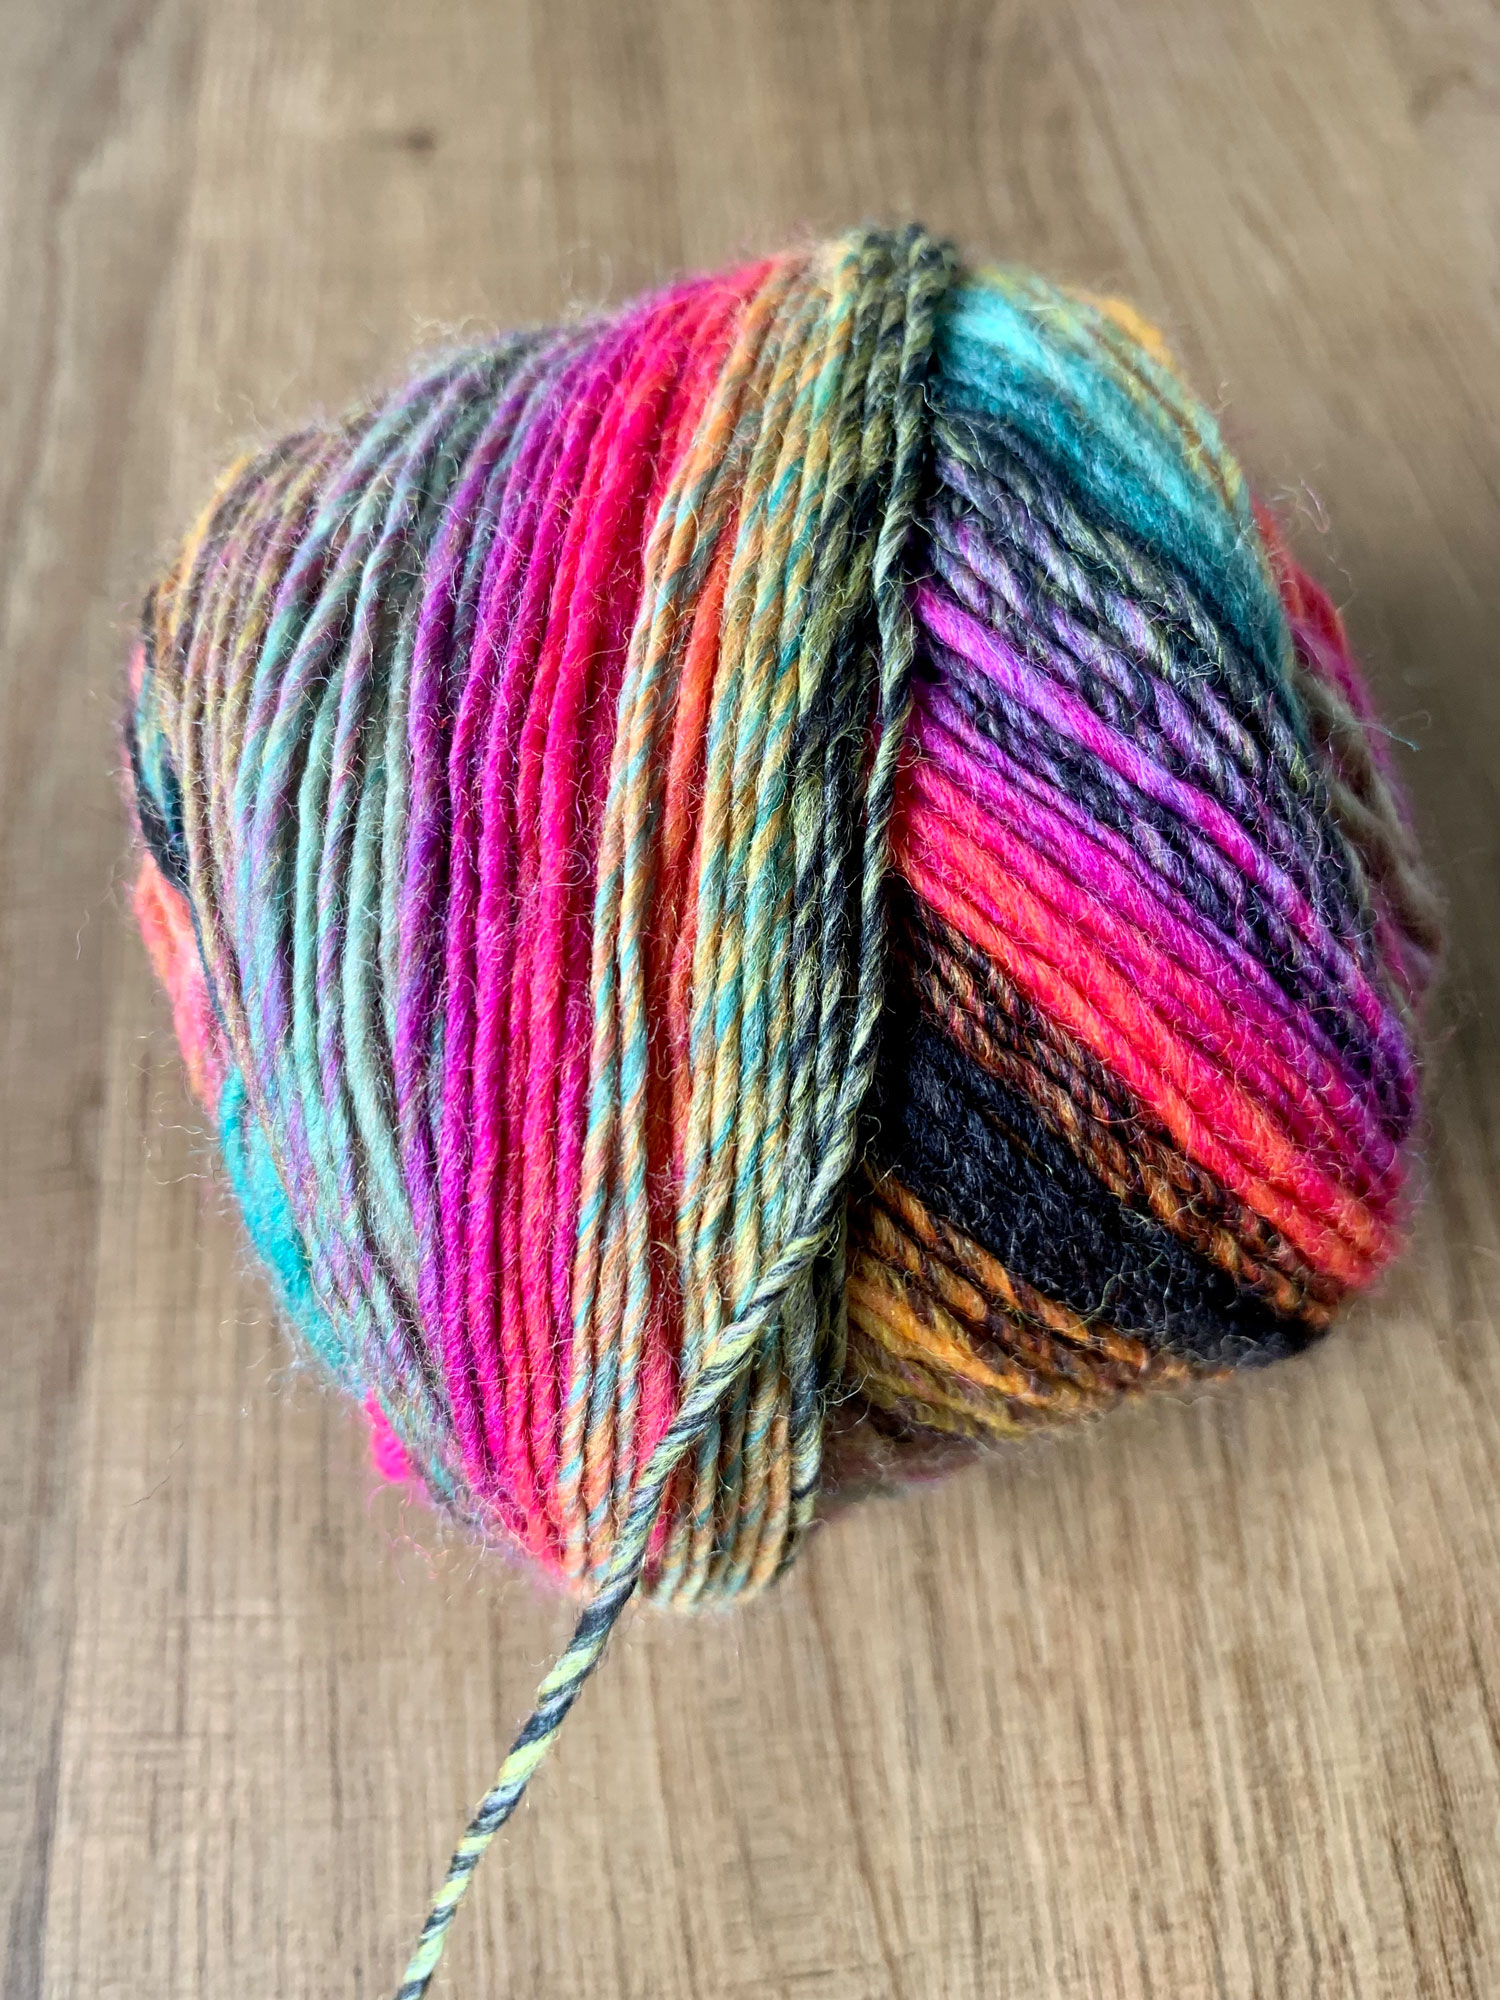
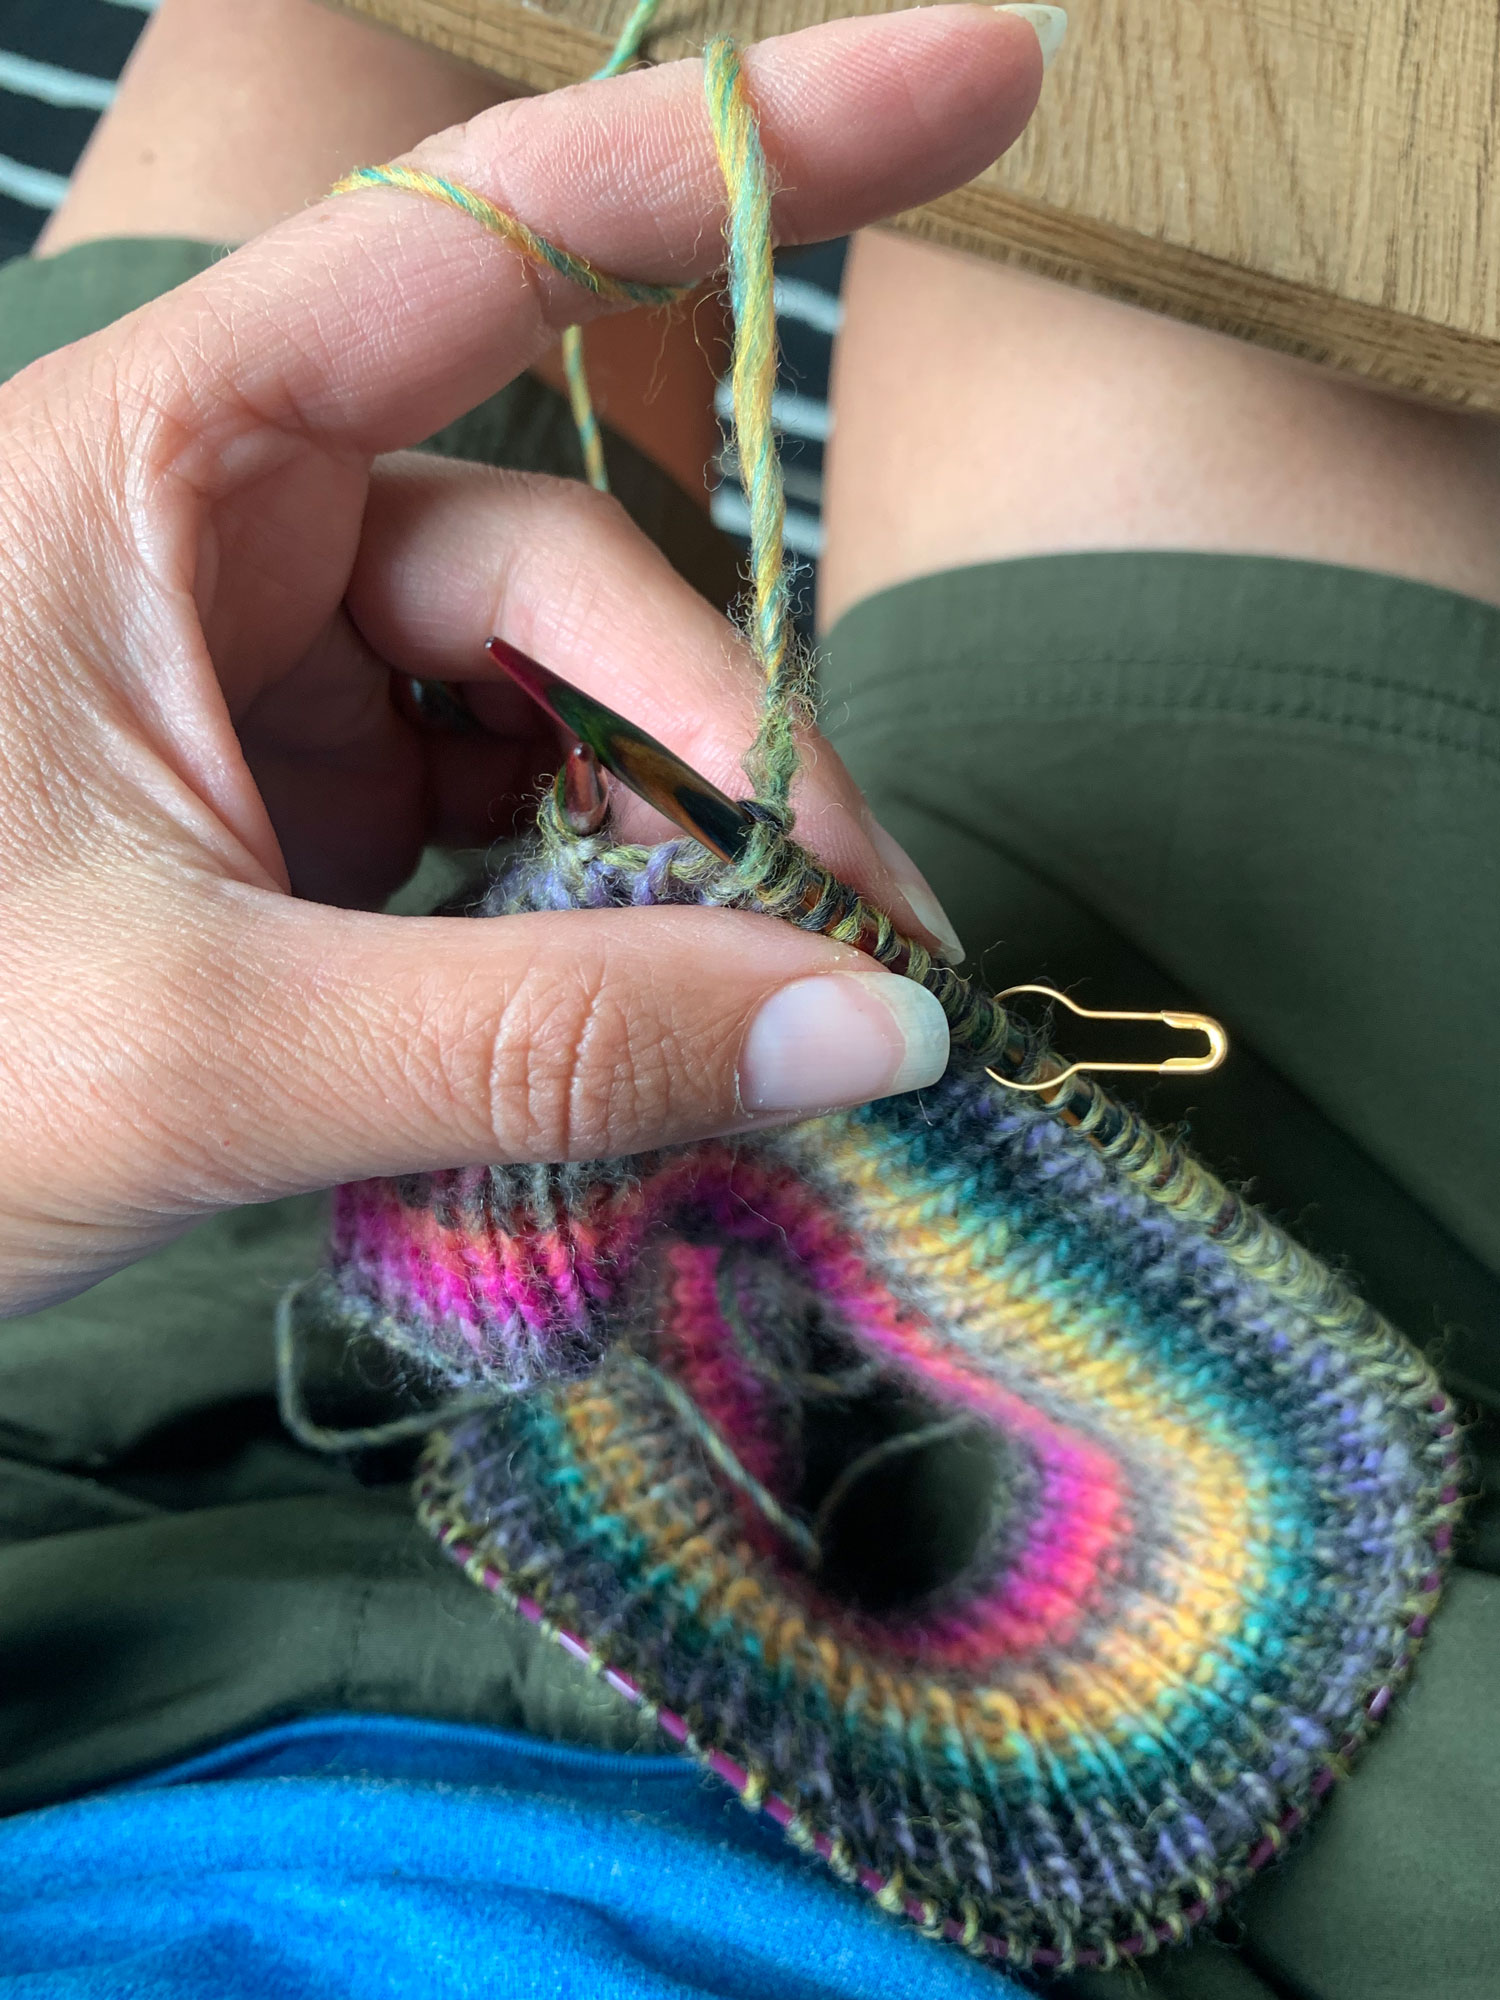
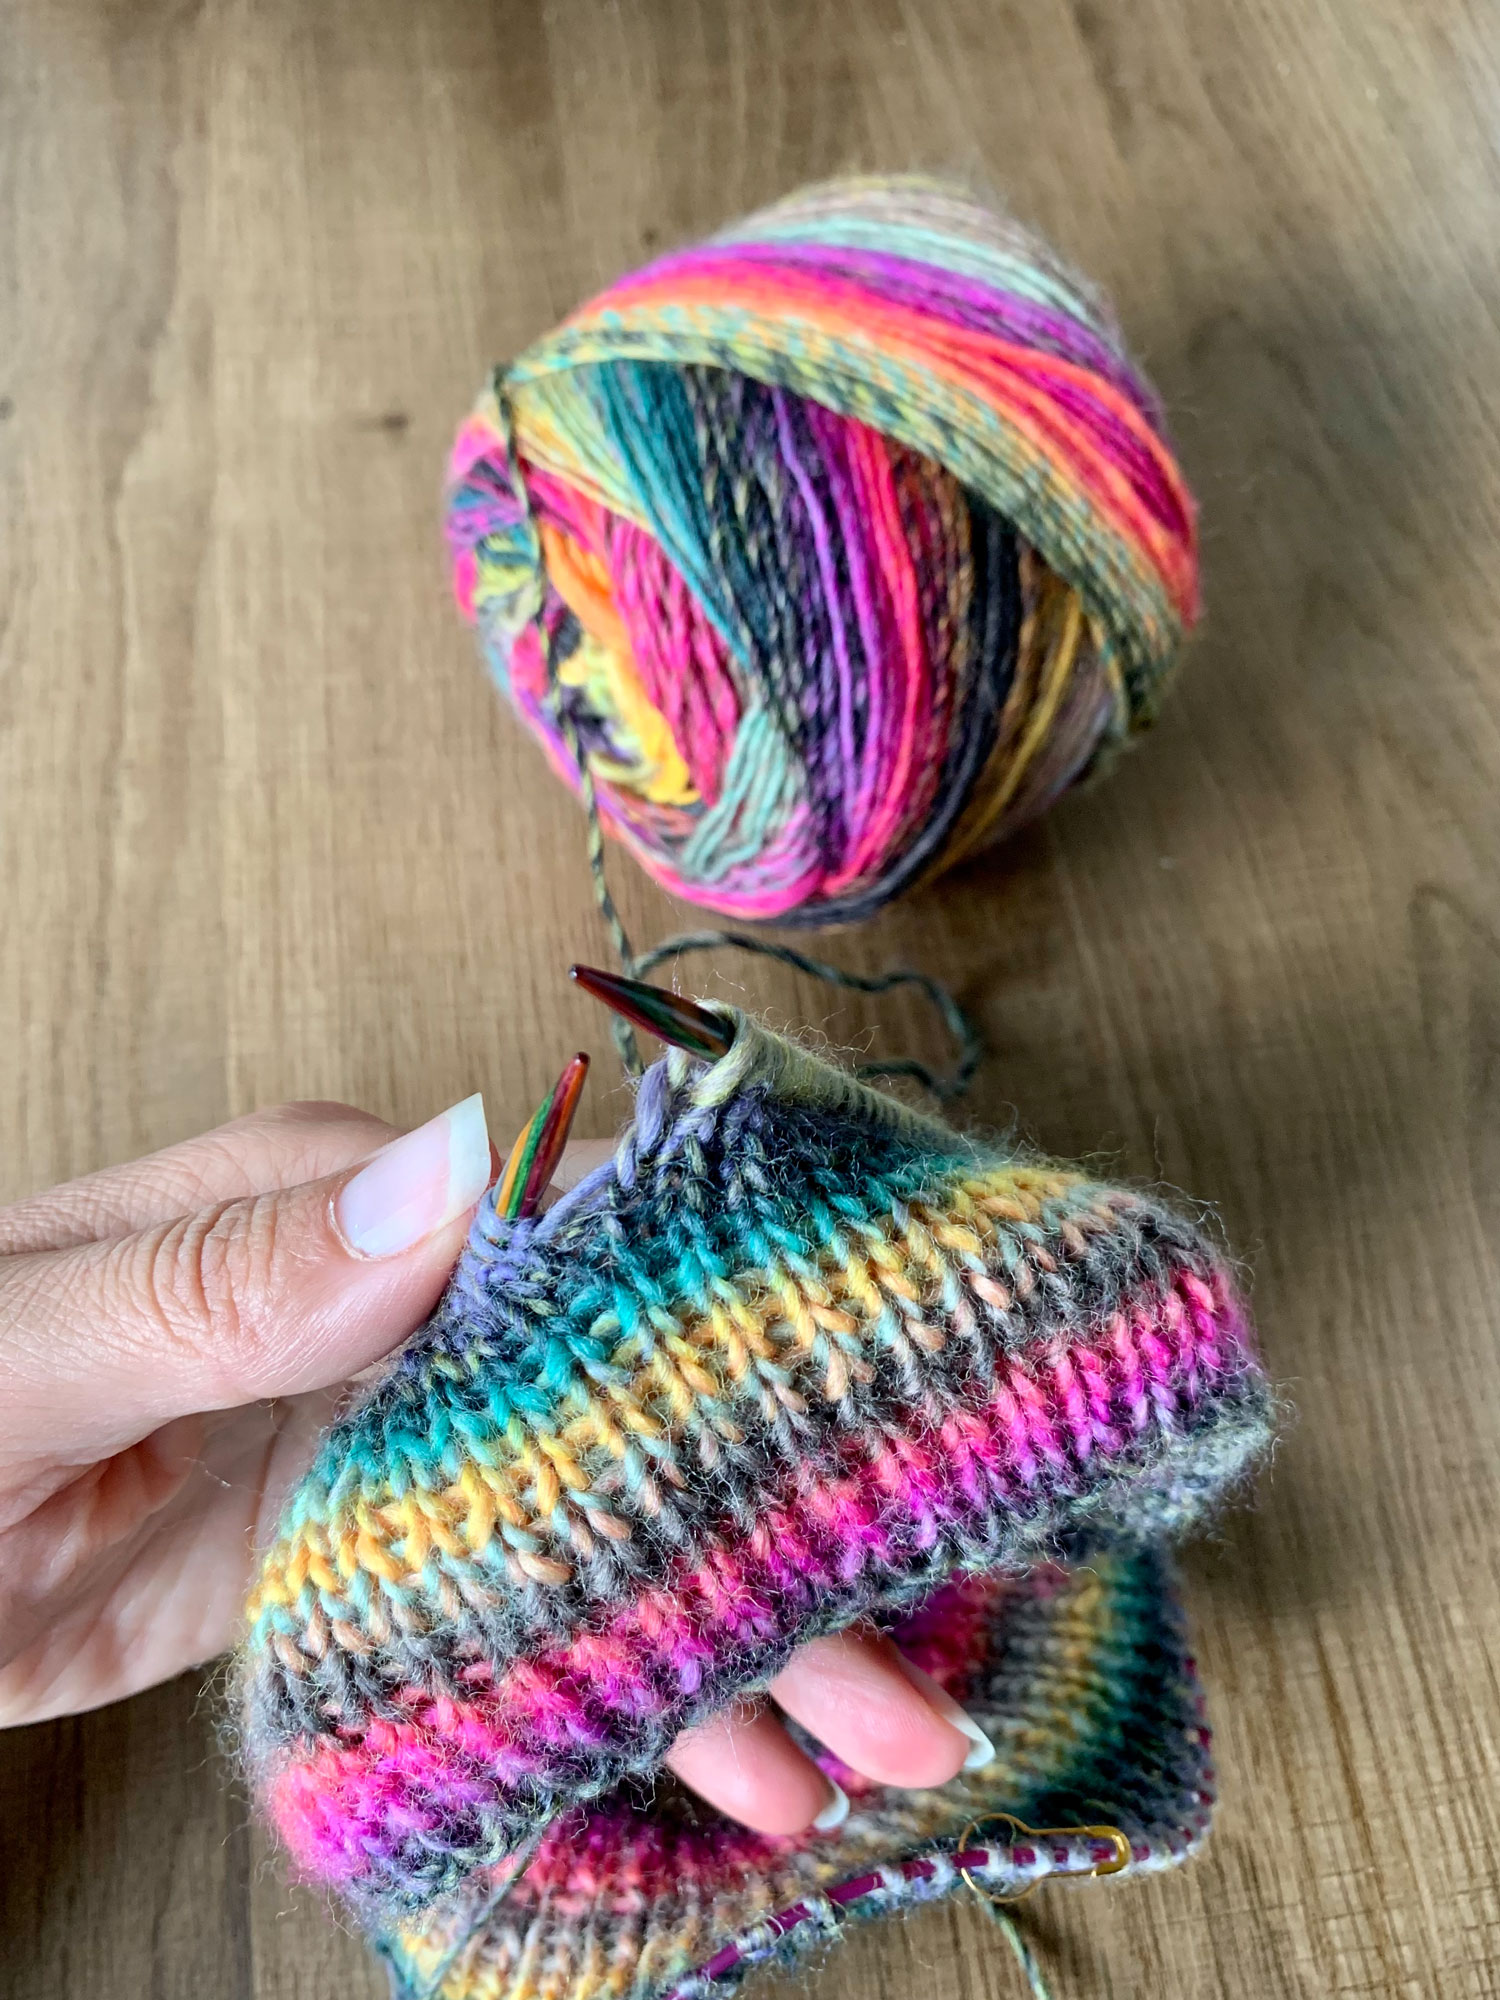
Wie ihr erkennen könnt, ist das Highlight dieser Mütze definitiv die Wolle. Ich LIEBE sie! Es handelt sich hierbei um die „Colorissimo“ von Lana Grossa in der Farbe 10 (Goldgelb/Lachs/Orchidee/Mint/Petrol/Rosa/Oliv). Das kuschelige Dochtgarn ist aus 100 % Merinowolle und hat eine Lauflänge von ca. 300 m / 100 g . Lana Grossa empfiehlt für diese Wolle eine Nadelstärke von 4,5 – 5 . Ich selbst habe für die Mütze eine Stärke von 4 mm verwendet.  

1 Knäuel hat für diese Mütze locker gereicht.

Wie bei all meinen Projekten verwende ich fürs Stricken die Symfonie Nadeln von KnitPro. Die Mütze habe ich zunächst auf der Rundstricknadel gestrickt, später, als es dann zur Abnahme ging, habe ich auf eine Nadelspiel gewechselt.

As you can see, the highlight of this hat is definitely the wool. I love her! This is the „Colorissimo“ by Lana Grossa in color 10 (golden yellow/salmon/orchid/mint/petrol/pink/olive). The cuddly wick yarn is made from 100% merino wool and has a running length of approx. 300 m/100 g. Lana Grossa recommends a needle size of 4.5 – 5 for this yarn. I myself used a thickness of 4 mm for the hat.

1 ball was enough for this hat.

As with all my projects, I use KnitPro Symfonie needles for knitting. I first knitted the hat on circular needles, later, when it was time to decrease, I switched to double pointed needles.

EINFACHE MÜTZE MIT 1-1 RIPPENMUSTER FÜR EINEN KOPTUMFANG 56-58 CM

PLAIN HAT WITH 1-1 RIBBING FOR A HEAD SIZE OF 56-58 CM

110 Maschen auf einer Rundstricknadel mit 4 mm anschlagen, zur Runde schließen und im Grundmuster stricken.

Grundmuster = Rippenmuster in Runden
Fortl. 1 M li , 1 M re im Wechsel

Anleitung für die Abnahme mit überzogener Maschen:
Nach einer Gesamthöhe von 17 cm eine Vorbereitungsrunde stricken und dafür einen Marker nach jeder 11. Masche setzen.

Danach erfolgt die regelmäßige Abnahme mit überzogener Maschen wie folgt:

Stricke die Maschen bis zu den letzten beiden Maschen vor deinem Marker (Bei der 1. Abnahme: 9 Maschen) nach Muster.

Für die jeweils letzten beiden Maschen vor dem Marker (Bei der 1. Abnahme: 10. und 11. Masche) stricke eine überzogene Masche wie folgt: Hebe die nächste Masche wie zum Rechtsstricken ab, stricke die folgende Masche rechts und ziehe die abgehobene Masche über die gestrickte Masche. Dadurch entsteht eine Abnahme und zwei Maschen werden zu einer reduziert.

Nach der Abnahme-Runde folgt nun eine Runde ohne Abnahmen. Stricke die überzogene Masche mit einer rechten Masche.

Wiederhole die Abnahmerunden, gefolgt von den Runden ohne Abnahmen, bis du noch 5 Maschen vor deine Marker hast. Stricke danach nur noch 3 oder auch 4 Abnahmerunden. So wird die Krone nicht zu spitz.

Wenn du am Ende der letzten Abnahme-Runde angelangt bist, schneide den Faden ab und ziehe ihn durch die verbleibenden Maschen, um sie wie beim Socken-Stricken zu sichern.

Cast on 110 stitches on a 4 mm circular needle, close into a round and knit in the basic pattern.

Basic pattern = rib pattern in the round
Knit 1, Pearl 1

Instructions for decrease with slip, knit, pass over decrease stitches:
When the piece measures 17 cm, knit a preparatory round and place a marker after every 11th stitch.

Then the regular decrease with covered stitches is done as follows:

Knit the stitches up to the last two stitches before your marker (for the 1st decrease: 9 stitches) according to the pattern.

For the last two stitches before the marker (for the 1st decrease: 10th and 11th stitch) knit a slip, knit, pass over decrease as follows: Slip the next stitch as if to knit, knit the following stitch and pass the slipped stitch over the knitted stitch. This creates a decrease and reduces two stitches into one.

After the decrease round, there is now a round without decreases. Knit the slip, knit, pass over decrease with a knit stitch.

Repeat the rounds of decreases, followed by the rounds without decreases, until you have 5 stitches before your markers. Then only knit 3 or 4 rounds of decreases. That way the crown doesn’t get too pointy.

When you get to the end of the last round of decreases, cut the yarn and pull it through the remaining stitches to secure them like sock knitting.

DER ENTSTEHUNGSPROZESS | THE CREATION PROCESS