NEUES SOCKEN-TUTORIAL ONLINE: EINFACHES ZOPFMUSTER MIT GROßER WIRKUNG

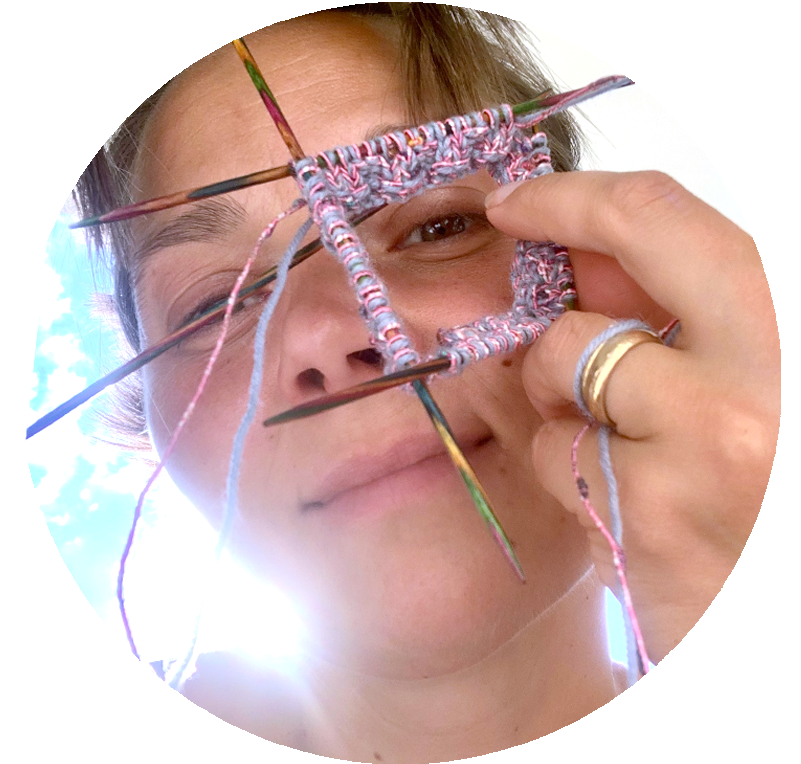
Heute ging mein 12. Strick-Tutorial auf meinem YouTube Kanal online. In diesem kostenlosen Tutorial zeige ich euch, wie ich meine neueste Socken-Kreation mit effektvollem Zopfmuster stricke. Das Muster hat einen Rapport über 8 Maschen, man kann es jedoch leicht für ander Größen anpassen. Ich stricke 64 Maschen mit 16 Maschen pro Nadel auf einem klassischem Nadelspiel. Dies entspricht bei mir eine Sockengröße 39/40 .
Als Basis für meine gezopften Socken verwende ich die Anleitung von REGIA. Ich habe das Socken-Stricken mit dieser kostenlosen Anleitung und mit Hilfe diverser Online-Tutorials gelernt und greife bei meinen eigenen Designs gerne aus diese Basis Anleitung zurück.
Für das Socken-Stricken benötigst du:
- ca. 100 g einer 4-fädig Sockenwolle
- 1 Nadelspiel in Größe 2,5 mm
- 1 weitere Nadel oder 1 spezielle Zopfnadel
- 1 Schere
- 1 Stopfnadel
ANLEITUNG ZOPFMUSTER IN GRÖßE 40:
1. Maschenanschlag, Bündchen & Schaft
Schlage 64 Maschen an und verteile sie gleichmäßig auf 4 Nadeln (16 pro Nadel). Achte darauf, dass sich die Maschen nicht verdrehen. Schließe zur Runde und stricke ein 1:1 Bündchen (1 Masche rechts, 1 Masche links im Wechsel) über 20 Runden.
Nach dem Bündchen strickst du den Schaft im Muster bis zur gewünschten Länge. Ich habe folgendes Zopf-Muster 8 Mal gestrickt.

2. Fersenwad & Fersenkäppchen
Als Fersen-Variante stricke ich gerne die Käppchenferse. Du kannst jedoch auch jede beliebige Form stricken.
Bei der Käppchenferse wird die Fersenwand wird in Reihen glatt rechts nur über die Maschen der 1. und 4.Nadel gestrickt. Stricke hierzu 30 Reihen glatt rechts, wobei du die Randmasche immer rechts oder links (je nach Seite) abhebst und insgesamt die 3 ersten bzw. letzten Maschen kraus strickst. So ergibt sich ein schöner Perlrand, der dir später die Aufnahme der Maschen extrem vereinfacht. Die Maschen der beiden anderen Nadeln ruhen. In der 1. Fersen-Reihe werden, wenn nötig, die überzähligen Maschen abgenommen.
Sobald du die Wand fertig gestrickt hast, kannst du dich an das Käppchen-Stricken machen. Das ist eigentlich der schwierigste Teil beim Socken-Stricken, doch mit etwas Übung und Konzentration ist dies leicht zu meistern.
Für das dreiteilige Käppchen werden die Maschen in 3 Teile geteilt. Für Größe 40 verwende ich folgende Einteilung: 10 / 12 / 10 . Die Maschenzahl für das Käppchen steht zwischen den Schrägstrichen, die Maschen für die Außenteile davor und danach.
In folgender Hinreihe wird bis vor die letzte Käppchenmasche rechts gestrickt.
* Die letzte Käppchenmasche mit der folgenden Masche des Außenteils rechts überzogen zusammenstricken. Dafür die letzte Käppchenmasche rechts abheben, die nächste Masche des Außenteils rechts stricken, die abgeho- bene Käppchenmasche dar- überziehen und wenden. Die 1. Käppchenmasche links abheben (Faden vor der Masche) und alle Maschen bis auf die letzte Käppchenmasche links stricken. Diese letzte Masche mit folgender Masche des Außenteils links zusammenstricken und wenden.
Die 1. Käppchenmasche links abheben (Faden hinter der Masche) und alle Käppchenmaschen bis auf die letzte Masche rechts stricken. Diese Abnahmen ab * wiederholen bis alle Maschen der Außenteile aufgebraucht und nur noch die Käppchenmaschen übrig sind.
Der restliche Fuß wird nun wieder in Runden gestrickt, dafür werden aus den Randmaschen der Fersenwand Maschen wie folgt herausgestrickt.
Stricke über die Käppchenmaschen und verteilen diese dabei gleichmäßig auf der 4. und 1. Nadel, dann stricken Sie mit der 1. Nadel aus jeder Randmasche des Fersenrandes (1 Masche aus 2 Fersenreihen) 1 Masche und aus dem Querfaden zwischen der 1. und 2. Nadel 1 Masche rechts verschränkt. Nun werden die Maschen der 2. und 3. Nadel (Fußoberseite) gestrickt. Stricke danach aus dem Querfaden zwischen der 3. und 4. Nadel 1 Masche rechts verschränkt und aus jeder Randmasche 1 Masche, dann stricke die restlichen Maschen. Auf der 1. und 4. Nadel sind nun mehr Maschen als auf der 2. und 3. Nadel, und zwar die Anzahl der Käppchenmaschen.
3. Zwickel
Die zusätzlichen Maschen werden für den Zwickel (Spickel) wieder abgenommen. Dafür in folgender 2. Runde bei der 1. Nadel die zweit- und drittletzte Masche rechts zusammenstricken, die letzte Masche rechts stricken. Bei der 4. Nadel die 1. Masche rechts stricken, die 2. und 3. Masche rechts überzogen zusammenstricken. Diese Zwickelabnahmen so oft wieder- holen bis auf der 1. und 4. Nadel wieder die ursprüngliche Maschenzahl vorhanden ist.
ACHTUNG: SOBALD DU WIEDER ÜBER ALLE NADELN IN RUNDEN STRICKST, WIEDERHOLT SICH DEIN ZOPF-MUSTER AUF DEN NADELN 1 UND 4. Du musst also auch bei beim Zwickel-Stricken an dein Zopfmuster im oberen Bereich deiner Socke denken.
4. Fußteil
Stricke deinen unteren Fußteil über die ganze Länge (Fußlänge bis zur Spitze ca. 21 cm) in glatt rechts. Den oberen Teil über Nadel 1 und 4 strickst du weiterhin nach dem Zopfmuster. Dies entspricht einen Muster-Rapport in der Gesamthöhe von 20. Probiere die Socke zwischendurch immer wieder einmal an, um zu überprüfen, dass du die richtige Länge für deinen Fuß strickst.
5. Fußspitze
Sobald du deine Fußläge fertig gestrickt hast, kannst du deine Spitze stricken. Stricke deine erste Abnahme, wobei du nun ausschließlich glatt rechts strickst.
Bei der Bandspitze gehe ich folgendermaßen vor:
– Auf 1. & 3. Nadel: Bis 3 M vor Ende stricken, 2 M rechts zusammen, 1 M rechts
– Auf 2. & 4. Nadel: 1 M rechts, 2 M rechts überzogen zusammen
– Abnahmen nach der 1. Abnahme wie folgt wiederholen:
In der 4. Runde 1x
In jeder 3. Runde 2x
In jeder 2. Runde 3x
In jeder Runde 6x
Sobald du nur noch 3 Maschen auf jeder Nadel hast, kannst du den Faden mit etwaws Überlänge abschneiden. Fädel diesen Endfaden auf eine Stopfnadel und fasse damit die restlichen 12 Maschen in Reihenfolge auf. Sobald du alle Maschen von den Stricknadeln aufgenommen hast, kannst du den Faden fest anziehen und so die letzten Maschen zu einer unsichtbaren Runde zusammenziehen.
Wenn ihr bereits Erfahrung mit dem Socken-Stricken habt und kein Freund schriftlicher Anleitungen seid, dann schaut euch doch einfach mal mein Video an. In dem kostenlosen Tutorial zeige ich euch, wie ihr das effektvolle Zopfmuster strickt.
Viel Spaß beim Nach-Stricken!